Subway tile is the most forgiving tile in existence — cheap (often $2–$5 per square foot), easy to cut, and nearly impossible to lay badly. But “blue subway tile” covers a hundred different bathrooms, from a 1920s reproduction to something that looks like a boutique hotel. The difference is never the tile itself. It’s the layout, the grout, the finish, and where you stop.
I’ve laid enough of these to know where people go wrong, so this list is heavy on the practical: which layouts do what, what grout actually looks like in six months, and which combinations are worth the money. Ten ways to use the same humble tile — no two alike.
Table of Contents
- ✨ Idea 1: Classic Blue Subway Tile Walls
- ✨ Idea 2: Vertical Blue Subway Tile Layout
- ✨ Idea 3: Blue Subway Tile Shower
- ✨ Idea 4: Blue Subway Tile Half Wall
- ✨ Idea 5: Blue Subway Tile and Gold Fixtures
- ✨ Idea 6: Matte Blue Subway Tiles
- ✨ Idea 7: Blue Subway Tile Backsplash
- ✨ Idea 8: Blue Subway Tile with Dark Grout
- ✨ Idea 9: Blue Subway Tile and Wood Combo
- ✨ Idea 10: Blue Subway Tile Statement Wall
Idea 1: Classic Blue Subway Tile Walls
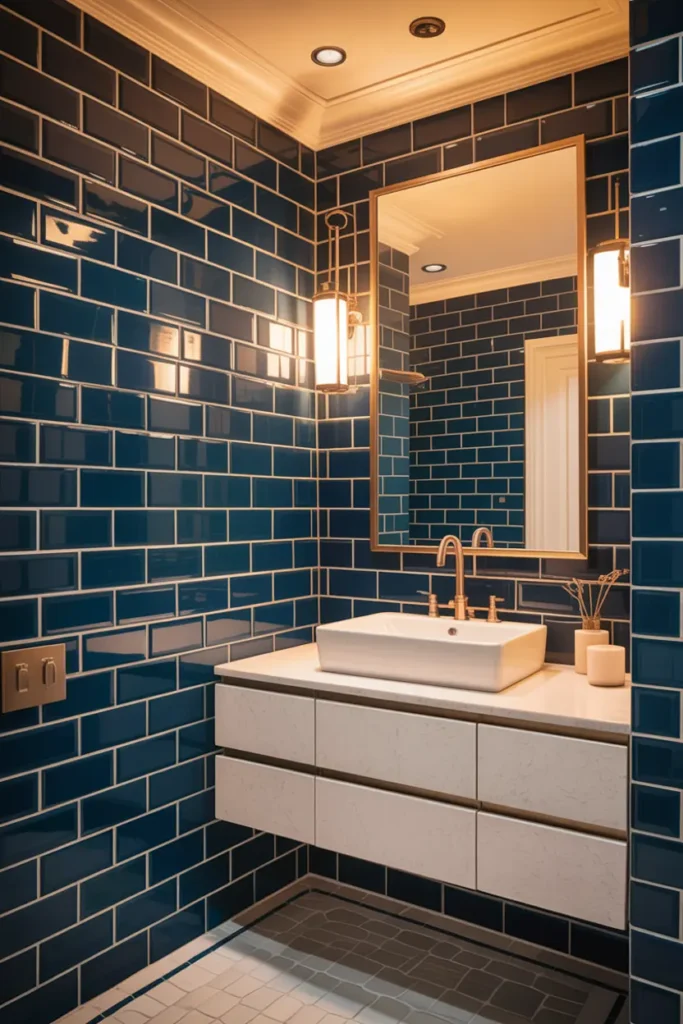
The running-bond layout — each row offset by half a tile — is classic for a reason: it hides imperfect cuts and uneven walls better than any other pattern. In a dusty or powder blue with white grout, it’s the safest blue tile choice you can make. It reads traditional in a 1920s bathroom and fresh in a new build, which is why it never dates.
Order 10–15% extra tile for cuts and breakage; blue tiles from the same batch can vary slightly in shade, so mix tiles from different boxes as you lay them. And run the tile to the ceiling in showers — the half-tiled look with painted drywall above is where “budget renovation” shows. Full height is the difference between done and done-right.
Idea 2: Vertical Blue Subway Tile Layout
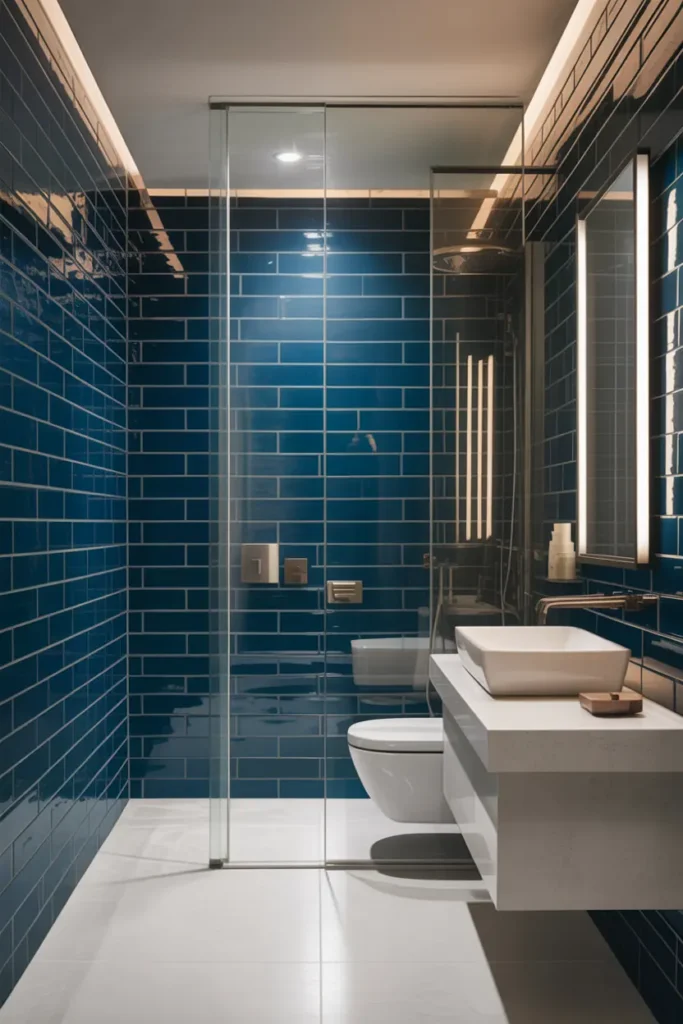
Turn the same 3×6 tile 90 degrees and the room changes character completely. Vertical stack (tiles aligned in columns, not offset) draws the eye up and makes an 8-foot ceiling feel taller — genuinely useful in small bathrooms where every inch of perceived height counts. It’s the same tile, the same cost, a completely different bathroom.
Vertical layouts are less forgiving than running bond: any wall that’s out of plumb shows immediately, so check with a 4-foot level first and shim as needed. Keep grout lines tight (1/16 inch) for the modern stacked look, and use a grout color close to the tile — high-contrast grout on a vertical grid can look busy fast.
Idea 3: Blue Subway Tile Shower
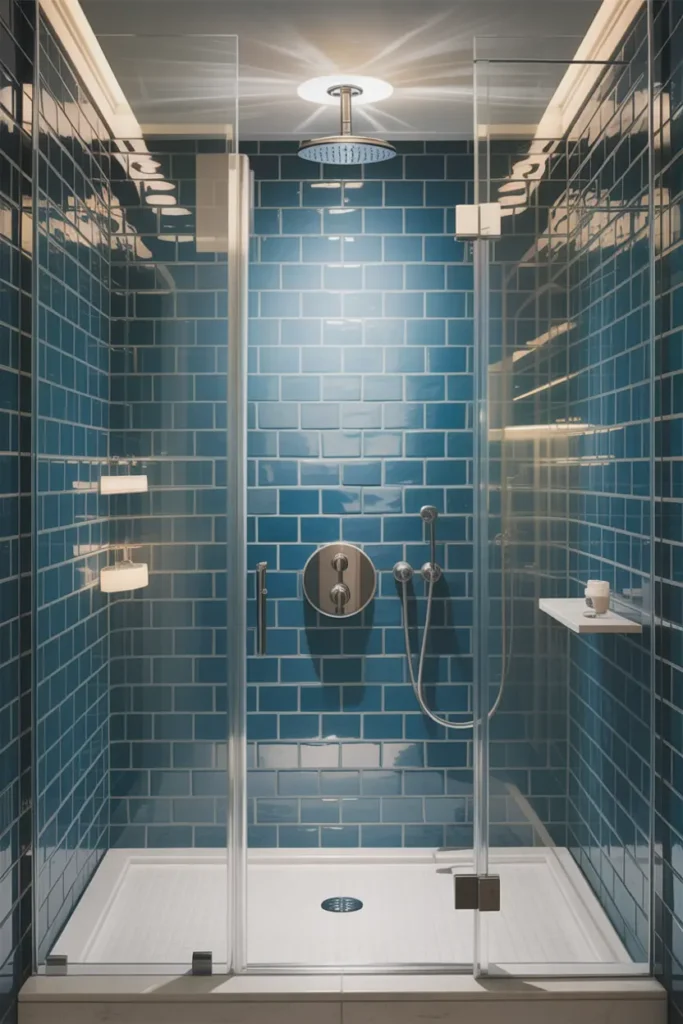
The shower is where blue subway tile earns its keep. Glossy blue tile in a wet area reflects light like water, and the enclosed space makes the color immersive rather than loud. A standard 3×5-foot shower needs roughly 60–80 square feet of tile for walls to the ceiling — at $3/sq ft, that’s a $200 tile bill for the room’s biggest surface.
In showers, waterproofing matters more than the tile: use a proper membrane (not just “water-resistant” backer board) and seal the grout with a penetrating sealer after 72 hours of curing. Slope the shower floor 1/4 inch per foot toward the drain — tile can’t fix bad drainage, and standing water will stain grout within a year.
Idea 4: Blue Subway Tile Half Wall
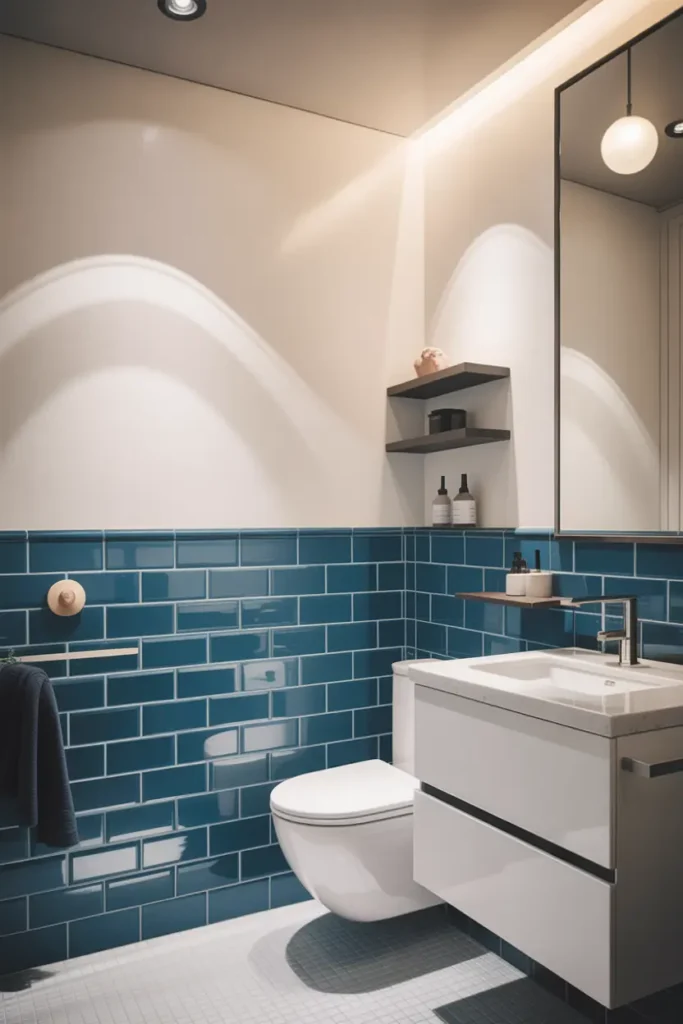
Tile the lower 42–48 inches (chair-rail height is the classic line) and paint above in a warm white or soft grey. You get the durability of tile where water actually hits — behind the sink, beside the tub — at roughly half the material cost of full-height tiling. It’s also the most renter-adjacent permanent option, since it reads as “wainscot” rather than “renovation.”
Cap the top row with a proper trim piece — a bullnose tile or a slim metal edge — not a raw cut edge. That finished edge is the entire difference between “intentional wainscot” and “ran out of tile.” Paint the upper wall in a color pulled from the tile’s undertone (warm white for warm blues, crisp white for cool blues) and the two halves will feel like one decision.
Idea 5: Blue Subway Tile and Gold Fixtures
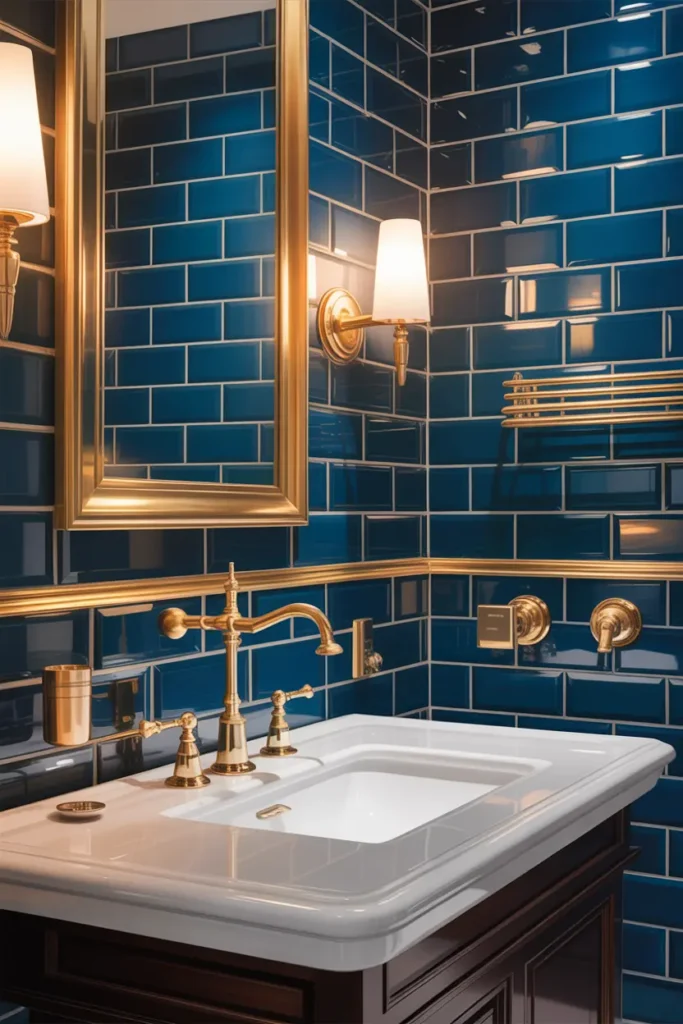
Blue and brass is the combination that makes a $200 tile job look like $2,000. The warmth of brushed gold or brass against cool blue tile is pure contrast theory — opposites on the color wheel, maximum visual richness. It works with every blue from powder to navy, but it’s most striking against mid-tone blues where neither element overwhelms.
Commit to the metal everywhere it shows: faucet, shower trim, mirror frame, towel hooks, even the toilet lever. One-off gold pieces look like afterthoughts; a full set looks like a design decision. And buy “brushed” or “satin” brass, not polished — polished gold reads 1980s, brushed reads 2026. Expect to pay 20–30% more than chrome for the fixtures; the tile stays cheap.
Idea 6: Matte Blue Subway Tiles
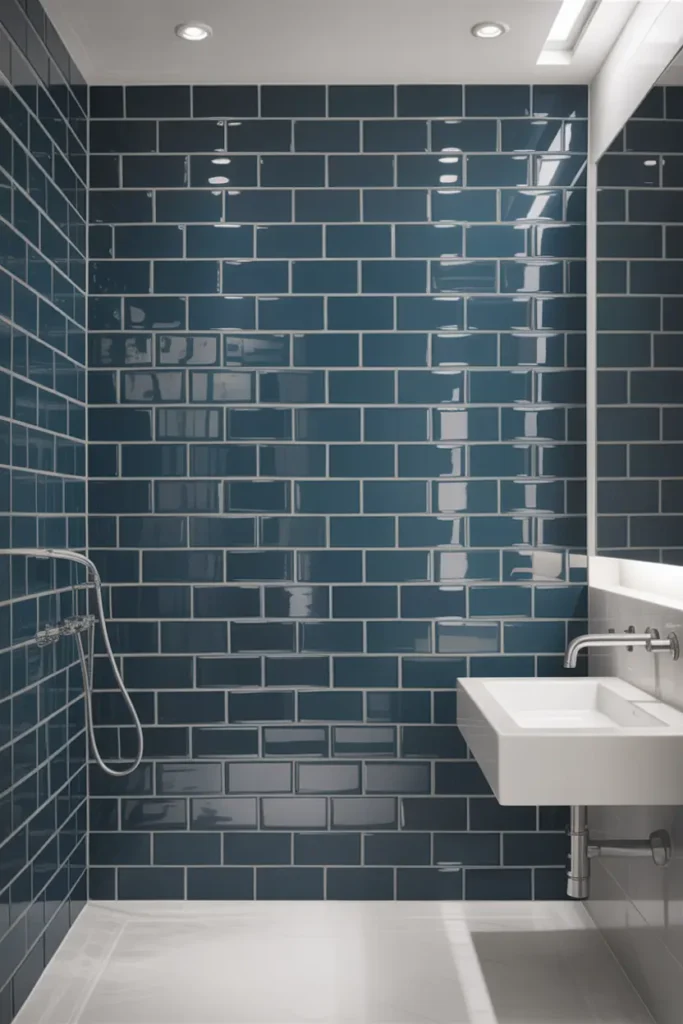
Glossy tile bounces light around; matte tile absorbs it. In a bathroom with big windows or strong lighting, matte blue subway tile kills glare and reads as calm, velvety, almost chalky — the handmade zellige look without the $15/sq ft price tag. It’s the better choice for powder rooms and anywhere you want mood over sparkle.
Know the tradeoff: matte finishes show soap scum and hard-water spots more than gloss, so they’re higher-maintenance in hard-water areas. Wipe down weekly with a squeegee habit and you’ll be fine; skip it and the matte surface will look dusty within a month. Seal the grout — matte tile plus unsealed grout is a staining disaster waiting to happen.
Idea 7: Blue Subway Tile Backsplash

The vanity backsplash — that 4-to-18-inch strip between counter and mirror — is the smallest tile job in the bathroom and one of the highest-impact. A single box of blue subway tile (usually 10 sq ft, around $25–$35) covers most vanity backsplashes. It’s a Saturday project: thinset in the morning, grout after lunch, sealer the next day.
Run it the full width of the vanity, not just behind the faucet — a centered patch looks like an afterthought. If your vanity is 30 inches wide, tile 30 inches wide. And this is the perfect place to experiment with a bolder blue than you’d commit to on full walls; if you hate it in a year, you’re replacing one box of tile, not a shower.
Idea 8: Blue Subway Tile with Dark Grout
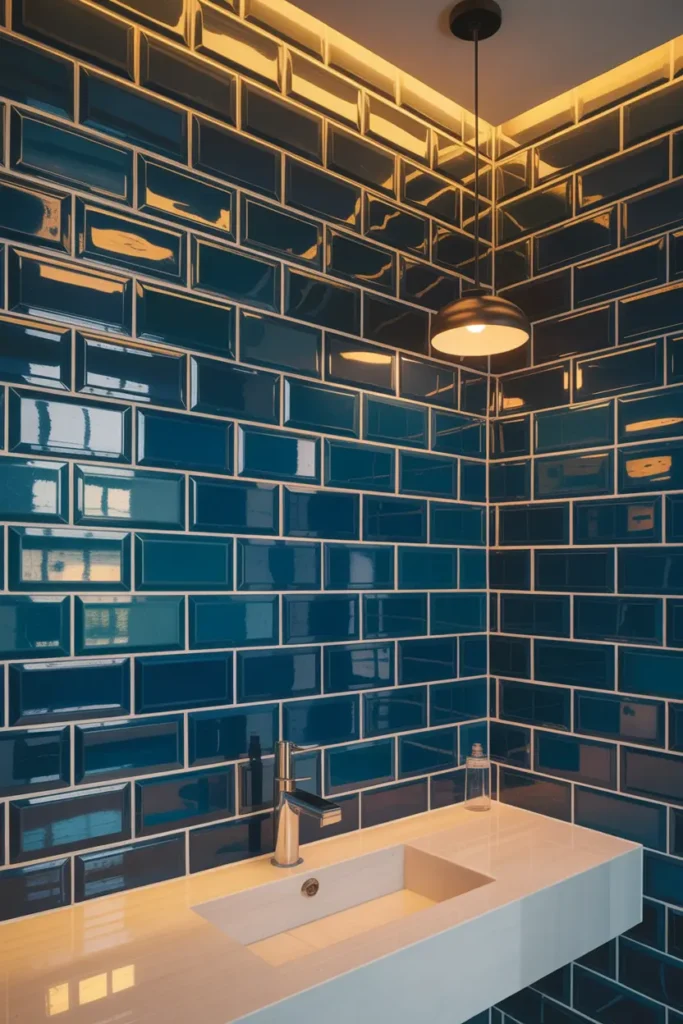
Charcoal or dark grey grout turns blue subway tile into a graphic, almost illustrated surface — every tile outlined, every row visible. It’s the boldest grout choice on this list and the most divisive, which is exactly why it has personality. Use it on one feature area (a shower wall, the vanity backsplash), not the whole bathroom, or the grid becomes visual noise.
Dark grout is actually the practical choice: it hides stains, soap residue, and the general grime that makes white grout look tired within a year. Use a grout release or seal the tile faces before grouting — dark grout can stain the edges of light blue tiles during installation, and that’s a mistake you can’t undo.
Idea 9: Blue Subway Tile and Wood Combo
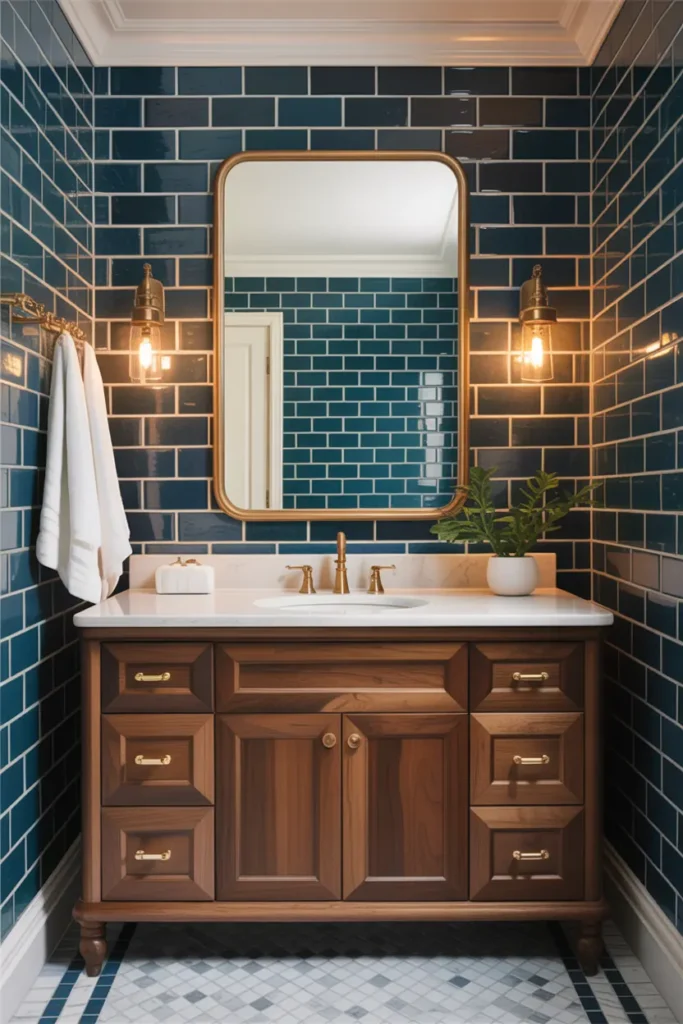
Blue tile is cool; wood is warm; together they’re the whole Scandinavian playbook. A teak or white-oak vanity against blue subway tile, a wooden stool, a cedar bath mat — one or two wood elements are enough. The wood’s job is to keep the blue from feeling clinical, and it does that job at any quantity above zero.
In wet zones, choose wood that tolerates moisture: teak, white oak, or properly sealed engineered wood. Raw pine shelving next to a shower will warp within a year. And keep the wood tone consistent — one warm wood, not three. Mixed wood tones plus blue tile plus grout lines is too many competing textures for a small room.
Idea 10: Blue Subway Tile Statement Wall
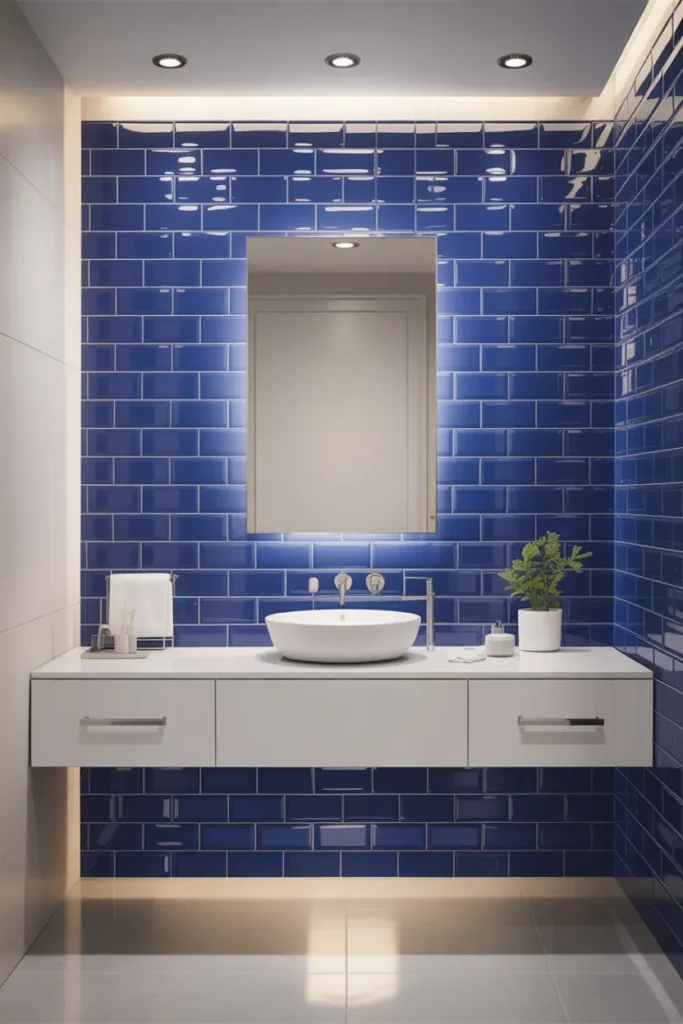
One wall, floor to ceiling, blue subway tile — and everything else quiet. The statement wall works because of restraint everywhere else: white fixtures, plain mirror, minimal accessories. The tile gets to be the entire personality of the room, which is exactly what a statement wall is for.
Choose the wall you see when you walk in — usually the wall behind the vanity or the far shower wall. A statement wall nobody sees is just an expensive wall. And go bolder here than you would elsewhere: this is the one place where a deep cobalt or a handmade-look blue earns its keep, because the surrounding calm gives it room to perform.
Pro Tips
- Mix boxes before you lay. Blue tiles vary subtly between production batches. Open all boxes and pull from several at once so the variation blends instead of banding.
- Seal grout, not tile. Glazed subway tile needs no sealer; cement grout in wet areas absolutely does. Apply penetrating sealer 72 hours after grouting and reapply yearly in showers.
- Buy the tile saw, not the snap cutter, for blue tile. Dark glazed tiles chip visibly with snap cutters; a $60 wet saw gives clean edges that don’t show at corners and trim lines.
- Grout color is a design decision, not an afterthought. Choose it from grout samples held against the actual tile in the room’s light — the sample stick at the store lies under fluorescent light.
FAQs
How much does it cost to tile a bathroom with blue subway tile?
Tile itself runs $2–$5 per square foot; a typical shower (60–80 sq ft of wall) costs $150–$400 in tile plus thinset, grout, and sealer. DIY installation saves $500–$1,500 in labor; professional installation roughly doubles the material cost.
What grout color looks best with blue subway tile?
White grout is classic and bright but stains; light grey is the low-maintenance sweet spot; dark charcoal is bold and hides grime but dominates the design. Match the grout to your maintenance tolerance first, style second.
Can I install subway tile myself as a beginner?
Yes — subway tile is the most beginner-friendly tile there is. Start with a backsplash before attempting a shower, watch the layout lines with a level, and rent or buy a wet saw for clean cuts. Your first wall will be slow; your third will be fast.
Matte or glossy blue subway tile — which is better?
Glossy reflects light and is easier to wipe clean, making it better for showers and small dark bathrooms. Matte looks softer and more modern but shows water spots, so it suits powder rooms or homes with soft water. There’s no universally better choice — only better for your bathroom.

HowDecor is a home decor blog sharing simple, practical decorating ideas for everyday spaces. We believe a beautiful home should feel comfortable, personal, and full of warmth — and that great style does not require a huge budget. Our goal is to inspire readers to create spaces that feel peaceful, welcoming, and truly their own — one room at a time.