Walk into two living rooms with the exact same IKEA sofa. One looks designed; the other looks like a waiting room. The difference is never the budget. It’s a set of small, repeatable decisions — about color, height, light, and clutter — that professional stylists apply on autopilot and the rest of us simply never learned.
Below are 20 of those decisions, distilled into rules you can apply room by room this weekend. None of them requires new furniture. Most of them cost nothing at all, and the few that do stay under $30. A “put together” home isn’t a shopping outcome; it’s an editing outcome.
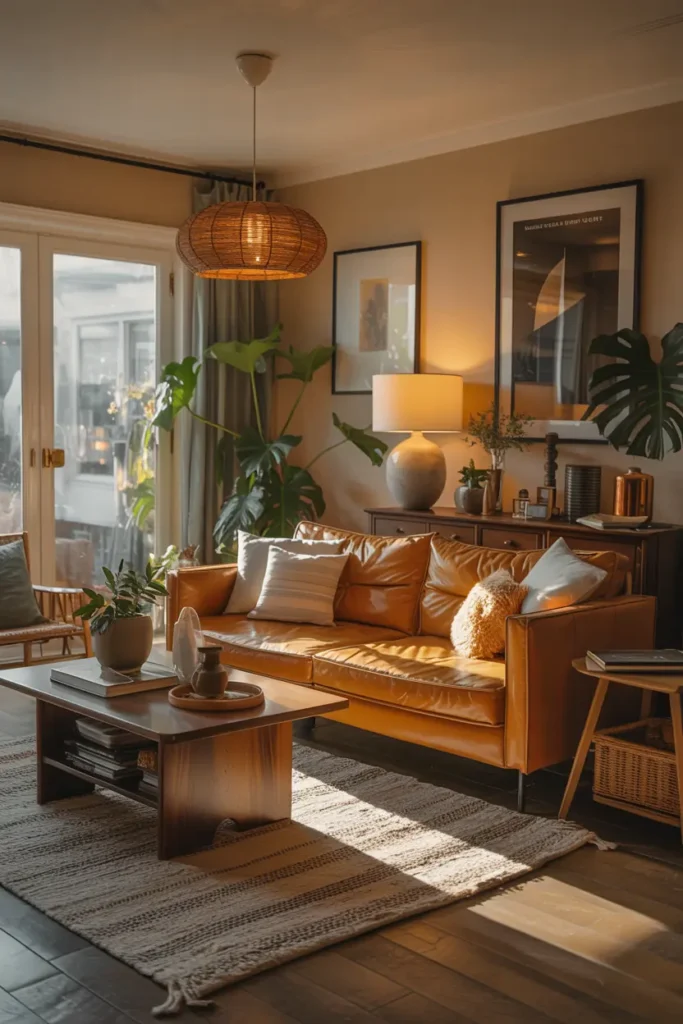
1. Commit to a Color Story for Each Room
The most common reason a room feels slightly off is the absence of a coherent color story — too many unrelated hues competing for attention. Choose three colors per room: one dominant (walls, large furniture — about 60% of what you see), one secondary (textiles, rugs — 30%), and one accent (10%: a vase, art, a throw). Write them down. Every future purchase gets checked against that list.
A practical starting palette for beginners: warm white walls, one mid-tone (sage, terracotta, dusty blue), and one dark anchor (charcoal, walnut, black). This works because the eye reads repetition as intention. When in doubt, remove the item that doesn’t match your three colors — nine times out of ten, that item is the one making the room feel unfinished.
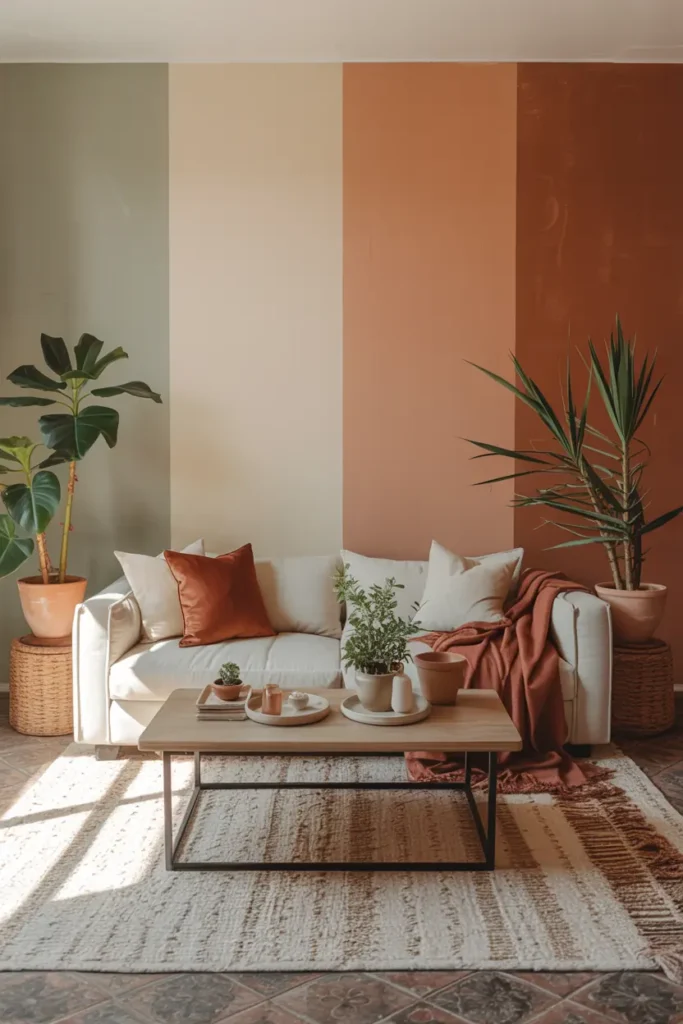
2. Make Sure Everything Has a Place
A room that feels put together is almost always a room where every object has a designated home and actually lives there. Walk through each room with a laundry basket and collect everything that has drifted: remote controls, chargers, mail, toys. Then assign each category a specific container or spot — a lidded box for remotes ($8–$12), a small tray for keys and wallets by the door, a basket for the throw blankets.
The rule that keeps it working: the “reset” — a five-minute nightly pass where everything goes back to its assigned place. Without the reset, containers just become prettier clutter. With it, the room holds its styled look indefinitely, and you’ll stop losing your keys. The containers themselves should match your color story so the storage reads as decor, not damage control.
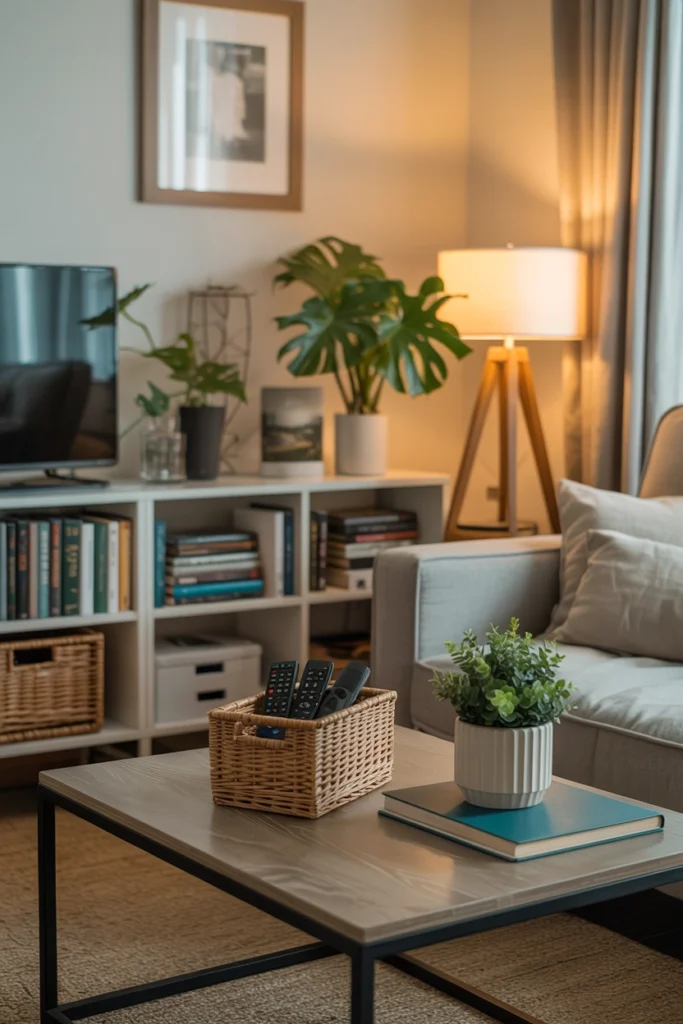
3. Use Matching or Complementary Frames Across a Wall
Mismatched frames are one of the subtlest reasons a wall display looks unfinished. You don’t need identical frames — you need a relationship between them. Either match exactly (same thin black frame throughout, a classic that never fails), or commit to a deliberate mix: black + natural oak + one brass, for example. What fails is three random finishes that suggest the frames arrived by accident.
Unify thrifted frames fast: a $6 can of spray paint turns five mismatched $1 frames into a cohesive set in one afternoon. Sand lightly with 220-grit, apply two thin coats, and let them cure overnight before handling. Keep matting consistent too — all white mats, or none at all. Consistency in either frames or mats is enough; you don’t need both.
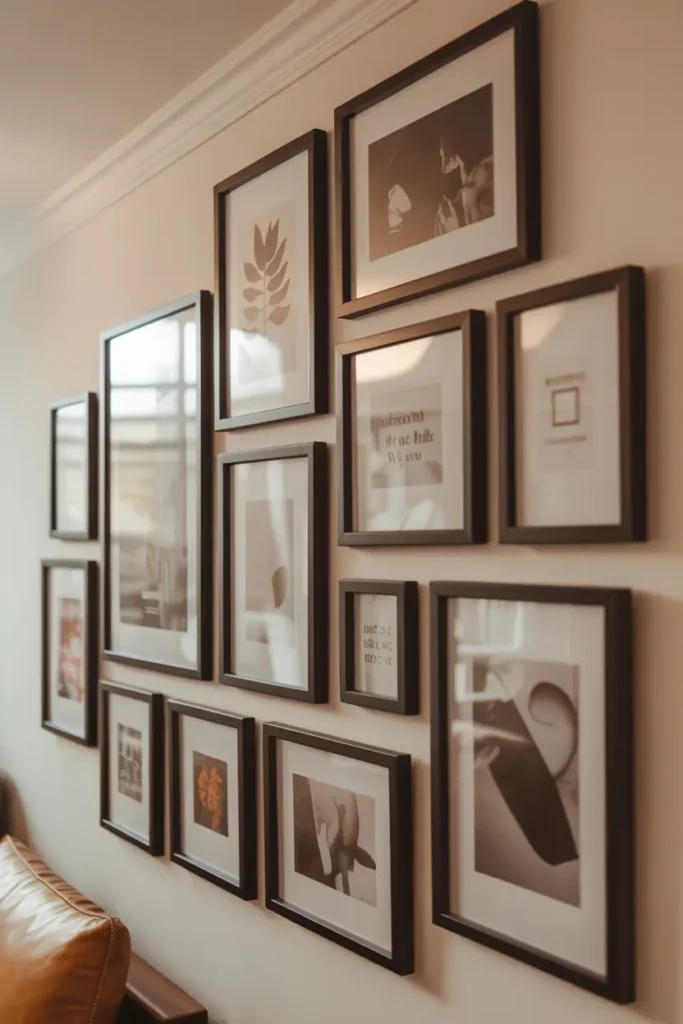
4. Always Complete a Surface With Three Elements
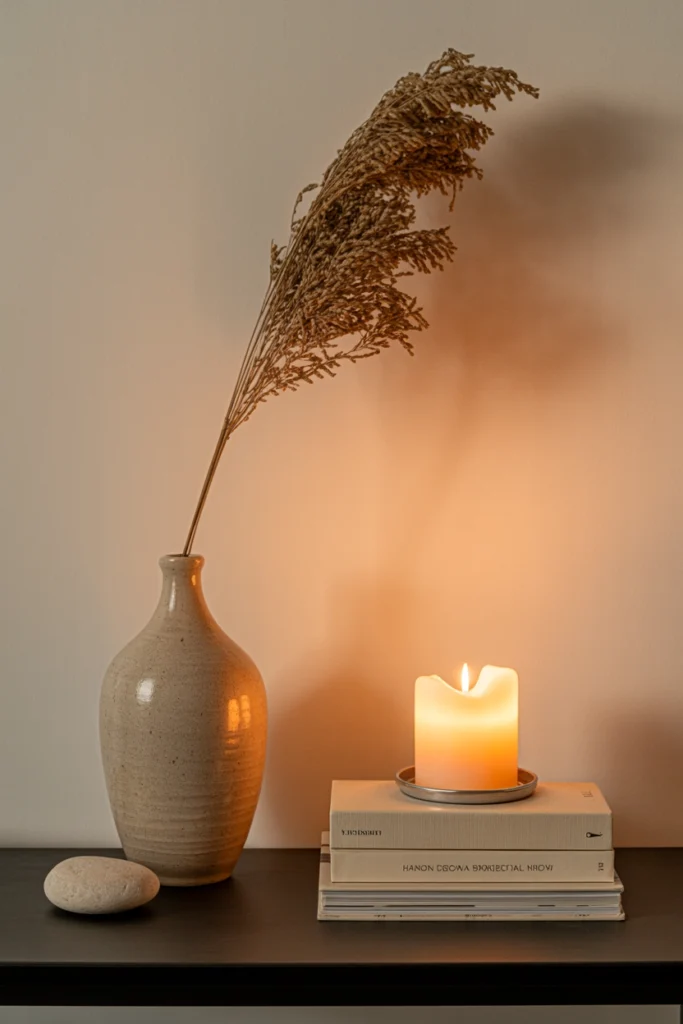
Professional stylists use a formula that works on every surface, every time: group objects in threes. A dresser top gets a lamp, a stack of books, and a small plant. A console gets a mirror or art above it, a tray, and a vase. Three elements of varying heights create a triangle the eye can rest on; two looks sparse, four starts looking like clutter.
Vary the heights deliberately — tall, medium, low — and give the group one organic element (plant, stone, wood) to keep it from feeling like a store display. Leave the rest of the surface empty. An overstyled surface reads as a shelf in a shop; a three-element grouping with breathing room reads as a home.
5. Hang Everything at the Correct Height
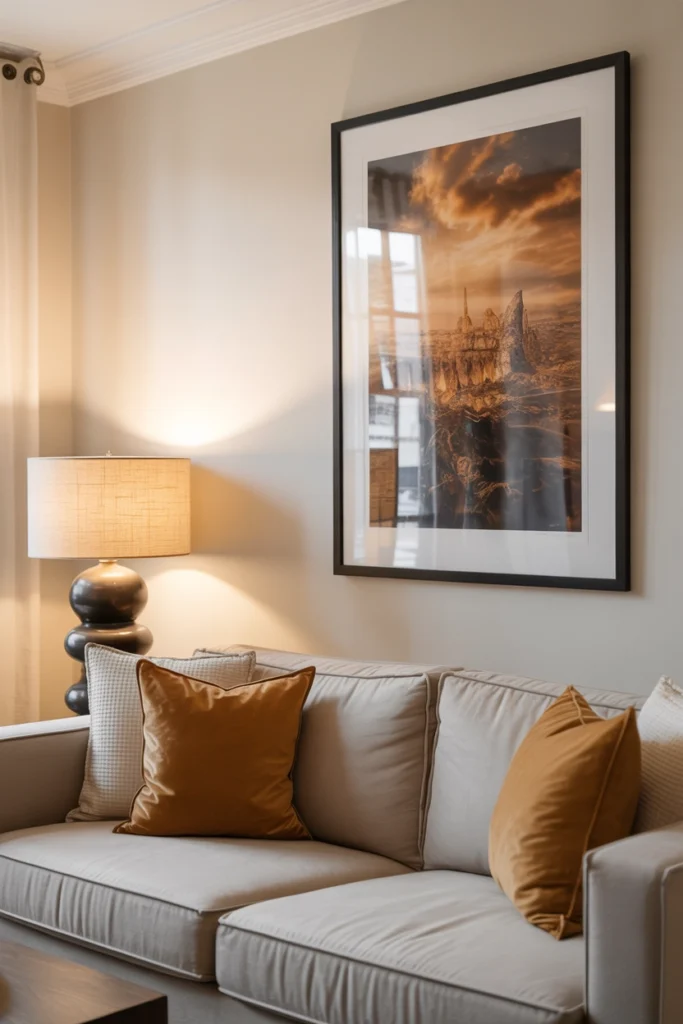
Improperly hung art is one of the most common reasons walls look unfinished even when the pieces are beautiful. The standard: the center of the artwork sits at 57 inches from the floor — average human eye level. Above a sofa or console, hang the bottom of the frame 6–8 inches above the furniture. People consistently hang art too high; when in doubt, go lower.
Mirrors follow the same 57-inch rule. For pairs or groupings, treat the whole arrangement as one piece and center the group at 57 inches. Use a tape measure, not your eye — your eye lies, especially in rooms with high ceilings. A $3 roll of painter’s tape to mark positions before drilling saves you from the constellation of patched nail holes that screams “amateur.”
6. Layer Your Lighting for Depth and Warmth
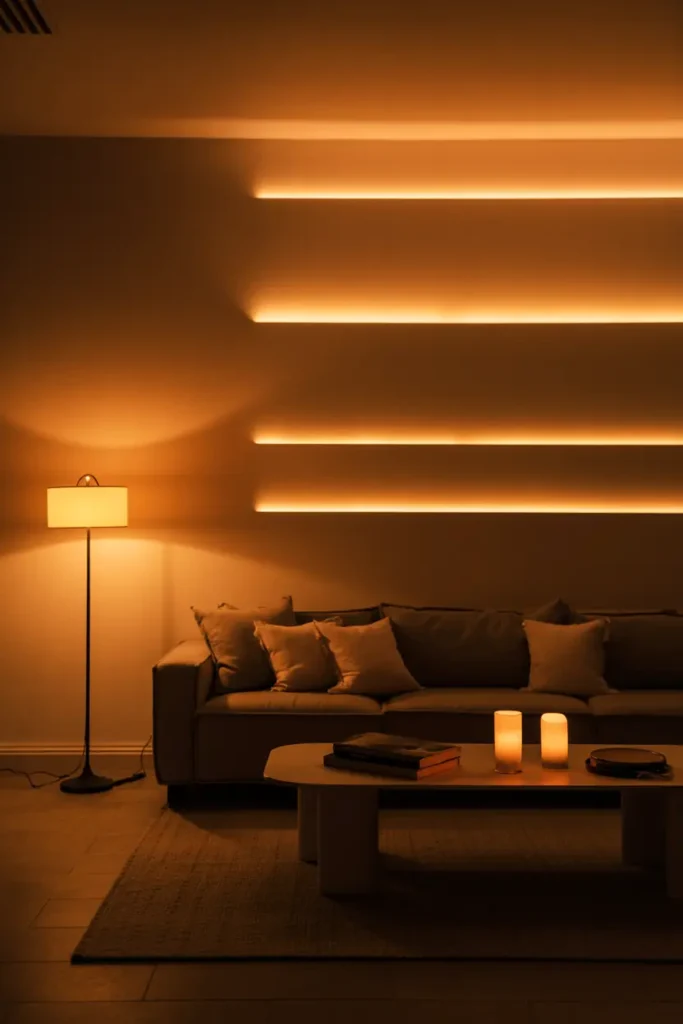
A room lit by a single overhead source looks flat and clinical no matter how nice the furniture is. The fix is three layers: ambient (the overhead or a tall floor lamp), task (a reading or desk lamp where you actually do things), and accent (a candle cluster, a small picture light, string lights). Each layer should be on its own switch or plug so you can control the mood.
Set every bulb to 2700K warm white — about $8 for a four-pack of LEDs — and put at least one lamp per room on a $10 plug-in dimmer. Dimmed warm light in the evening is the single fastest way to make a room feel finished. If you only do one thing from this list, do this: overhead lighting off, lamps on, after 7pm.
7. Choose One Focal Point and Let It Lead
Every room that feels put together has a clear focal point — one element the eye travels to naturally on entry. It might be a fireplace, a large window, a bold piece of art, or the bed in a bedroom. Once you identify it, arrange the room to support it: angle seating toward it, keep the wall around it relatively quiet, and don’t let a second loud element compete with it.
If your room lacks a natural focal point, create one: a large mirror ($40–$60), an oversized piece of art, or a painted accent wall behind the sofa. The focal point should be the largest visual weight in the room. Everything else gets quieter — smaller, simpler, pushed to the edges. Two focal points is the same as zero; pick one and commit.
8. Declutter Before You Add Anything New
This is the step most decorating guides bury, but it’s almost always the most important one. Before buying a single new item, remove everything from the room’s surfaces — every last object — and put back only what earns its place. You’ll typically return about half. The rest was visual noise, and no amount of styling overcomes visual noise.
Be systematic: clear one surface at a time, wipe it down, and only return items that are beautiful, useful, or meaningful. Be honest about the third category — “my aunt gave it to me” is not the same as meaningful. Box the rejects and store them for a month; if you don’t miss anything, donate the box. This step costs nothing and outperforms every purchase on this list.
9. Use a Rug to Anchor Every Seating Area
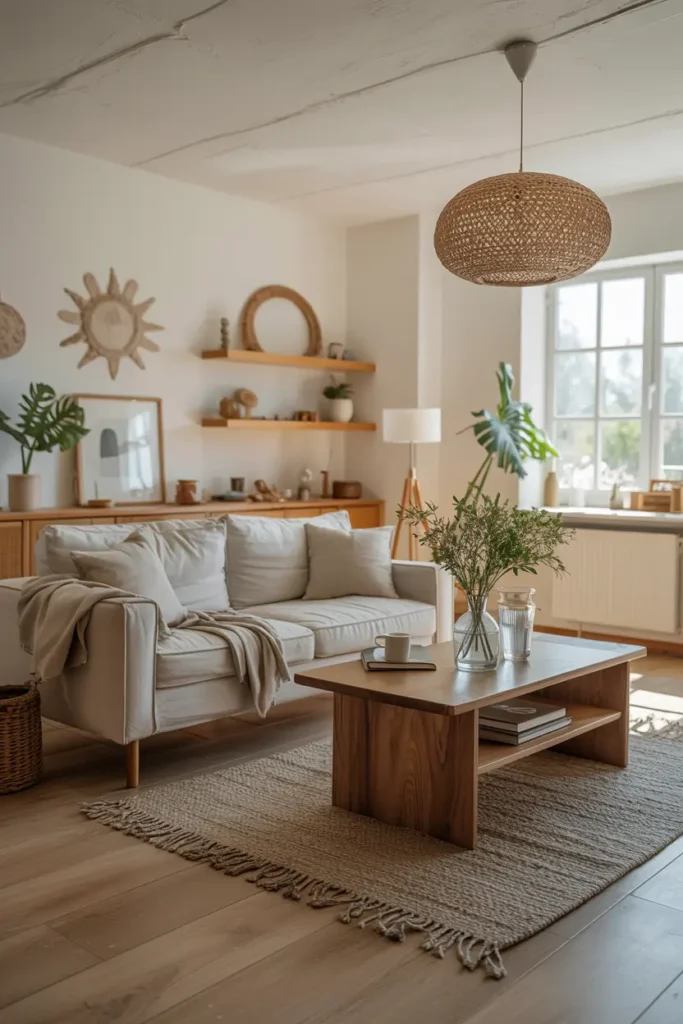
A floating seating arrangement — sofa and chairs on bare floor with no rug — almost always looks adrift, like the furniture is waiting to be delivered. A rug anchors the grouping and defines the zone. Size it so the front legs of every seat sit on the rug: for most living rooms that’s an 8×10, for a small apartment a 5×7. Too small is worse than none.
Budget options that don’t look cheap: flat-weave cotton rugs ($60–$100 for 5×7) and indoor-outdoor rugs that handle spills and pets. If a full-size rug is out of reach, layer a smaller rug over a large, inexpensive jute base — the jute ($40–$60 for 8×10) covers the floor cheaply while the smaller rug on top adds the pattern and color. Keep at least 12 inches of rug extending beyond the coffee table on all sides.
10. Keep Transitions Between Rooms Smooth
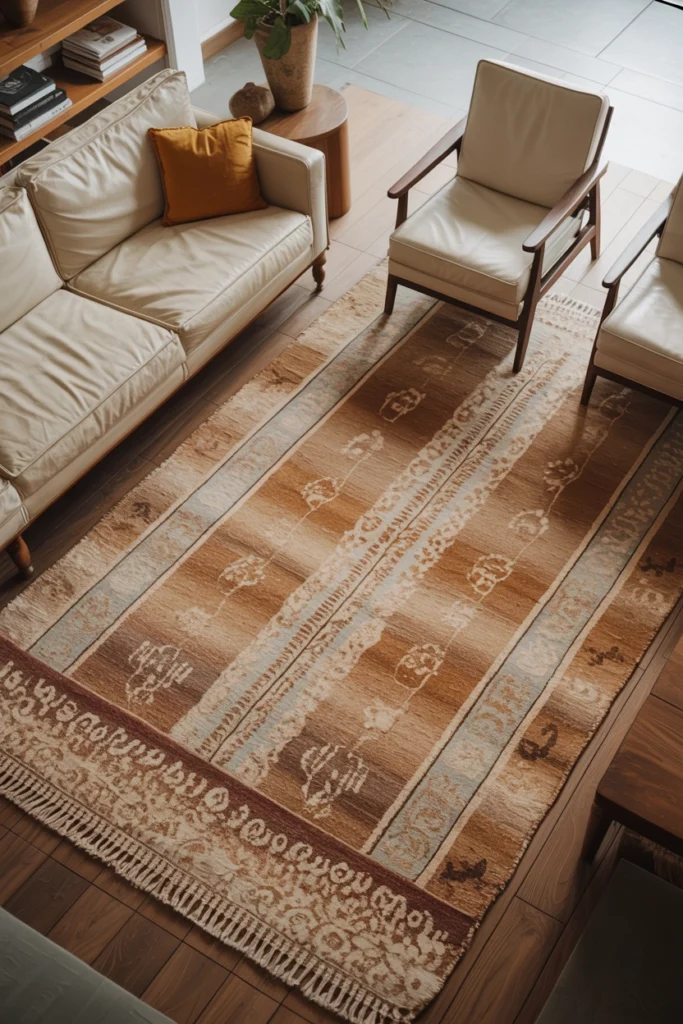
A home feels put together as a whole, not just room by room, and jarring transitions undermine that. You don’t need every room to match, but adjacent rooms should share something — a color, a wood tone, a metal finish. Stand in each doorway and look into the next room; if nothing connects them visually, that’s the gap to fix.
The easiest connector is a repeated accent color carried through textiles: the terracotta throw in the living room echoes in the hallway runner and the kitchen towels. Consistent flooring and matching interior door hardware ($3–$5 per knob) do the rest. Hallways themselves deserve attention — a runner rug and one piece of art turn a corridor from dead space into connective tissue.
11. Bring in Natural Textures to Add Depth
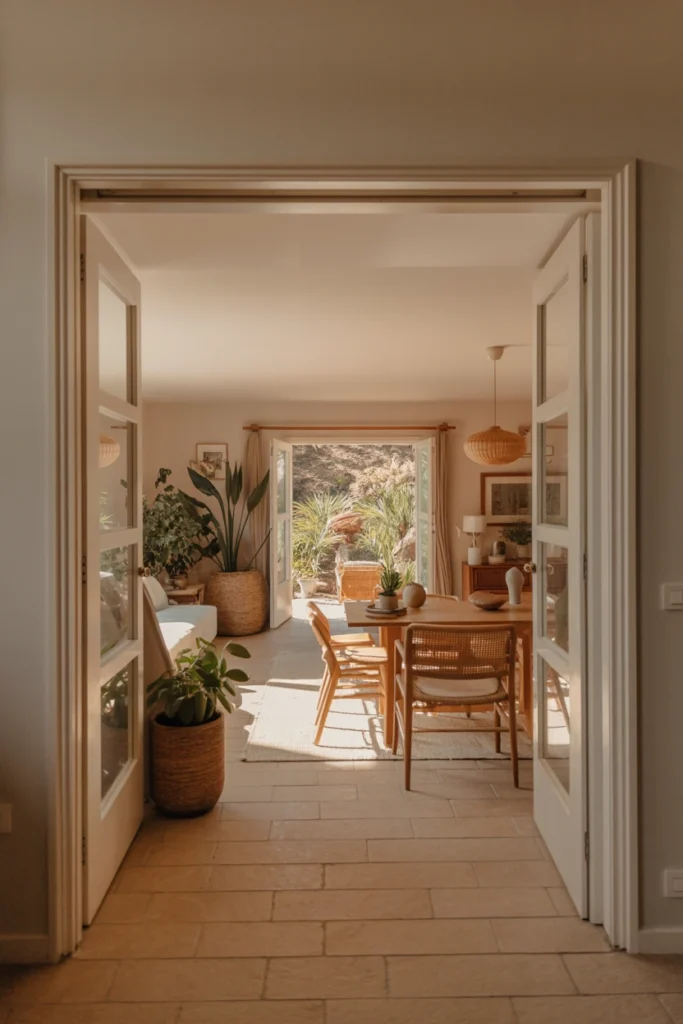
A room where every surface has the same quality — all smooth, all shiny, or all matte — feels one-dimensional, like a rendering instead of a home. Depth comes from mixing textures: nubby wool against smooth leather, rough jute under soft linen, warm wood next to cool stone. You need at least three distinct textures per room for it to feel layered.
Audit your room by touch: run your hand across the sofa, the rug, the curtains, the coffee table. If everything feels the same, add the missing texture for under $25 — a woven basket ($12–$18), a stone or ceramic vase ($10–$15), a chunky knit throw ($20–$30). Texture is what makes neutral rooms interesting without adding a single new color.
12. Style Your Bedroom Like a Hotel
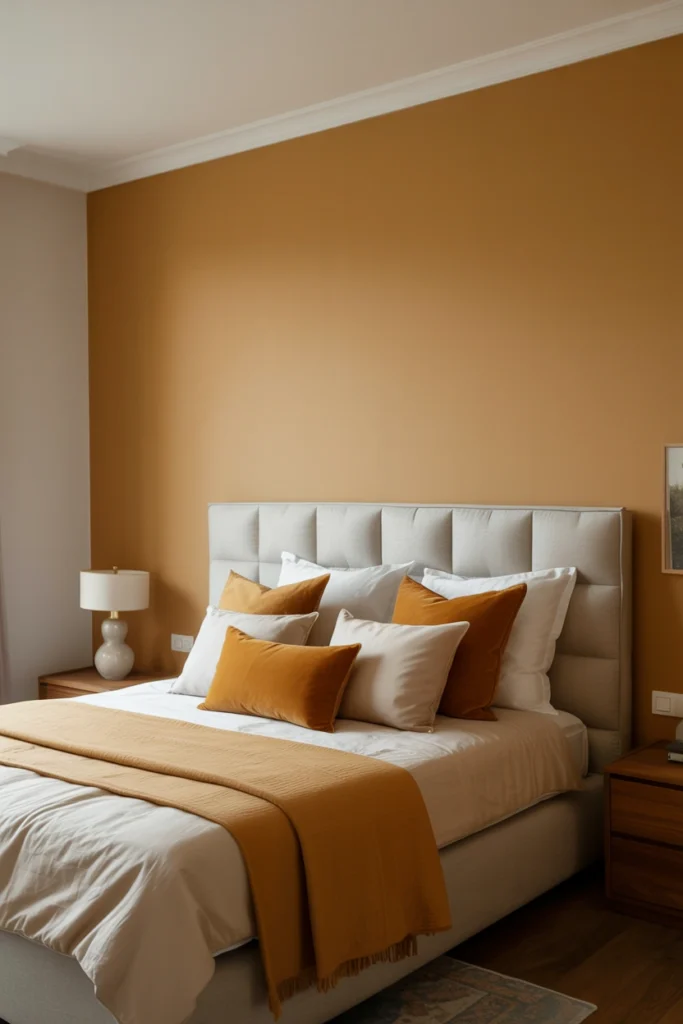
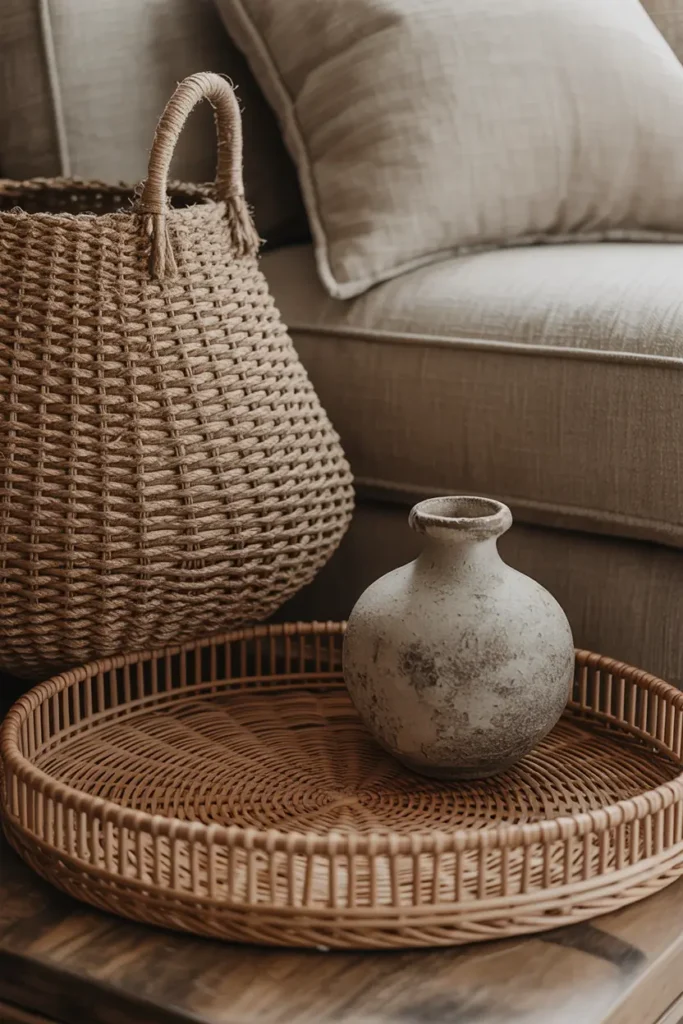
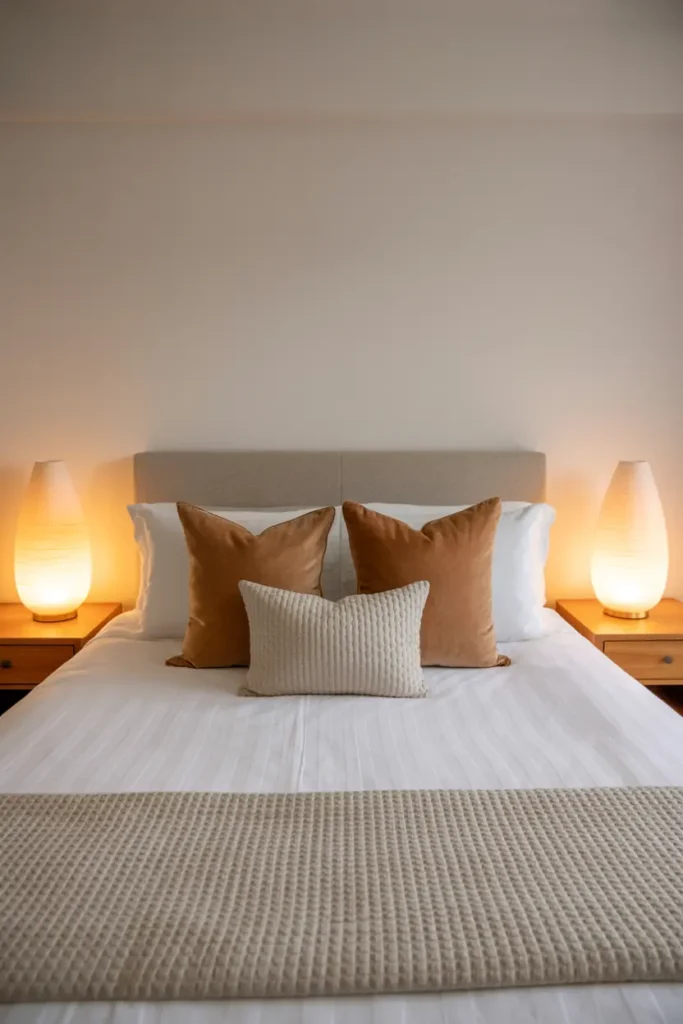
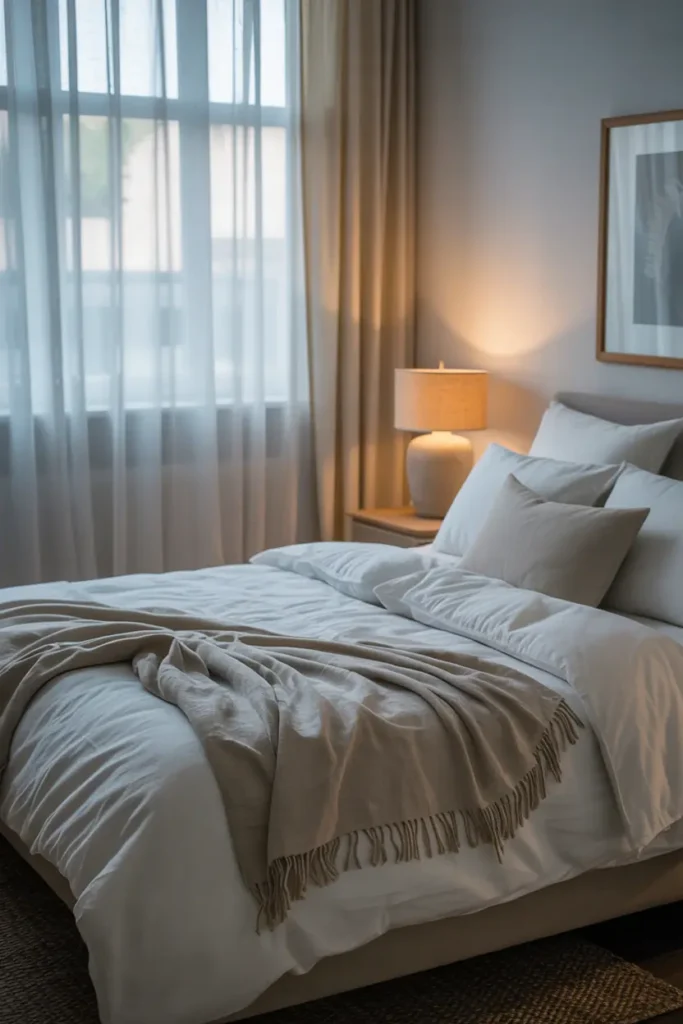
The bedrooms that feel most put together borrow from well-designed hotels, and hotels follow a strict formula. Crisp bedding in white or cream (hotel sheets are white for a reason — they read as clean), two sleeping pillows plus two decorative ones per person, a folded throw across the foot of the bed, and matching nightstands with matching lamps on both sides. Symmetry is the whole trick.
Clear both nightstands to one lamp, one book or small tray, and nothing else — nightstand clutter is what separates a styled bedroom from a real one, and it’s free to fix. A $20–$30 lumbar pillow in front of the sleeping pillows finishes the bed in ten seconds each morning. Keep the palette tight: two colors plus white, no exceptions.
13. Add a Plant to Every Major Room
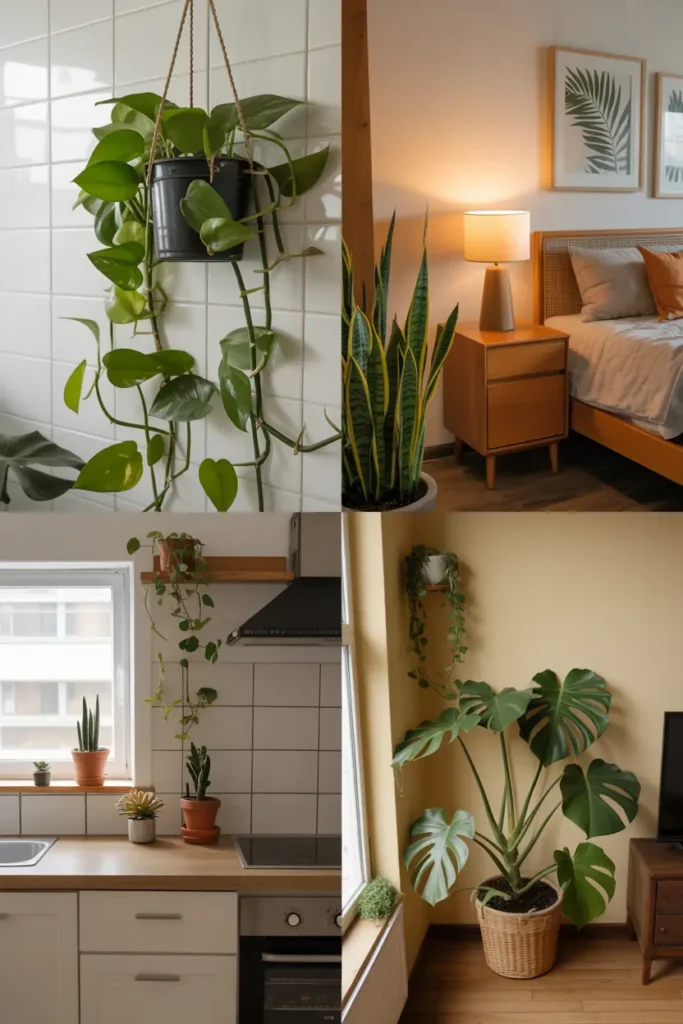
A home where plants appear consistently feels more alive and more cared for than one where they don’t — it’s the difference between a space that’s decorated and a space that’s tended. You don’t need a jungle: one healthy plant per major room is enough. A pothos on a bookshelf, a snake plant in the bedroom corner, a small herb pot in the kitchen. They pair beautifully with pared-back modern styling and cost $8–$15 each.
Match the plant to the light, not to your wishful thinking — that’s the entire skill. Low-light rooms get snake plants, ZZ plants, or pothos; bright windows get herbs or succulents. Buy a $10 moisture meter if you tend to overwater; most houseplants die from kindness, not neglect. One thriving plant beats five struggling ones every time.
14. Edit Your Cushions and Throws With Intention
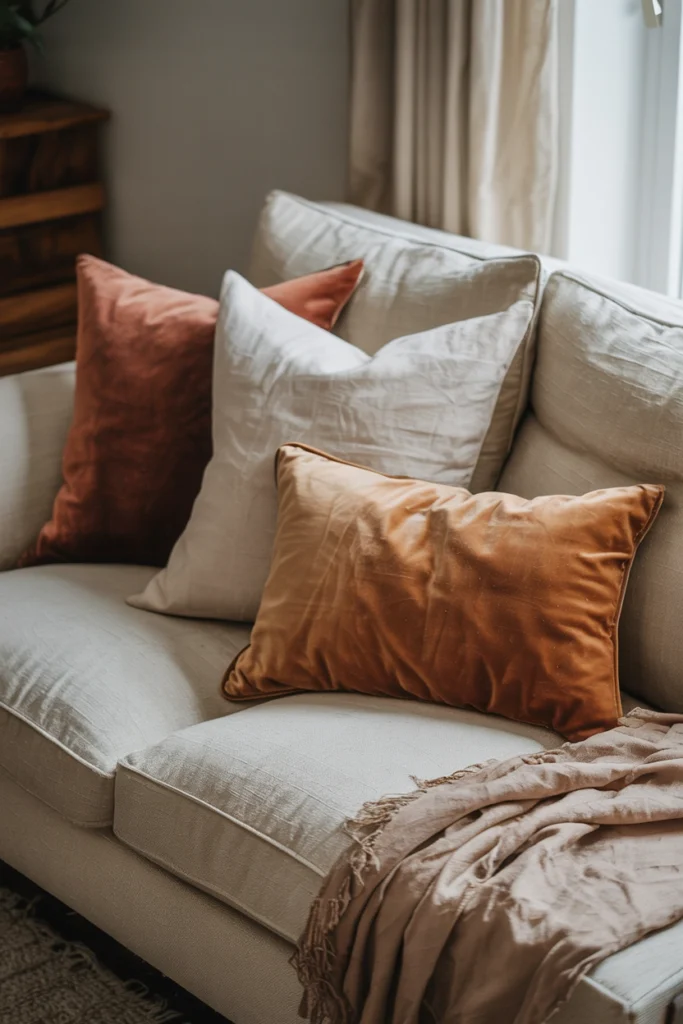
Most sofas are either under-pillowed (sparse, slightly unloved) or over-pillowed (you have to excavate to sit down). The sweet spot for a standard three-seat sofa: five cushions — two 20-inch squares in the back corners, two 18-inch in front of them, one lumbar in the center. Odd numbers, descending sizes, and every cover washable.
Limit yourself to three fabrics across all cushions and throws: one solid, one texture (linen, bouclé, knit), one pattern. This constraint is what makes the arrangement look curated instead of accumulated. Store off-season throws in a lidded basket ($15–$20) rather than draping all of them at once — restraint reads as confidence.
15. Create Visual Flow With Consistent Materials
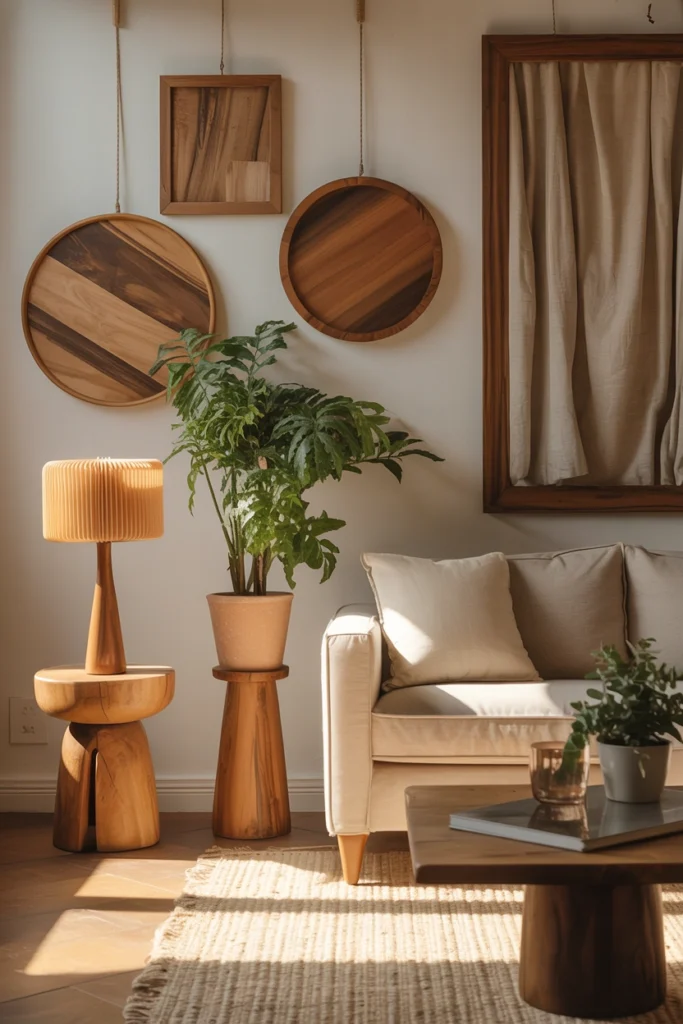
Interior designers repeat one material through a home to create flow — the same oak appearing in the living room shelves, the kitchen cutting boards, and the bedroom frames, or black metal recurring in light fixtures, curtain rods, and cabinet pulls. The repetition is subtle; nobody consciously notices it, but the home feels coherent.
Pick one wood tone and one metal finish and standardize on them as you replace things over time. You don’t need to do it all at once — just stop introducing new finishes. The next time you buy a frame, a hook, or a lamp, match your two chosen materials. Within a year, the house stitches itself together without a single big purchase.
16. Keep Bathroom Surfaces Almost Clear
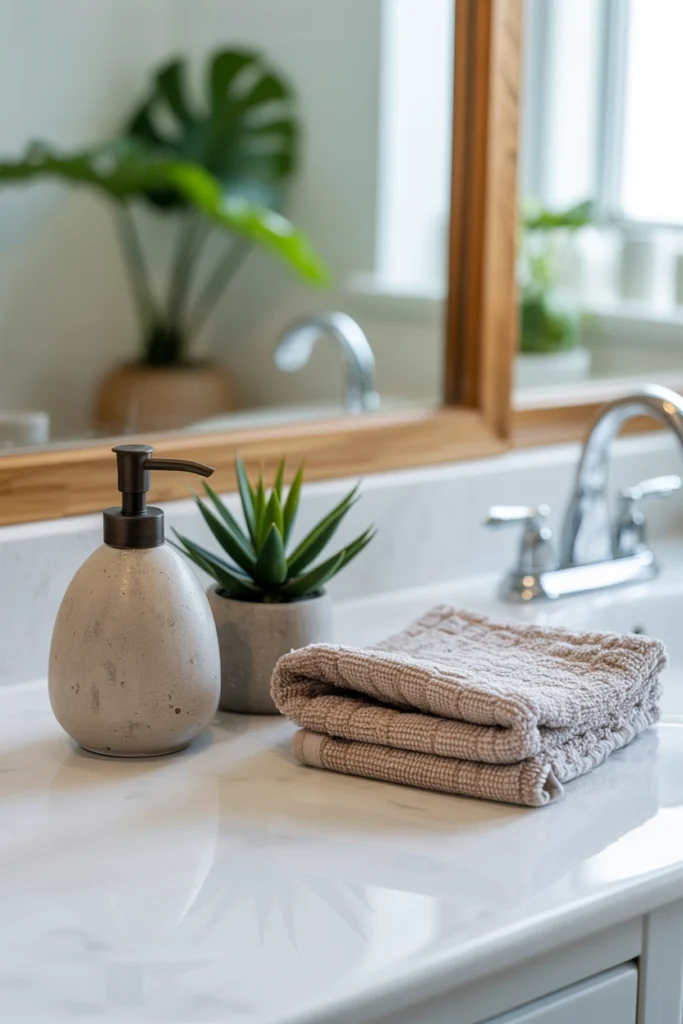
The bathroom is where surface clutter does the most damage, because the room is small and every object is visible. Corral daily products into one tray or caddy ($10–$15) inside a cabinet or on one small section of counter, and put everything else away. The goal: clear counters with one intentional object — a small plant, a rolled hand towel, a candle.
Decant the two or three products you actually use daily into matching dispensers ($12 for a set) — mismatched branded bottles are the bathroom equivalent of visual shouting. Hang towels on hooks instead of draping them over everything, and keep one spare set folded visibly. A bathroom with clear surfaces reads as a spa; the same bathroom cluttered reads as a chore.
17. Use Curtains to Frame Rather Than Just Cover Windows
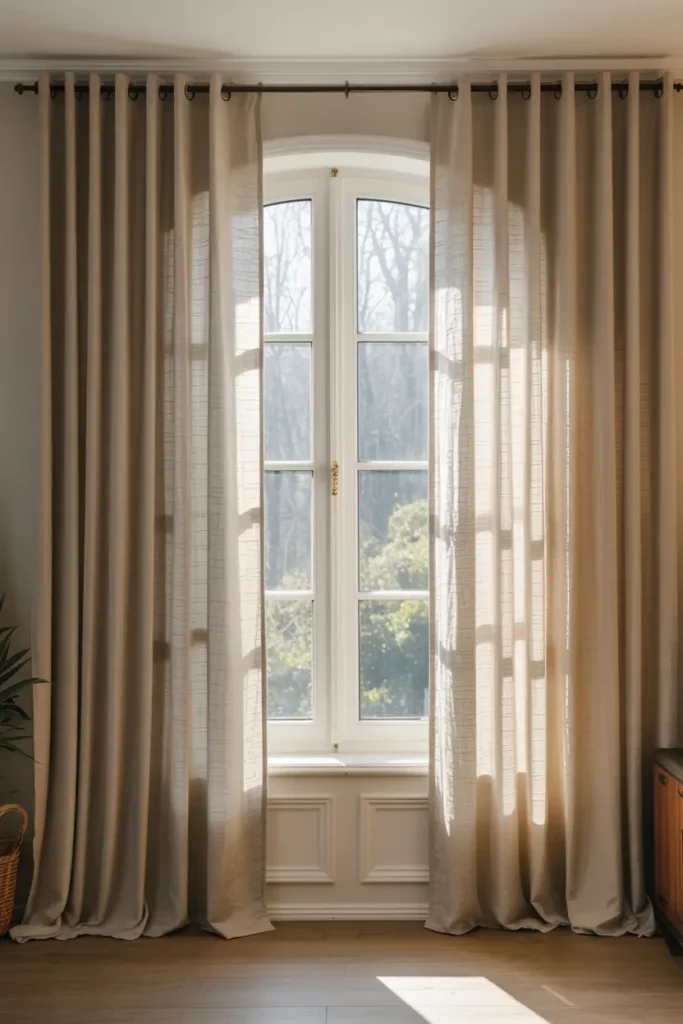
Most people hang curtains purely for privacy, mounting the rod right at the window frame with panels that barely cover the glass. Hung that way, curtains shrink the window. Instead, mount the rod 4–6 inches above the frame and extend it 8–12 inches beyond each side, then use panels wide enough to cover the full extended rod — the window looks dramatically larger and the light feels more generous.
Curtain panels should just kiss the floor — hemmed to 1 inch above or barely grazing it; high-water curtains are an instant unfinished signal. Budget linen-look panels run $20–$30 per pair. Hang them with the rod’s finials as the finished edge and steam out the packaging creases before judging the result — wrinkled new curtains fool everyone into thinking they bought the wrong ones.
18. Introduce One Statement Object Per Room
A room full of similarly sized, similarly weighted objects feels flat — everything competes, nothing wins. One statement object per room fixes this: an oversized piece of art, a sculptural floor lamp, a bold armchair, a dramatic plant. It should be the largest or most visually heavy thing in the room by a clear margin.
The statement object doesn’t have to be expensive — scale is what makes it work, not price. A $30 thrifted chair in a bold color, a $25 large-scale print in an IKEA frame, a $20 oversized branch in a floor vase. Place it where the eye lands on entry, then quiet everything around it. One star per room; the rest of the cast supports.
19. Finish Every Corner With Purpose
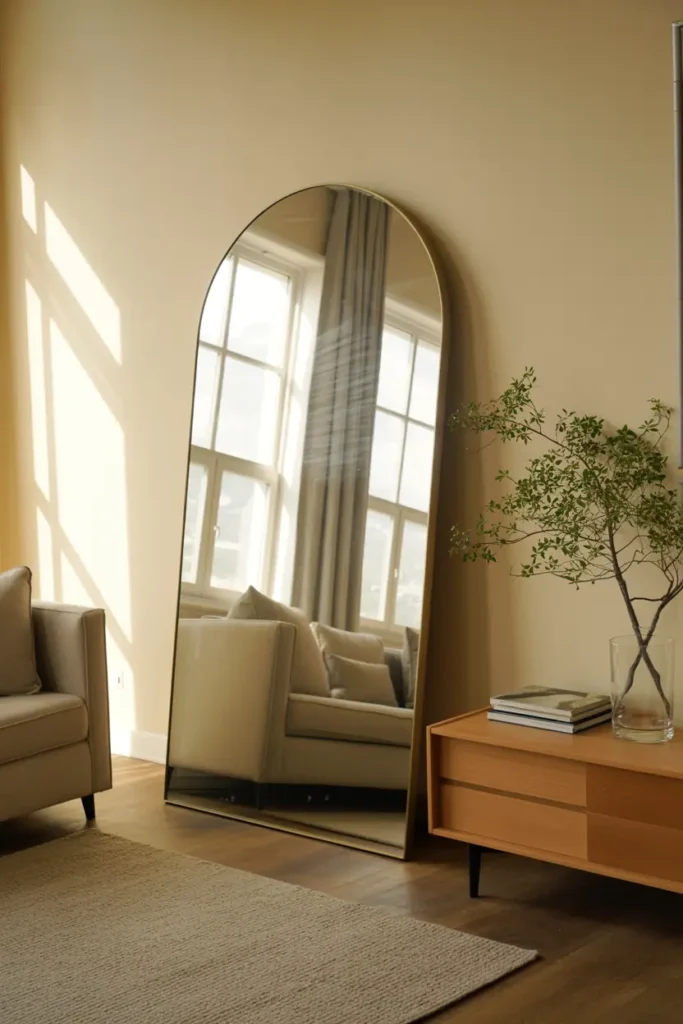
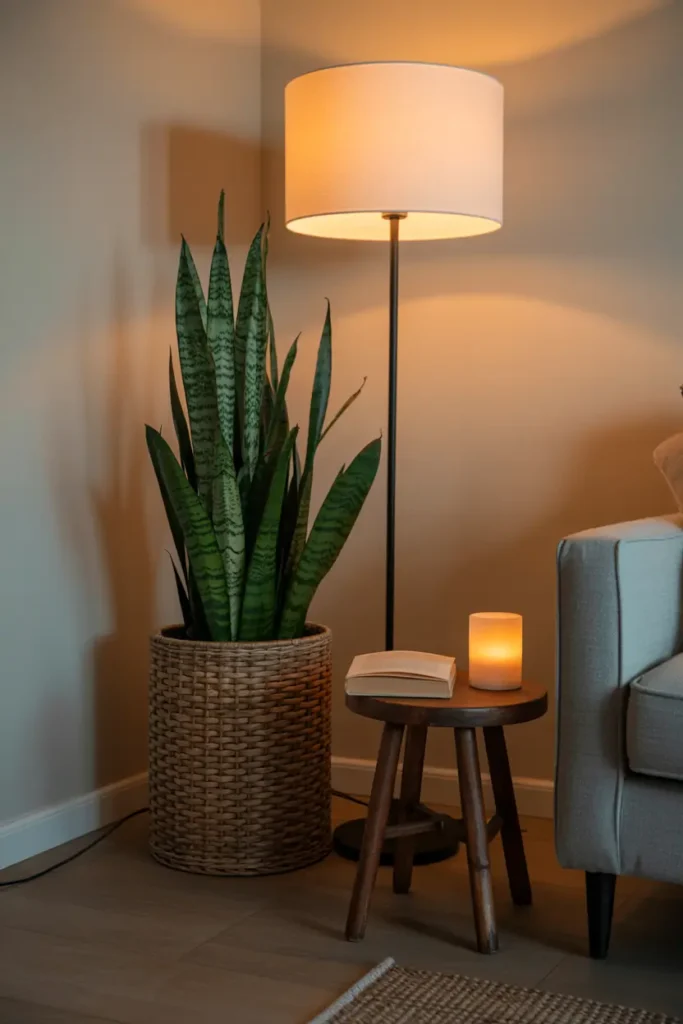
Dead corners are the most reliable sign a room wasn’t fully thought through — they collect dust, stray cables, and that chair nobody sits in. Every corner needs a job: a floor plant, a small reading chair with a lamp, a tall bookshelf, a leaning mirror. Walk each room and stand in its corners; if you’re standing in nowhere, that’s the corner to fix.
Corners also hide the ugly infrastructure: a $15 cord cover raceway tames the cable nest behind the TV corner, and a tall plant in a $20 basket disguises the router and its blinking lights. A finished corner doesn’t have to be elaborate — it just has to look like someone made a decision there.
20. Make the Bed Every Single Morning
This final idea costs nothing and takes three minutes, and its effect on how put together a bedroom feels is wildly disproportionate. An unmade bed makes the entire room look undone no matter what else you’ve styled; a made bed makes even a modest room look intentional. It’s the highest ROI habit in home decor.
Make it frictionless: keep the decorative pillows in a fixed order you can replicate blindfolded, use a duvet instead of a top sheet plus blanket (one layer to straighten instead of two), and shake the pillows instead of fussing. Three minutes, every morning, no exceptions — guests judge bedrooms by the bed, and so do you, subconsciously, every time you walk in.
A put-together home is not a shopping project; it’s a series of small decisions made consistently. Start with the free ones — declutter, lower your art to 57 inches, make the bed — and you’ll see the shift before you spend a dollar. Then let the $30 fixes (warm bulbs, a rug that actually fits, matching frames) compound the effect. Finish one room completely, live with it for a week, and let it teach you what the next room needs.
Pro Tips
- Photograph each room on your phone before you start. The camera reveals clutter, bad proportions, and awkward heights your eyes have normalized — use the photo as your to-fix list.
- Apply the “one in, one out” rule going forward: every new decor item that enters means one leaves. This is how rooms stay finished instead of slowly reverting to cluttered.
- Do the free fixes first in every room — declutter, rearrange, rehang at 57 inches, reset surfaces to three elements. Spend money only on what’s still missing after that pass.
- Keep a running “home list” on your phone of your color story, wood tone, and metal finish per room. Checking it before any purchase prevents the slow drift that un-does put-together rooms.
FAQs
I’m renting and can’t paint or drill much. Can my place still feel put together?
Absolutely — most of these rules don’t touch the walls permanently. Lean mirrors instead of hanging them, use peel-and-stick hooks rated for the actual weight, style surfaces with the rule of three, layer warm lighting with plug-in lamps, and add rugs and plants. Renters who follow the editing rules consistently look more finished than owners who just buy more stuff.
How long does it realistically take to get a room feeling finished?
One focused weekend per room is realistic if you start with decluttering. Day one: empty every surface, clean, and return only what earns its place. Day two: rehang art at 57 inches, reset surfaces to three elements, and fix the lighting. The shopping — a rug, frames, storage — can happen gradually over the following weeks without undoing the progress.
What’s the biggest mistake people make when trying to look “put together”?
Buying decor before decluttering. New objects layered over existing clutter just create more expensive-looking clutter. The order is fixed: remove first, then rearrange what remains, then — and only then — identify the two or three genuine gaps worth spending money on. Almost everyone discovers they need to buy far less than they expected.
My partner and I have totally different taste. How do we agree on a color story?
Each person picks their one non-negotiable color, then build the three-color story around both — they become the secondary and accent, with a shared neutral as the dominant 60%. Agreeing on the palette first, before any shopping trip, turns taste debates into a simple checklist question: “Is it one of our three colors?” That one question resolves 90% of decorating arguments.

HowDecor is a home decor blog sharing simple, practical decorating ideas for everyday spaces. We believe a beautiful home should feel comfortable, personal, and full of warmth — and that great style does not require a huge budget. Our goal is to inspire readers to create spaces that feel peaceful, welcoming, and truly their own — one room at a time.