A peninsula is the compromise most kitchens actually need: the extra worktop, storage, and seating of an island, without the floor space an island demands. I’ve planned peninsulas for galley kitchens, open-plan barn conversions, and everything between — and the difference between a peninsula that works and one that just takes up room comes down to centimetres.
These 25 ideas cover every peninsula decision worth making: dimensions, seating, storage, materials, lighting, and the styles that suit them. Measure your room before you fall in love with any of them — a peninsula lives or dies on clearance.
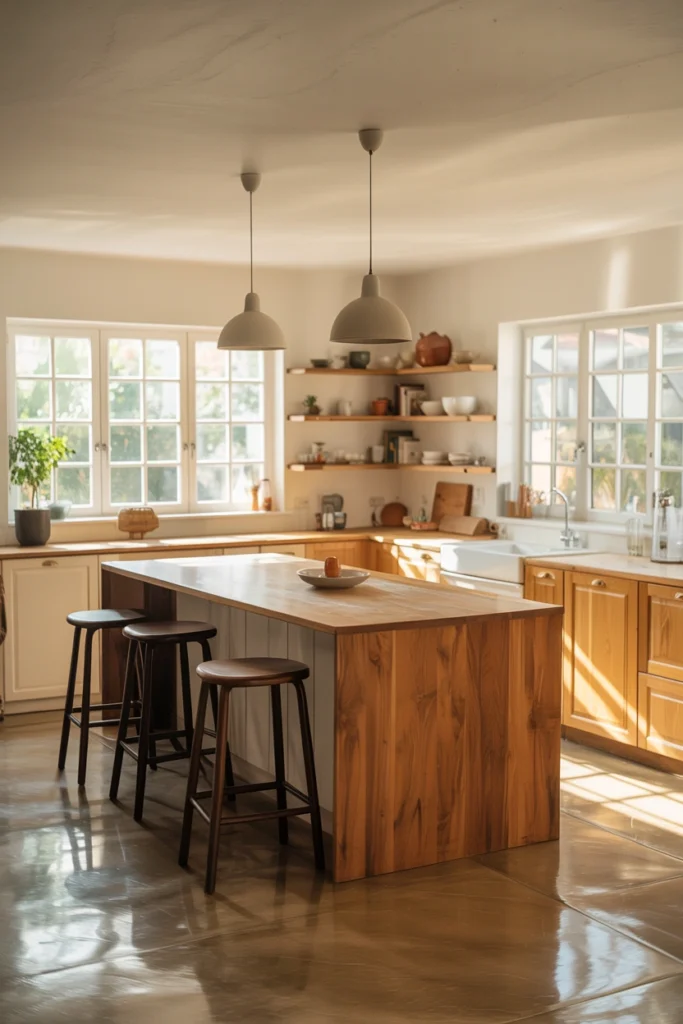
1. The Classic L-Shaped Peninsula
The L-shaped peninsula — one run of cabinets turning 90 degrees into the room — is the original and still the most space-efficient. It needs just one new cabinet run instead of a freestanding island, which means lower cost and simpler plumbing and electrics. Allow 90cm minimum clearance on the open side; 100–110cm if two people will pass.
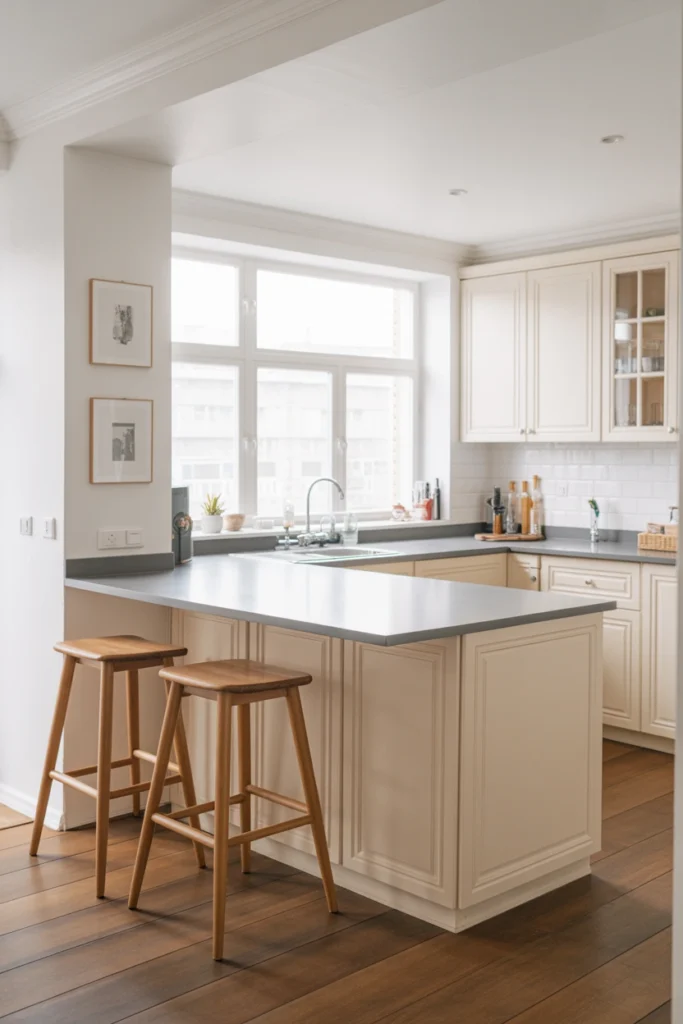
2. Peninsula With Breakfast Bar Seating
Extending the worktop 30cm beyond the cabinet base creates a breakfast bar that seats two or three on stools. The overhang is non-negotiable — without 30cm of knee space, adults perch sideways and children swing their legs against the cabinets. Support overhangs over 30cm with steel brackets; stone overhangs over 35cm need corbels or a support leg.
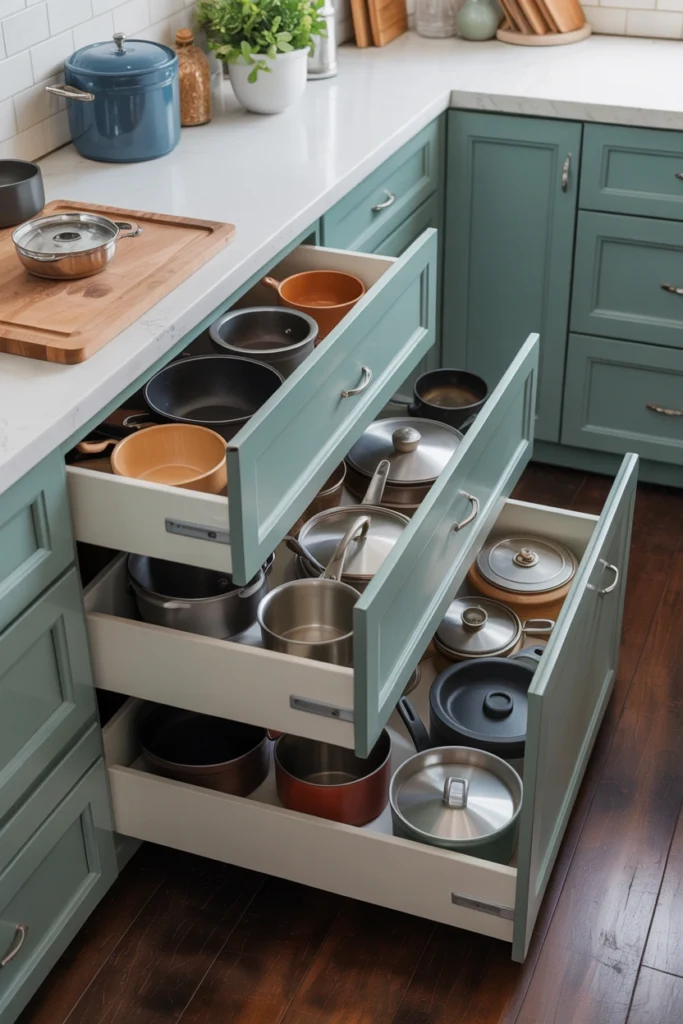
3. Storage-Heavy Peninsula With Deep Drawers
The peninsula’s hidden superpower is storage volume: a 2.4m peninsula holds six to eight deep drawers, each swallowing what two shelves used to hold. Fit pan drawers (minimum 60cm wide) on the kitchen side and shallower drawers on the seating side for placemats and serving pieces. Deep drawers beat cupboards everywhere — you see everything, you reach everything.
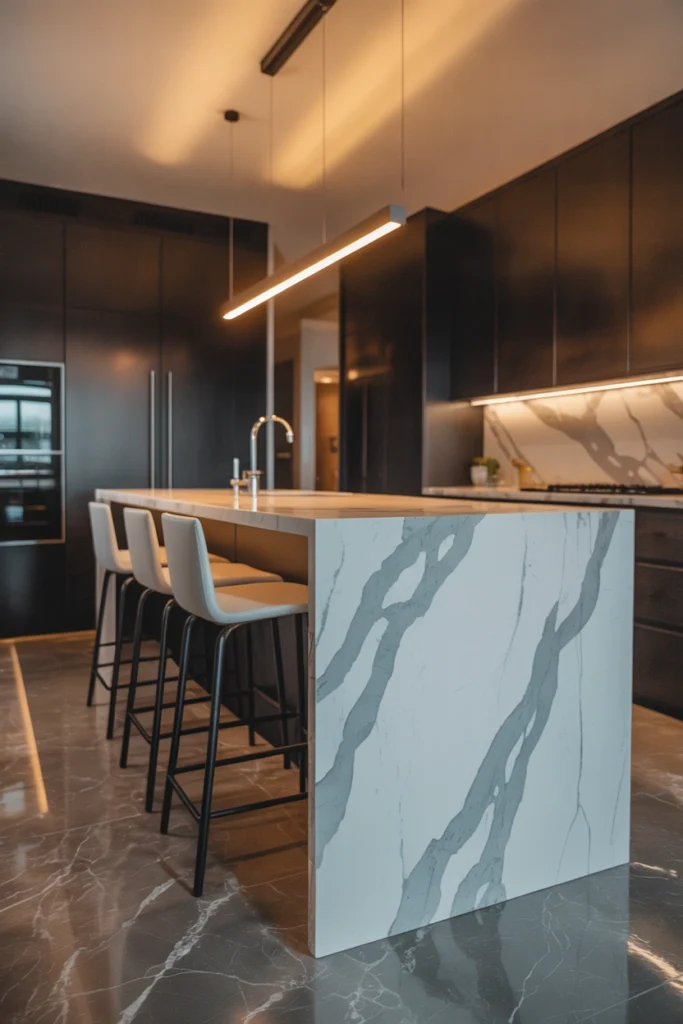
4. Waterfall Edge Peninsula
A waterfall edge — the worktop material continuing down the end panel to the floor — turns a peninsula into a piece of furniture. It works best with dramatic stone; the continuous veining down the side is the whole point. Budget for it honestly: a waterfall end typically adds 40–60% to the worktop cost of the peninsula, and the mitred joint needs a skilled fabricator.
5. Peninsula With Open Shelving on One Side
Open shelves on the living-room side of the peninsula display the beautiful things while the kitchen side stays hardworking. It’s the public face of the peninsula — style it like a sideboard, not a pantry. Two shelves maximum; more starts looking like storage rather than display, and the peninsula starts reading as a wall.
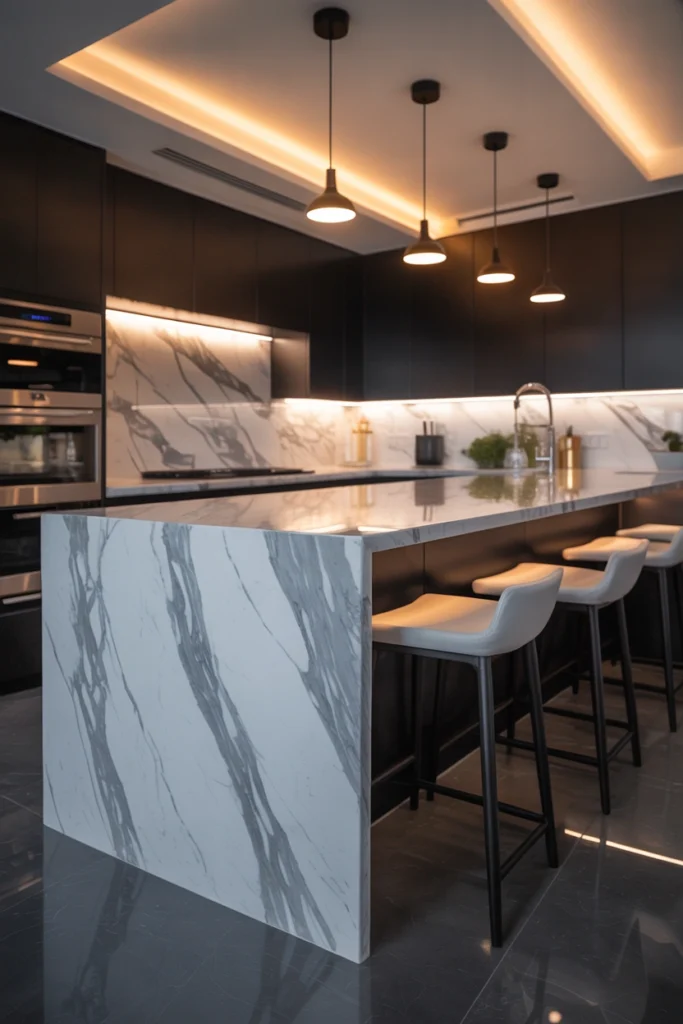
6. Two-Tone Peninsula Design
Painting the peninsula a different colour from the main run — navy, forest green, charcoal — makes it read as furniture rather than fitted kitchen. It’s the cheapest way to get a “designed” look: one tin of paint and the peninsula becomes the room’s focal point. Keep the worktop consistent with the main run so the two elements still belong together.
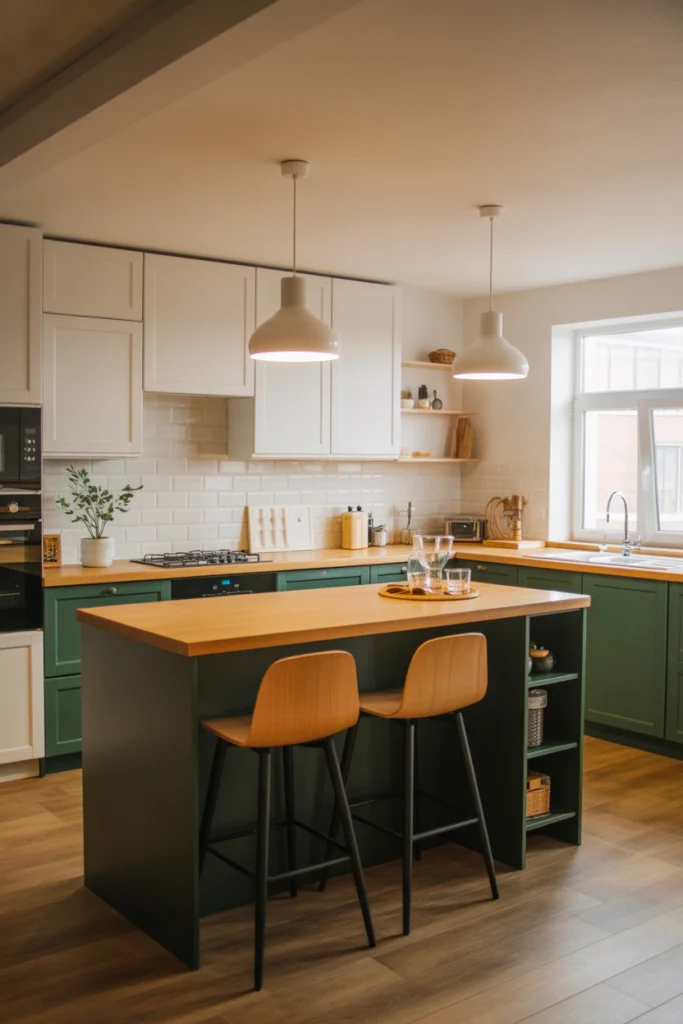
7. Peninsula as a Room Divider
In open-plan spaces, the peninsula is the gentlest room divider available — it marks “kitchen ends here” without a wall, a step, or a change in ceiling height. Position it where the cooking zone naturally ends, usually 3–4m from the main run. It zones the space while keeping sightlines open, which is exactly what open-plan living needs.
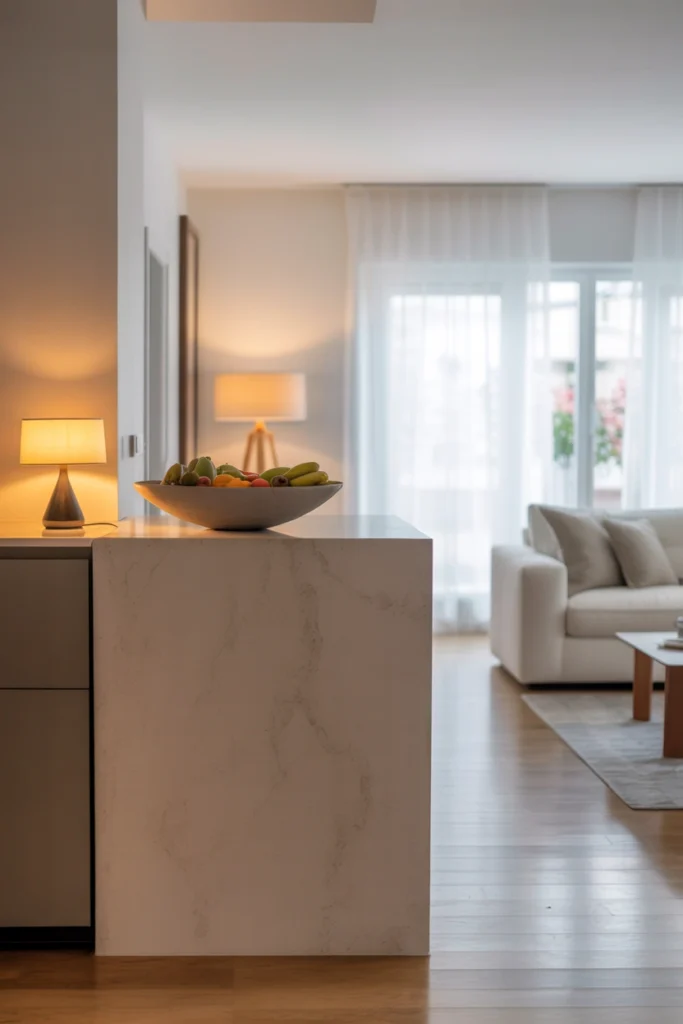
8. Small Peninsula for Compact Kitchens
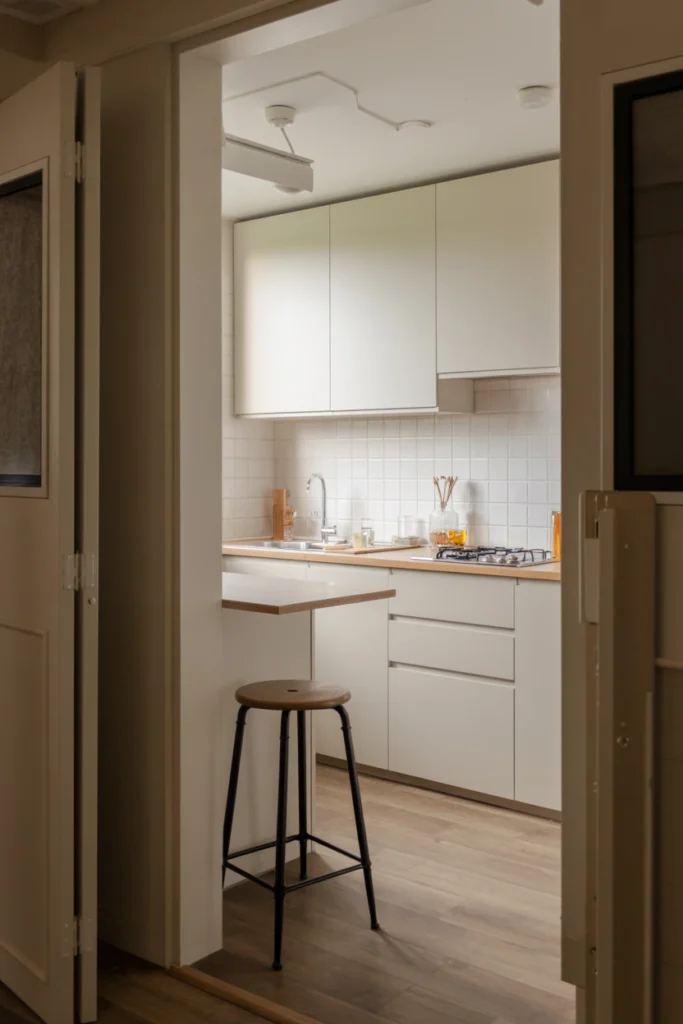
Even a 120cm peninsula transforms a small kitchen — that’s two extra wall units of storage and seating for two. In compact rooms, keep it narrow (60cm deep, not 90cm) and skip the overhang; use the end for a pull-out bin or tray storage instead. Every centimetre in a small kitchen has to justify itself twice.
9. Peninsula With Built-In Wine Rack
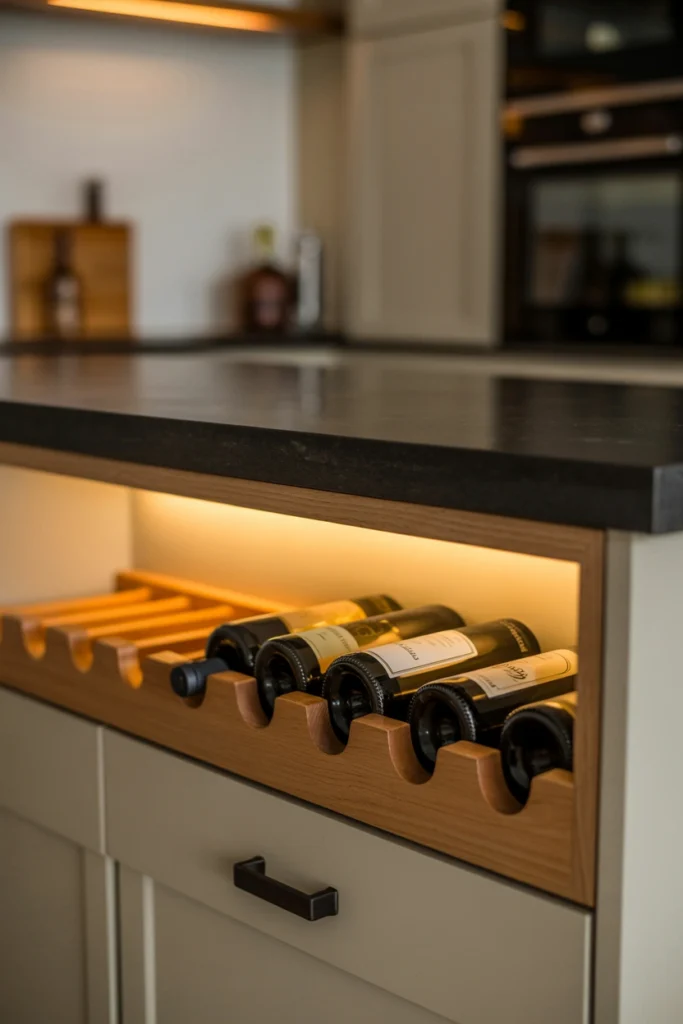
A wine rack in the peninsula end panel uses dead space beautifully — the 15cm-deep end of a peninsula fits a lattice rack perfectly. Store bottles horizontally (corks stay wet), away from the oven’s heat, and keep it to the bottles you actually drink. A 24-bottle rack that’s always half-empty looks sad; a 12-bottle rack that’s full looks intentional.
10. Concrete Top Peninsula
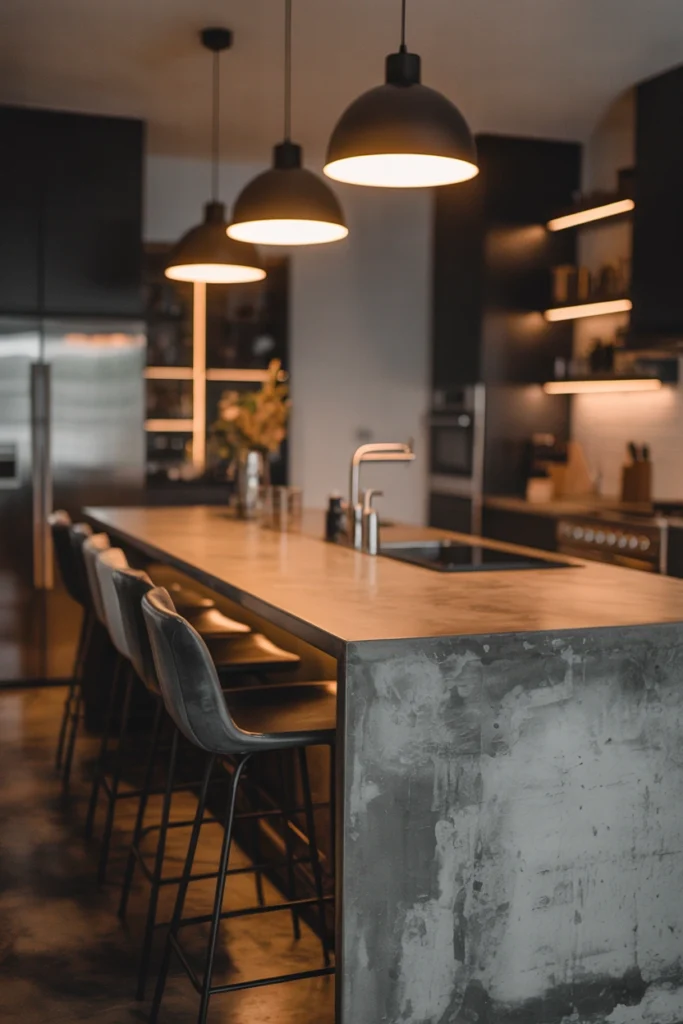
A cast concrete top gives a peninsula an industrial, crafted feel that timber and stone can’t. It’s heavy — 90kg+ for a 2.4m top — so the base needs to be built for it, and it needs sealing annually. But nothing else feels quite like it: cool, matte, and completely unique, since no two pours are identical.
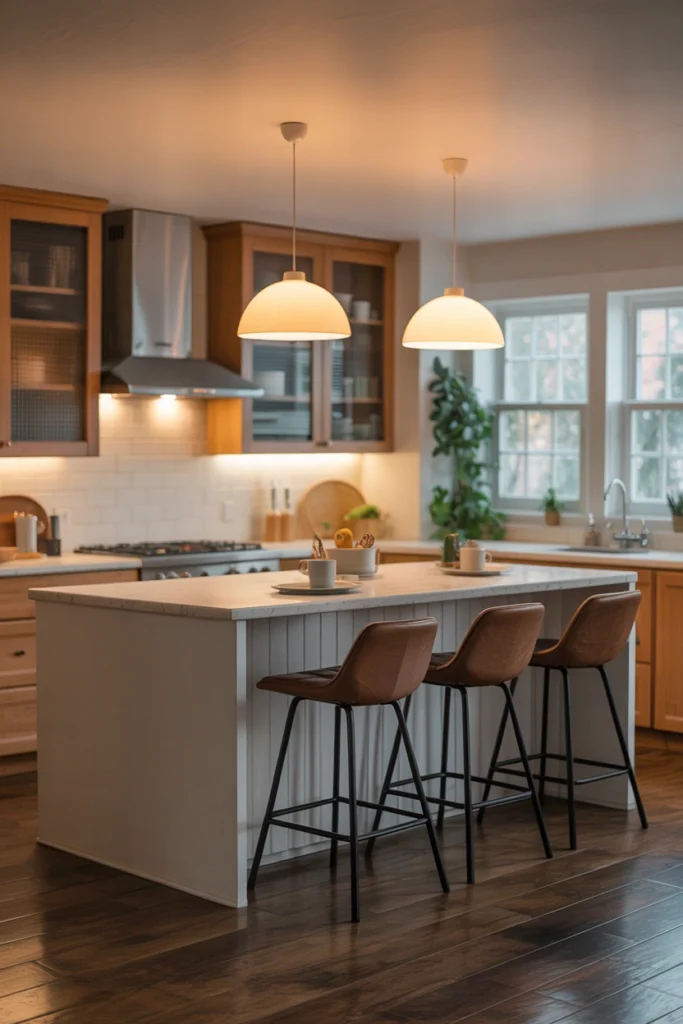
11. Peninsula With Pendant Lighting
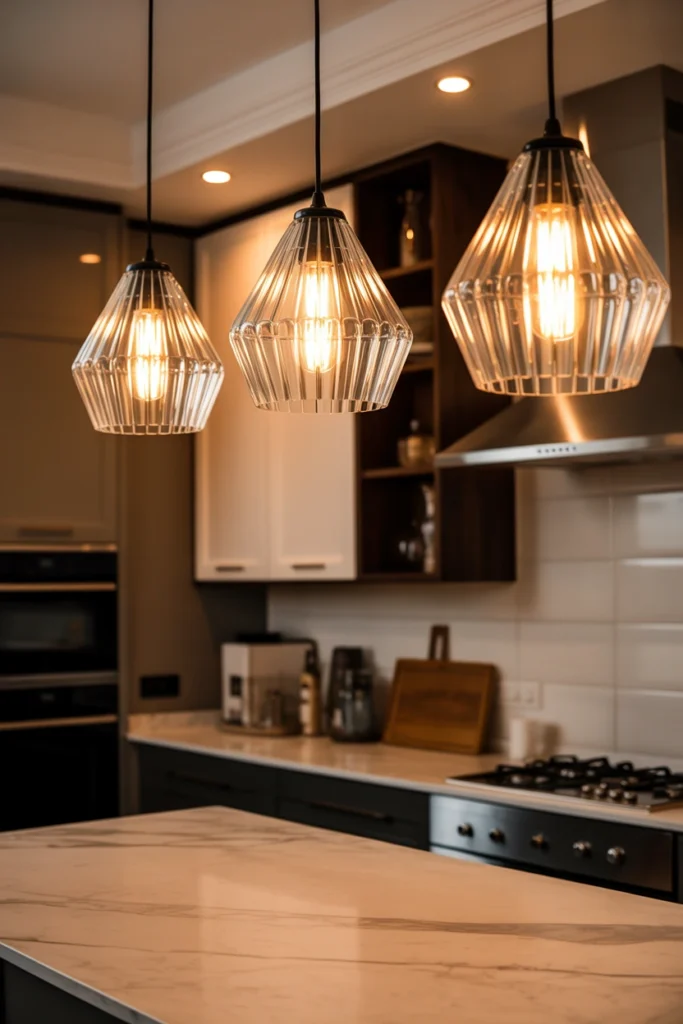
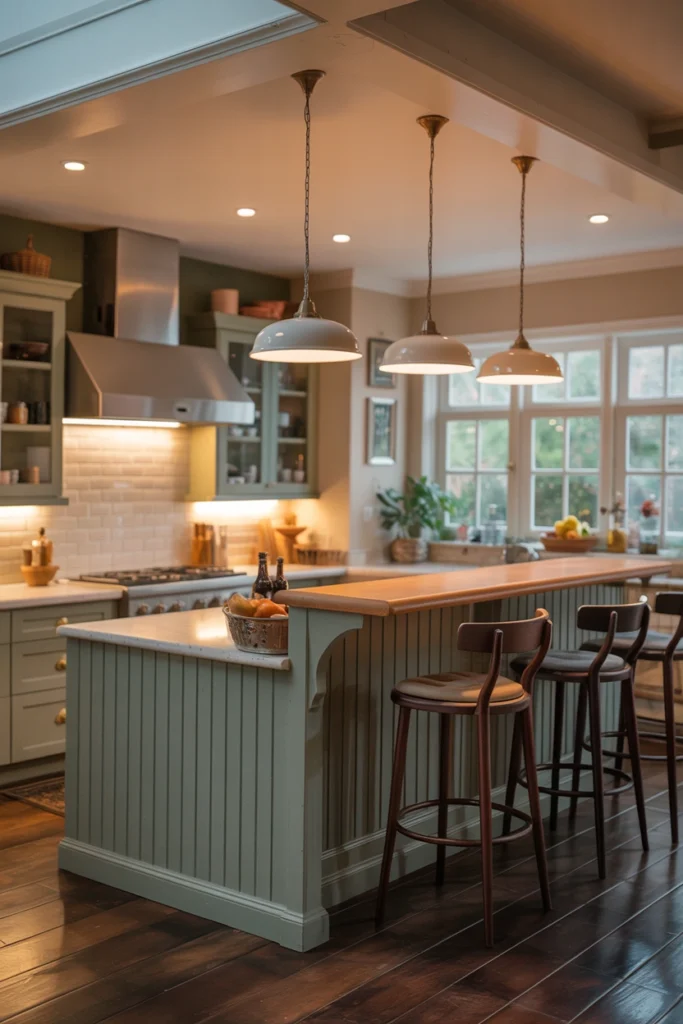
Three small pendants or two large ones over the peninsula mark it as the room’s social centre. Hang them 75–90cm above the worktop — lower feels intimate, higher feels airy — and put them on a dimmer separate from the task lighting. The peninsula at half-light while the main run stays bright is the setting every dinner party needs.
12. Kid-Friendly Peninsula With Lower Counter Section
Dropping one 60–80cm section of the peninsula to 75cm table height creates a kid zone for homework, baking, and colouring — at a height children can actually use. It also gives the peninsula a stepped profile that looks designed rather than improvised. The lower section needs its own support; don’t cantilever it off the main structure.
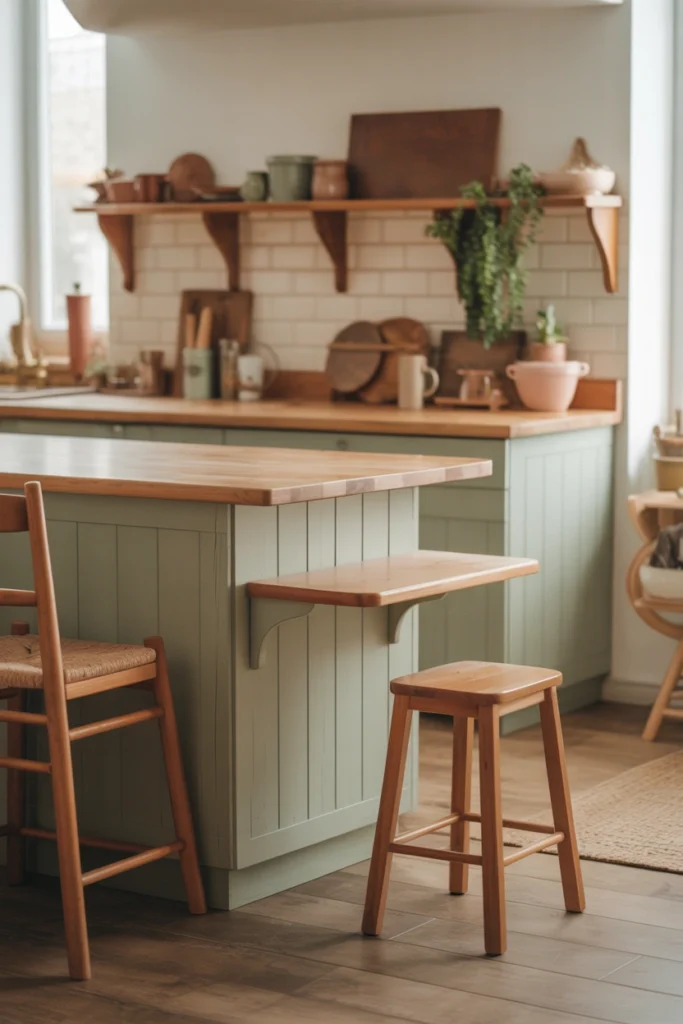
13. Peninsula With Integrated Sink
Putting the sink in the peninsula faces the cook toward the room instead of the wall — a genuine quality-of-life upgrade for anyone who cooks while family life happens around them. It needs the plumbing run extended (budget £300–600 for the pipework), a waterproof worktop, and honest thought about splashing: the seating side will get spray, so keep stools 40cm back from the sink edge.
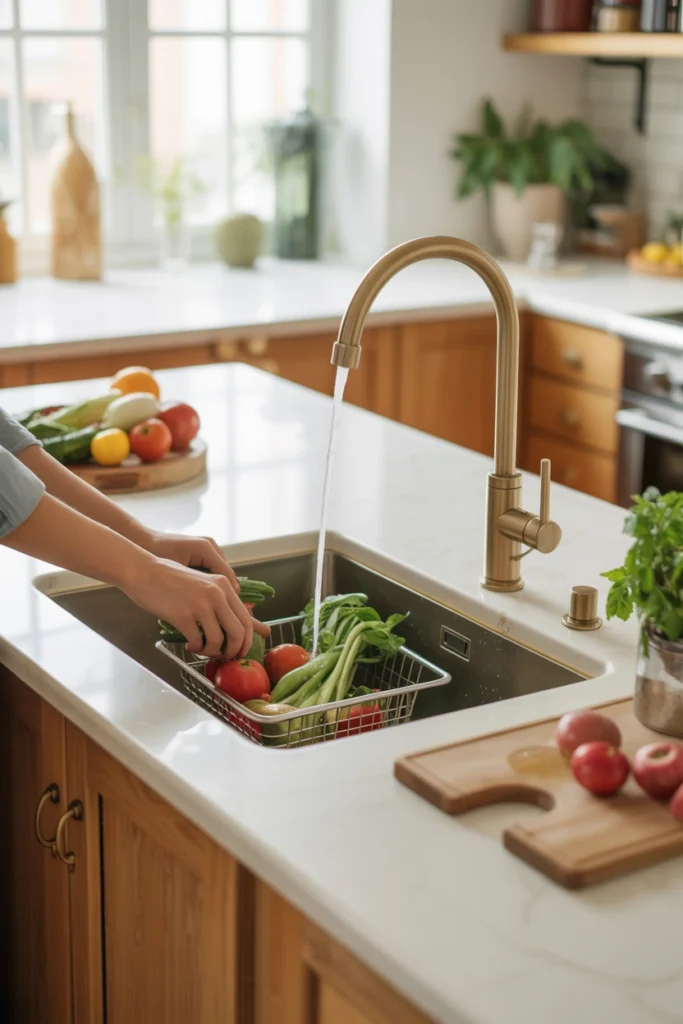
14. Rustic Wood Peninsula
A chunky timber peninsula — reclaimed beams, rough-sawn oak, a live edge — brings the countryside into any kitchen. It’s the antithesis of the sleek fitted kitchen, and that’s the point: one honest rustic piece among refined cabinetry gives the room soul. Seal it properly for kitchen use; rustic doesn’t mean unprotected.
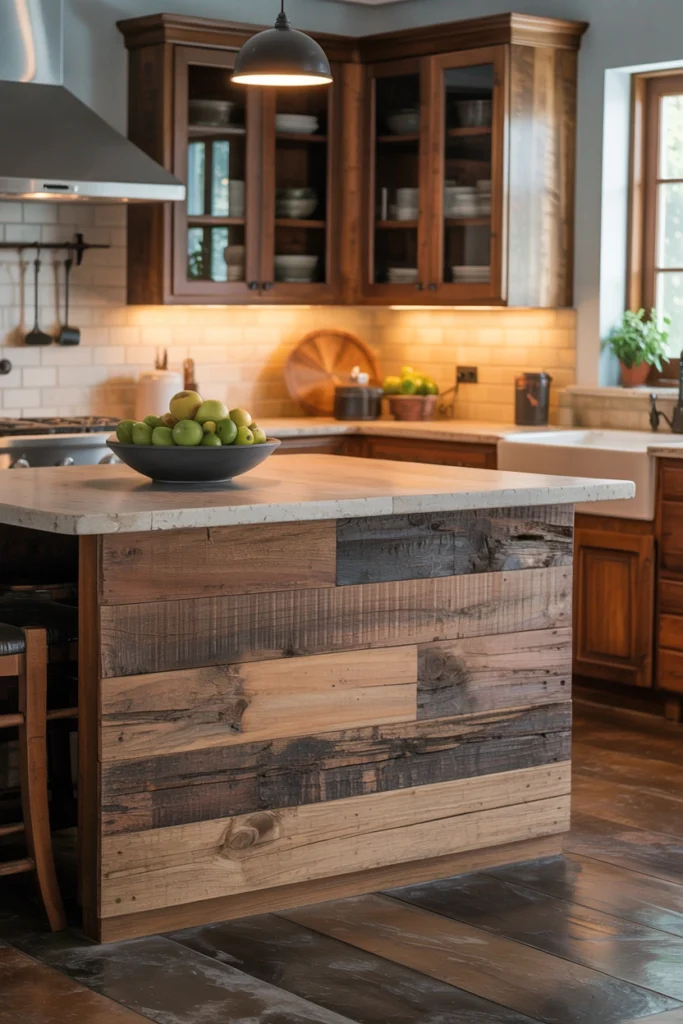
15. Peninsula With Charging Station
A pop-up socket tower or a flush-fit charging drawer in the peninsula ends the era of phones charging on the worktop among the vegetables. Fit USB-C plus two 13A sockets; anything less is obsolete already. Position it at the seating end, not the cooking end — chargers and splashing pans are natural enemies.
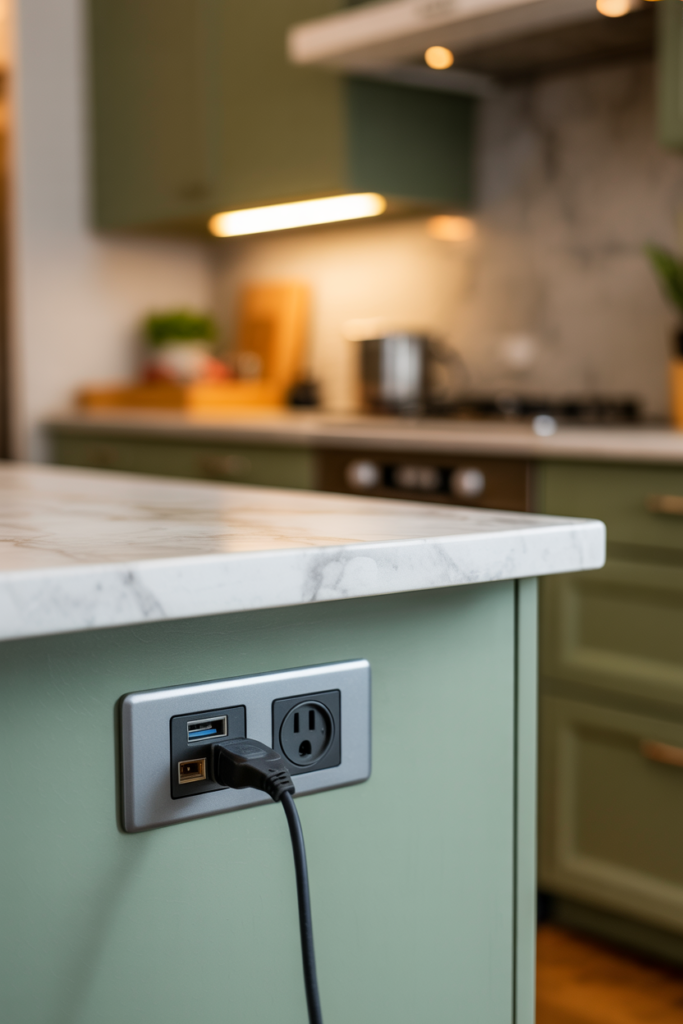
16. Dark and Moody Peninsula
A dark peninsula — charcoal, navy, black-green — in a pale kitchen is the exclamation mark the room needs. Dark colours recede visually, so paradoxically a dark peninsula can make a room feel larger by giving the eye a distant point. Keep the worktop pale for the contrast that makes it work, and light it warmly.
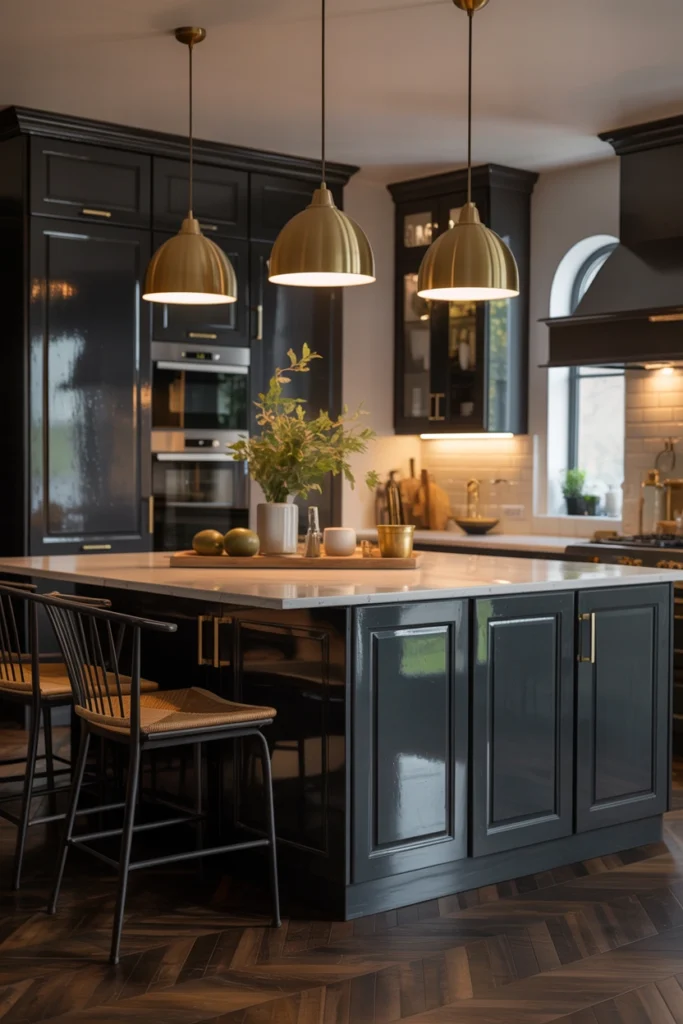
17. Peninsula With Seating on Two Sides
Seating on both the end and the long side of the peninsula seats four to five and turns it into a genuine social hub. It needs space — 90cm clearance on both seating sides plus the overhang — so this is a larger-kitchen move. The two-sided arrangement means nobody has their back to the room, which is why it works so well for entertaining.
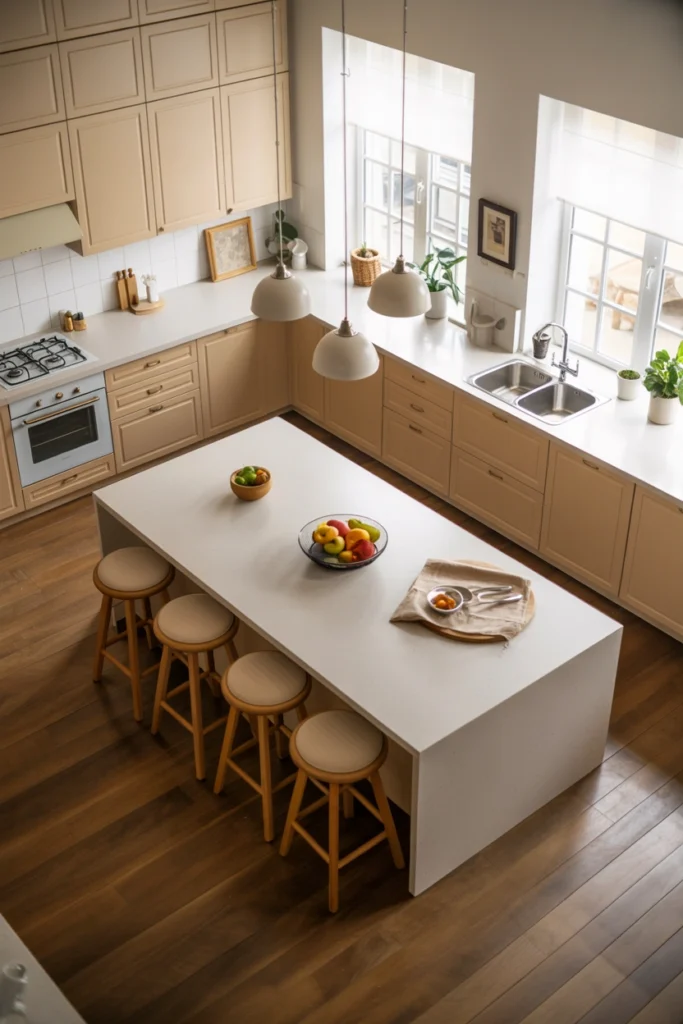
18. Curved Peninsula Design
A curved end on the peninsula softens the whole kitchen — no sharp corner to catch hips, better flow around the end, and a sculptural quality straight runs can’t match. It costs more (curved doors and worktops are bespoke), but in a family kitchen the absence of a corner to collide with pays back daily.
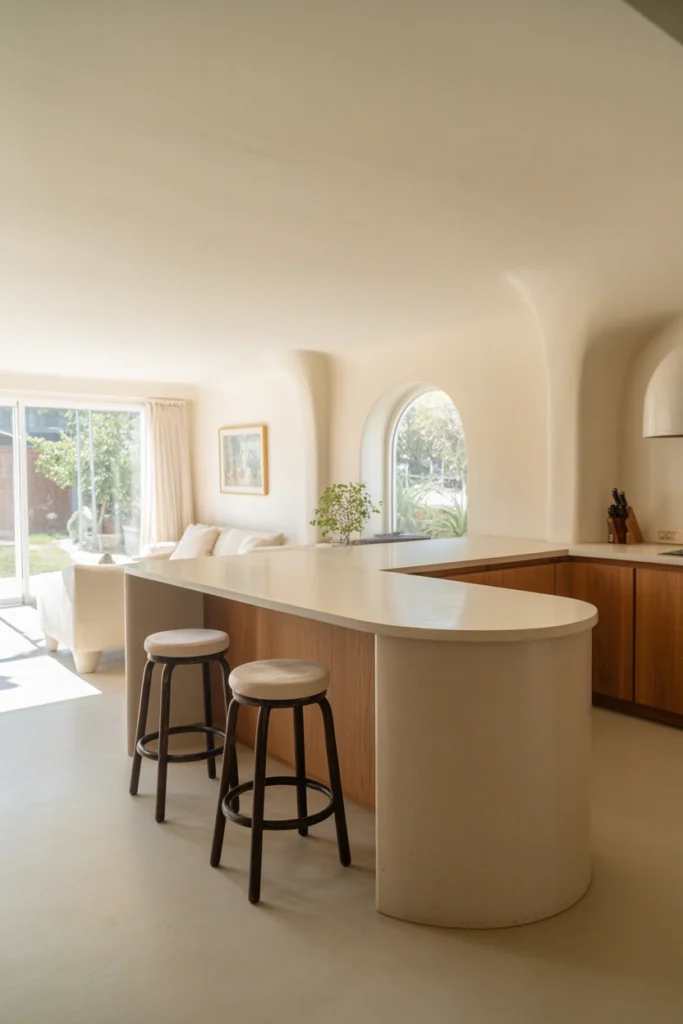
19. Peninsula With Toe-Kick Lighting
LED strips in the plinth recess make the peninsula appear to float — a small theatrical trick with an outsized effect in the evening. It’s also genuinely useful: the soft glow marks the peninsula’s footprint at night without turning on the main lights. Use warm white (2700K) on a separate switch or motion sensor.
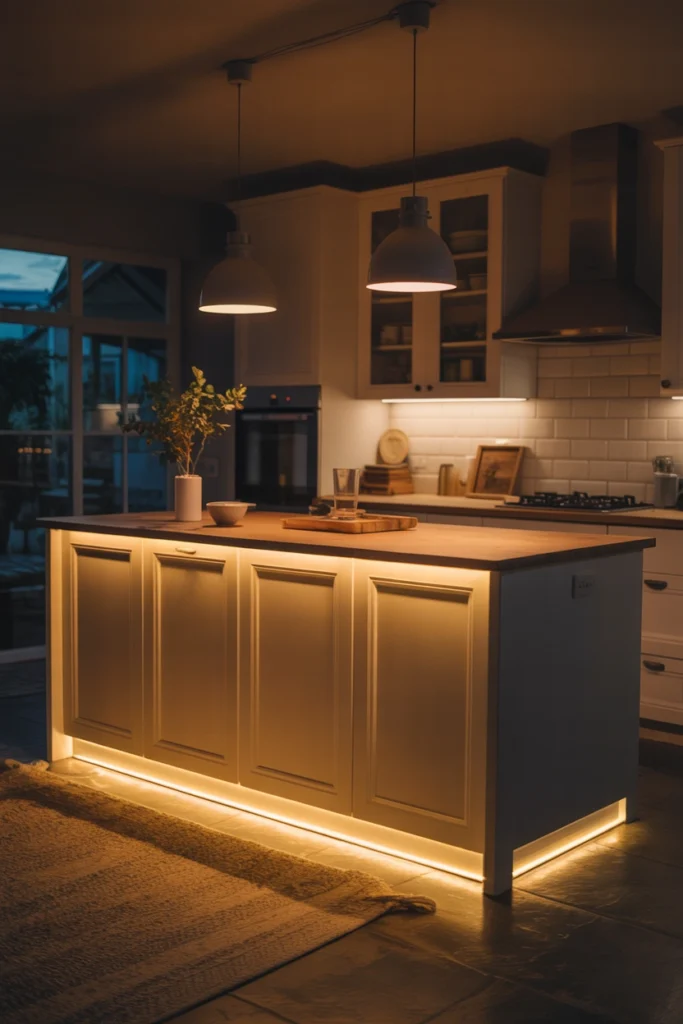
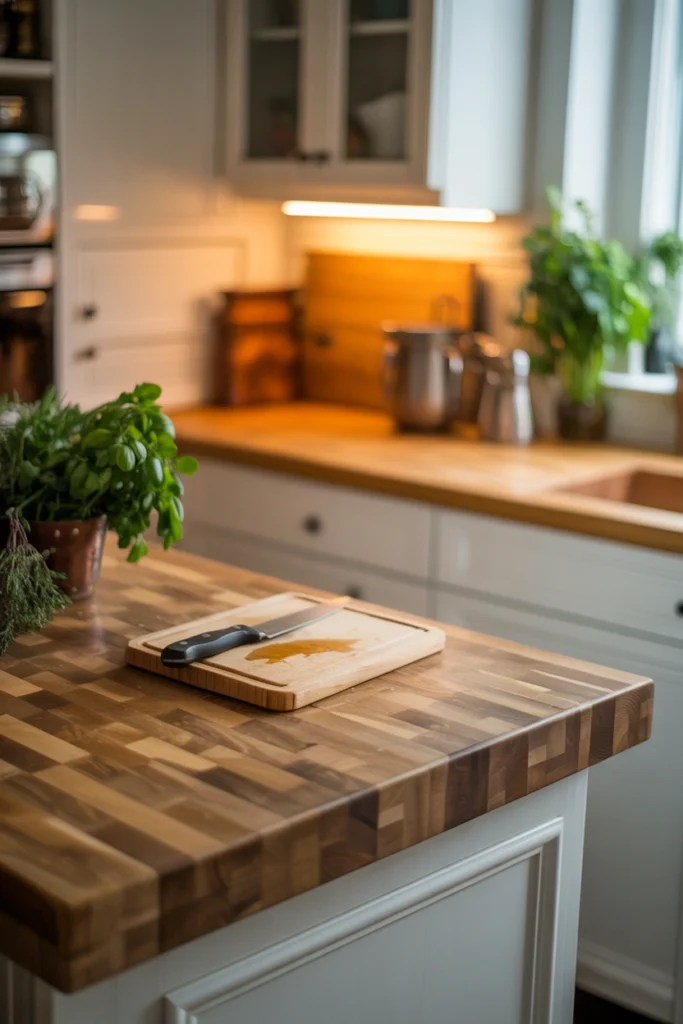
20. Peninsula With Butcher Block Top
A butcher block peninsula top is a working surface in the truest sense — chop directly on it, roll pastry on it, let it take the life of the kitchen. End-grain is the premium choice (self-healing knife marks); edge-grain is the practical one (cheaper, still beautiful). Oil monthly for the first year, then quarterly; a butcher block is a relationship, not an appliance.
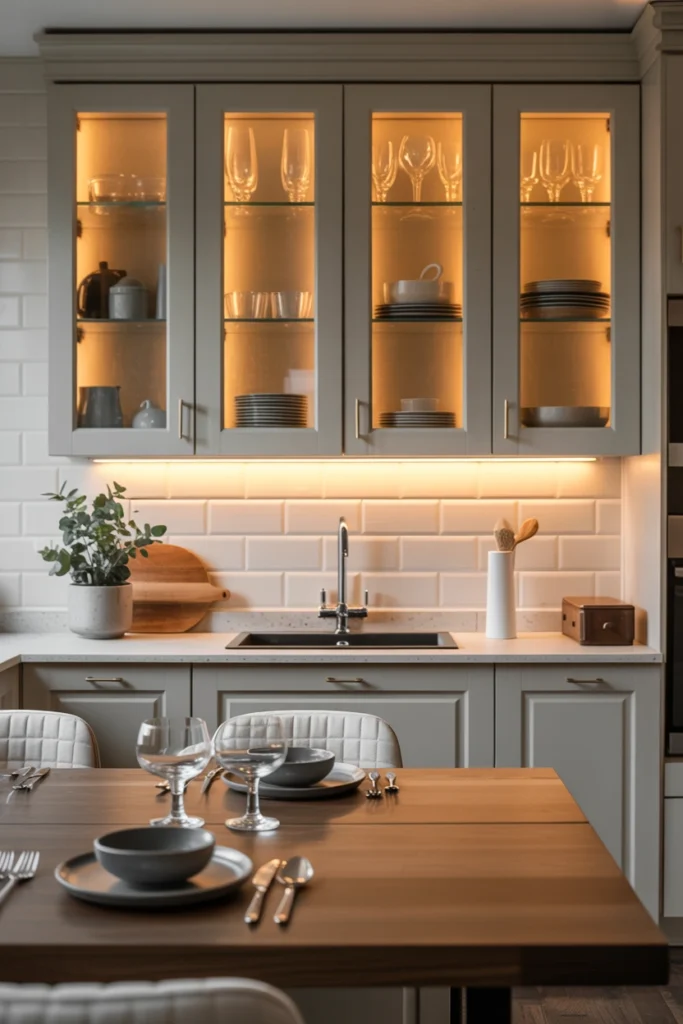
21. Peninsula With Overhead Cabinet Storage
Wall units above the peninsula’s outer edge add storage without touching floor space — ideal for the glasses, serving dishes, and occasional-use items. Keep them shallow (30cm) and take them to the ceiling to avoid the dust-trap gap. The trade-off is visual weight: overhead cabinets make the peninsula feel more like a wall, so balance with open shelving elsewhere.
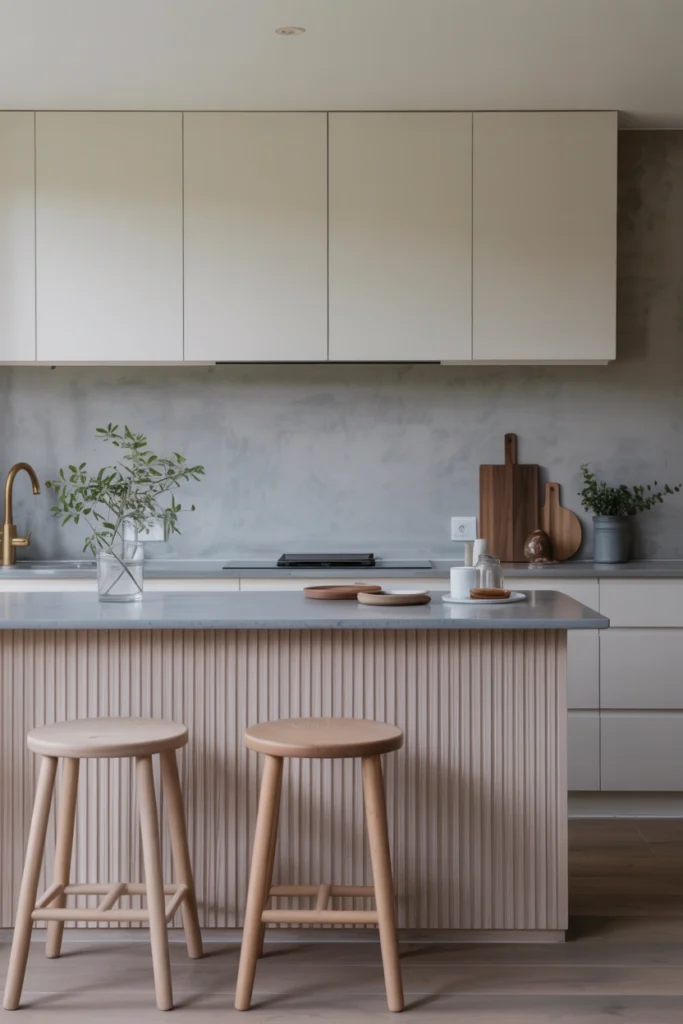
22. Japandi-Style Peninsula
The Japandi aesthetic blends Japanese minimalism with Scandinavian simplicity, and it translates beautifully to kitchen peninsula design. Think clean lines, natural materials, muted tones, and zero unnecessary decoration. A Japandi peninsula might feature a pale wood base, a matte stone top, and simple integrated handles. Everything is considered and nothing is superfluous. This style is particularly appealing for anyone who finds maximalist kitchens exhausting and craves a space that genuinely calms rather than stimulates.
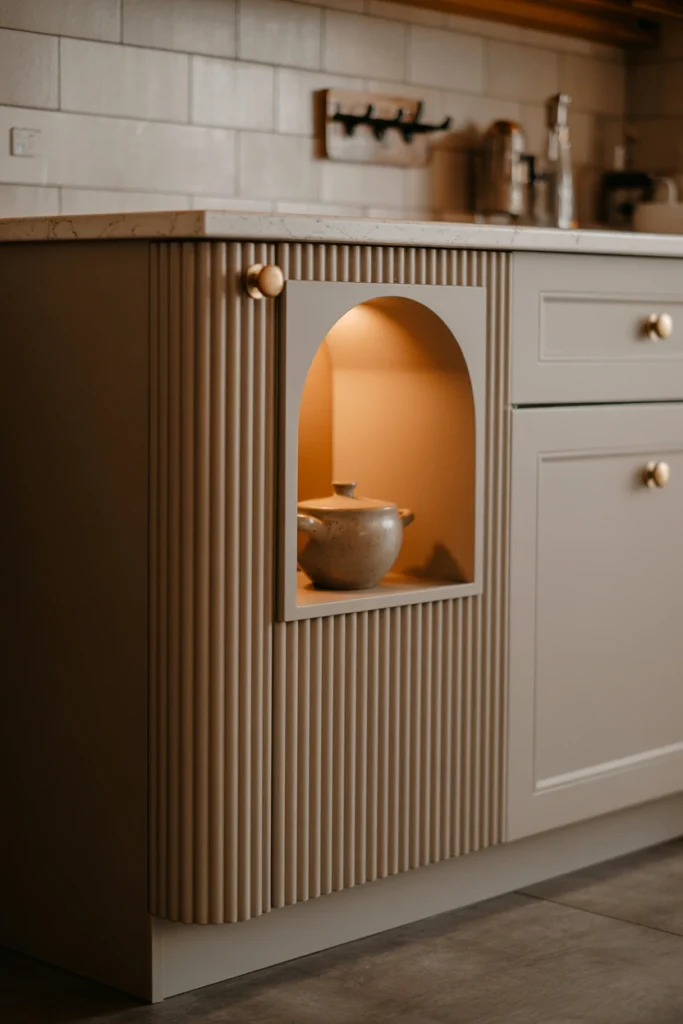
23. Peninsula With Decorative End Panel
The end panel is the peninsula’s public face — it’s what you see walking in. A panelled, fluted, or book-matched timber end elevates the whole piece from “cabinet run” to “furniture.” It’s a small surface with disproportionate visibility, so it’s worth spending the design effort there rather than on unseen backs.
24. Multi-Level Peninsula
Two heights on one peninsula — 90cm worktop stepping down to 75cm table height — separates the cooking zone from the social zone without a barrier. The lower level is for eating and homework; the upper is for prep. The step also hides worktop clutter from the living room side, which is a genuine daily blessing in open-plan homes.
25. Peninsula With a Built-In Cooktop
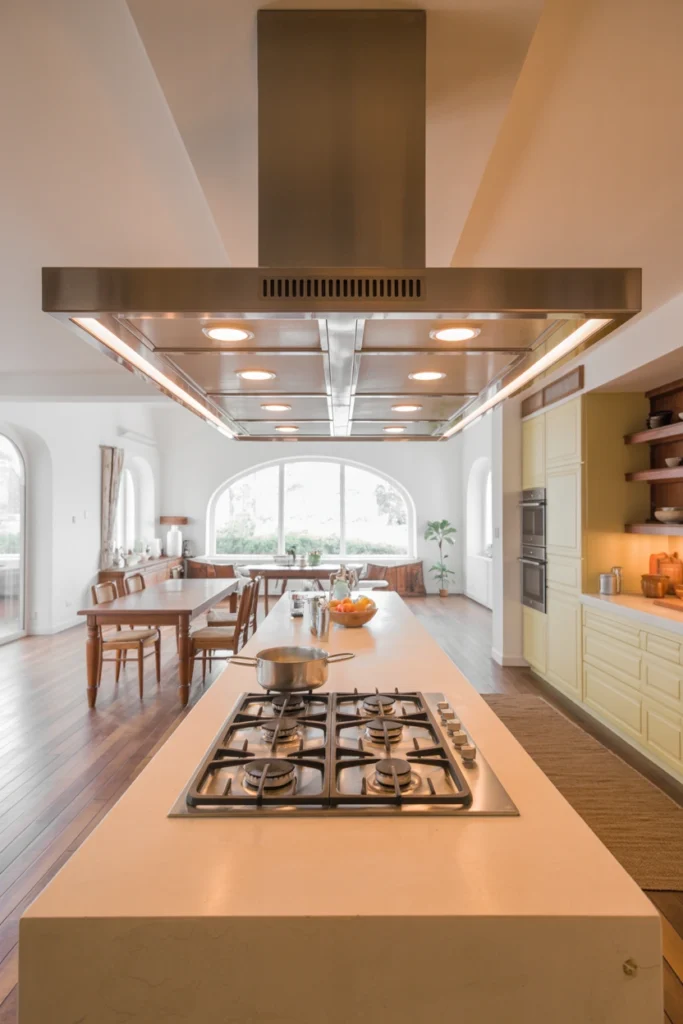
Putting the cooktop on the peninsula rather than against the wall is one of the most social kitchen layouts you can choose. It means the cook faces the room while working, which completely changes the dynamic of cooking for guests or family. You’ll need a ceiling-mounted extractor hood above, which becomes a design feature in its own right. This layout works best in larger kitchens with enough clearance on all sides, but when done well, it makes the kitchen feel like a true stage for cooking and entertaining.
Conclusion
The right peninsula isn’t the biggest or the most expensive — it’s the one measured for your room, planned for your habits, and detailed for your life. Get the clearances right, give it a job to do, and light it like it matters.
Because it does. The peninsula is where your kitchen stops being a workspace and starts being the place everyone gathers. Plan it accordingly.
Pro Tips
- Measure clearances before anything else. 90cm minimum walkway, 120cm where two people pass or an oven door opens. A peninsula that pinches the room fails no matter how beautiful it is — tape the footprint on the floor and live with it for a week.
- Put services in early. Sinks, hobs, sockets, and charging points need plumbing and electrics run before the peninsula is built. Retrofitting them afterward costs triple. Plan every service on paper first.
- Support every overhang properly. Stone overhangs beyond 30cm need steel brackets or corbels — an unsupported stone breakfast bar is a crack waiting to happen. Timber is more forgiving but still needs support past 40cm.
- Light the peninsula separately. Pendants on their own dimmer circuit let the peninsula glow while the working kitchen stays bright. It’s the difference between a kitchen and an evening space.
FAQs
How much space do you need for a kitchen peninsula?
90cm of clear walkway on the open side is the absolute minimum; 100–120cm is comfortable. The peninsula itself is typically 60–90cm deep. In total, budget at least 150cm of room depth for even a modest peninsula — less than that and it obstructs rather than helps.
Is a peninsula better than an island?
For rooms under about 20 square metres, usually yes — a peninsula gives 80% of an island’s benefit (worktop, storage, seating) in far less floor space and at lower cost. Islands win in large open-plan rooms where you want circulation on all four sides.
What is the standard height for peninsula seating?
Worktop height is 90cm with 65–75cm stools; a lowered 75cm table-height section uses standard 45cm dining chairs. Allow 30cm of knee overhang and 60cm of width per person. Counter-height stools with backs are worth the extra for anyone sitting longer than breakfast.
Can you put a sink or hob in a peninsula?
Yes — both are common and work well, with the social benefit of facing the room while you work. Budget for extended plumbing or electrics (£300–800 typically), choose a ceiling-mounted extractor for a hob, and think about splash management on the seating side for a sink.

HowDecor is a home decor blog sharing simple, practical decorating ideas for everyday spaces. We believe a beautiful home should feel comfortable, personal, and full of warmth — and that great style does not require a huge budget. Our goal is to inspire readers to create spaces that feel peaceful, welcoming, and truly their own — one room at a time.