Real tile work is a beautiful, expensive, dusty nightmare. It takes a week, a contractor, a wet saw, and a budget that makes your eyes water. Tile stickers are the opposite of all that: peel, stick, press, done — a whole new backsplash before lunch, for the price of a takeout dinner. They will not fool a tile setter up close, but from three feet away, in a rental or on a tight budget, they are genuinely transformative.
Ten ideas below, from the obvious wins to the clever ones people overlook. Each one takes an afternoon or less, needs nothing more than a squeegee and a utility knife, and — best of all — peels right back off when your taste changes or your lease ends.
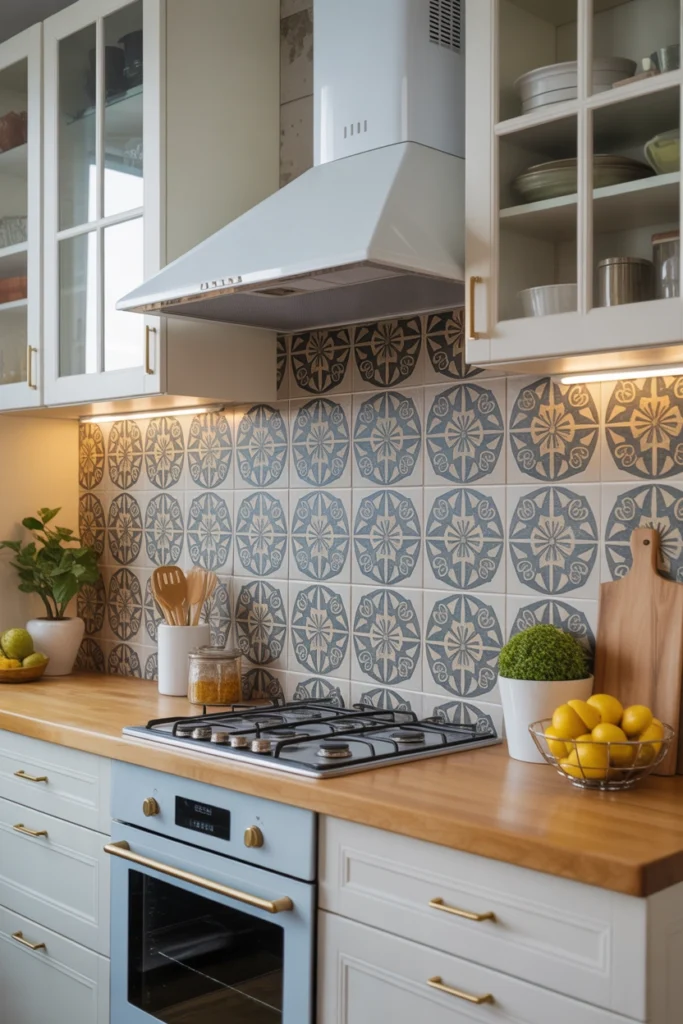
Refresh a Tired Kitchen Backsplash in One Afternoon
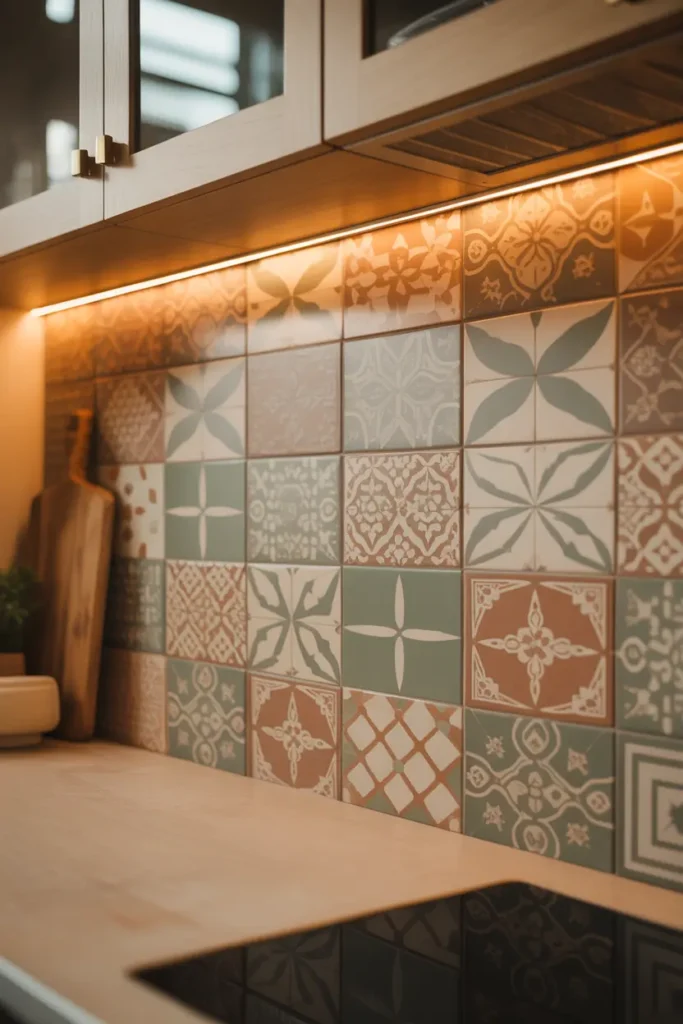
The backsplash is the first thing your eye lands on in a kitchen, which makes it the highest-impact sticker project in the house. Measure the area, order 10 percent extra for cuts and mistakes, and work from the center outward so your pattern stays symmetrical. Clean the old tile or wall thoroughly with degreaser first — kitchen grease is the number one reason stickers lift early — and use a plastic squeegee to push out air bubbles as you go.
Cost check: a standard 30-square-foot backsplash runs about $60–$120 in quality stickers versus $800–$2,000 for real tile installed. In a rental, the math is not even close.
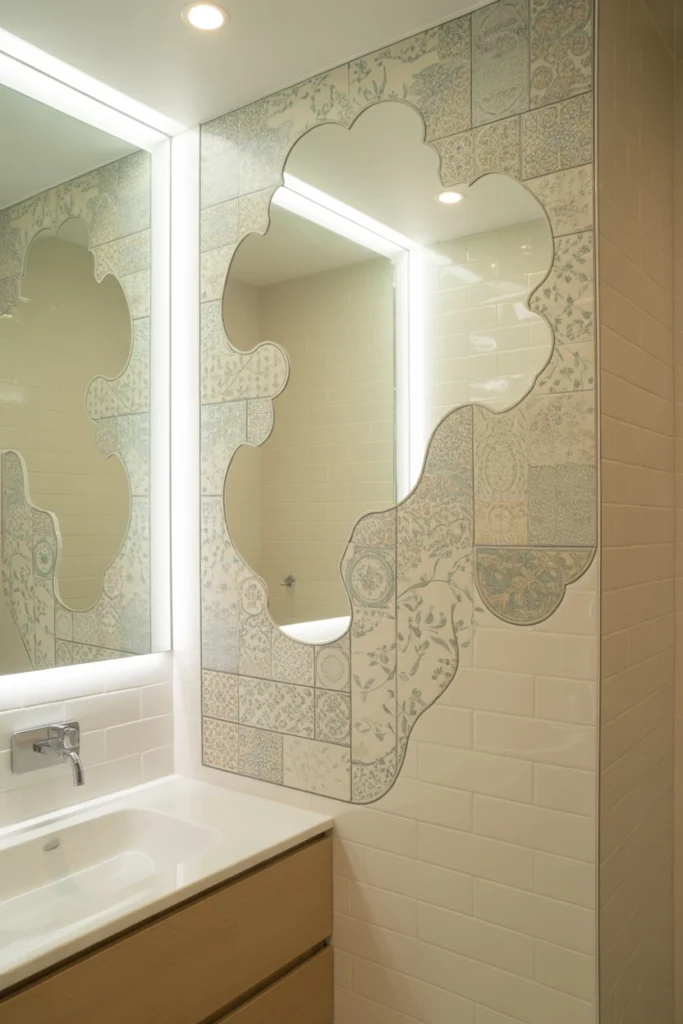
Give a Small Bathroom Big Personality
Bathrooms are sticker heaven because the surface area is small — even a dramatic pattern only needs a box or two. A bold Moroccan or encaustic-look pattern behind the vanity, or a full feature strip in the shower surround (use waterproof-rated stickers, and seal the edges with clear silicone), turns a bland builder bathroom into something with actual character. Stick to one patterned zone per bathroom; two competing patterns in a 40-square-foot room will fight.
Ventilation matters more here than anywhere else. Run the exhaust fan during showers and for twenty minutes after — constant steam is the enemy of adhesive, and even waterproof stickers last years longer in a well-ventilated bathroom.
Create a Show-Stopping Feature Wall
One wall, one bold pattern, maximum drama. A geometric black-and-white design or a colorful Portuguese-tile look behind the sofa, the bed, or the dining table gives the room a focal point that would cost thousands in real tile or wallpaper installation. Map the layout on the floor first with painter’s tape to find your center lines — starting centered keeps the cut pieces symmetrical at the edges.
Lighting makes or breaks a feature wall: add a picture light or a pair of sconces above it and the pattern gains depth and shadow that flat daylight never gives it. The wall goes from “nice stickers” to “wait, is that real tile?”
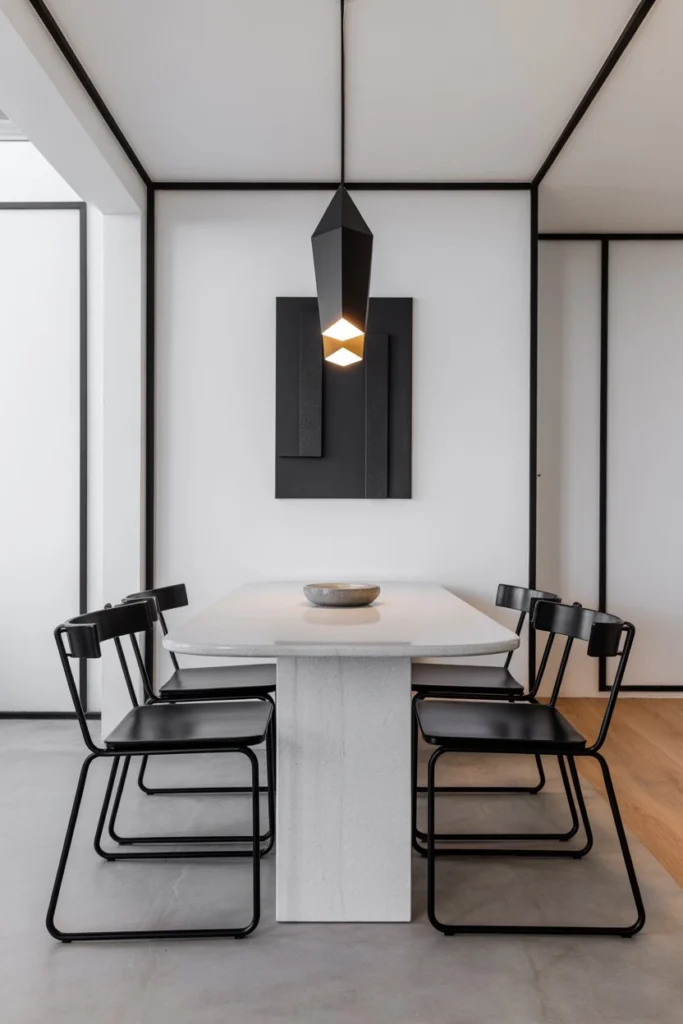
Keep It Calm with Neutral, Tone-on-Tone Designs
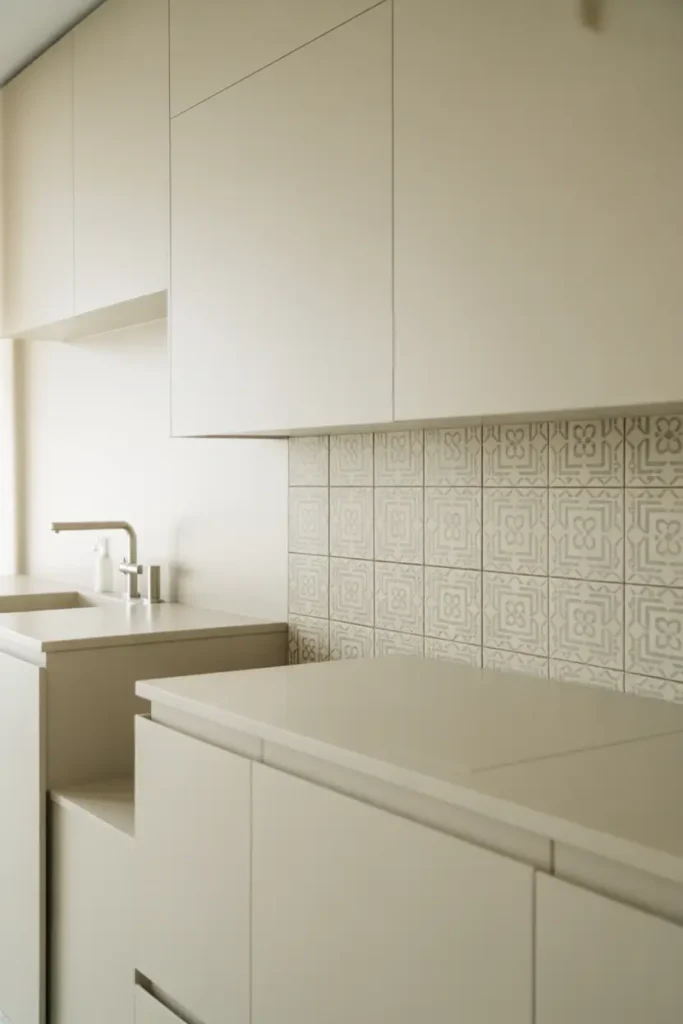
Not every makeover needs to shout. Soft beige, warm gray, creamy white, or pale sage stickers in a simple subway or square layout give you the clean, finished look of fresh tile without a single bold gesture. This is the move for small kitchens, minimalist bathrooms, and anyone who suspects they will tire of a loud pattern in eighteen months.
The secret to making neutrals look expensive is grout-line realism: choose stickers with subtle shading and slight texture variation between “tiles” rather than flat printed squares. From normal viewing distance, the difference is remarkable.
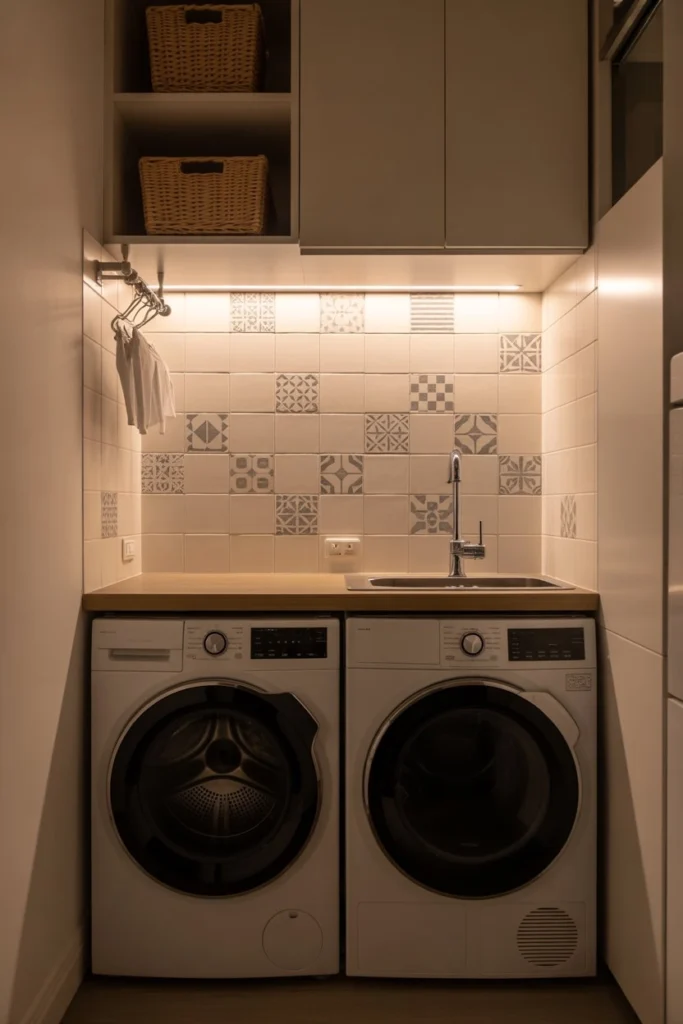
Wake Up Forgotten Corners: Laundry Nooks and Entryways
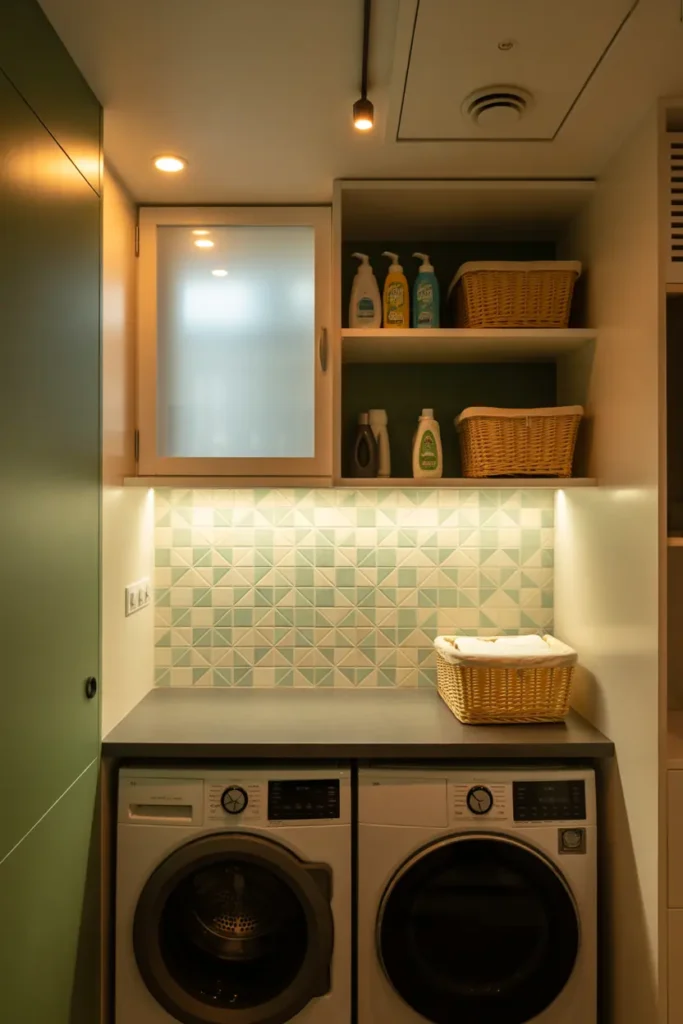
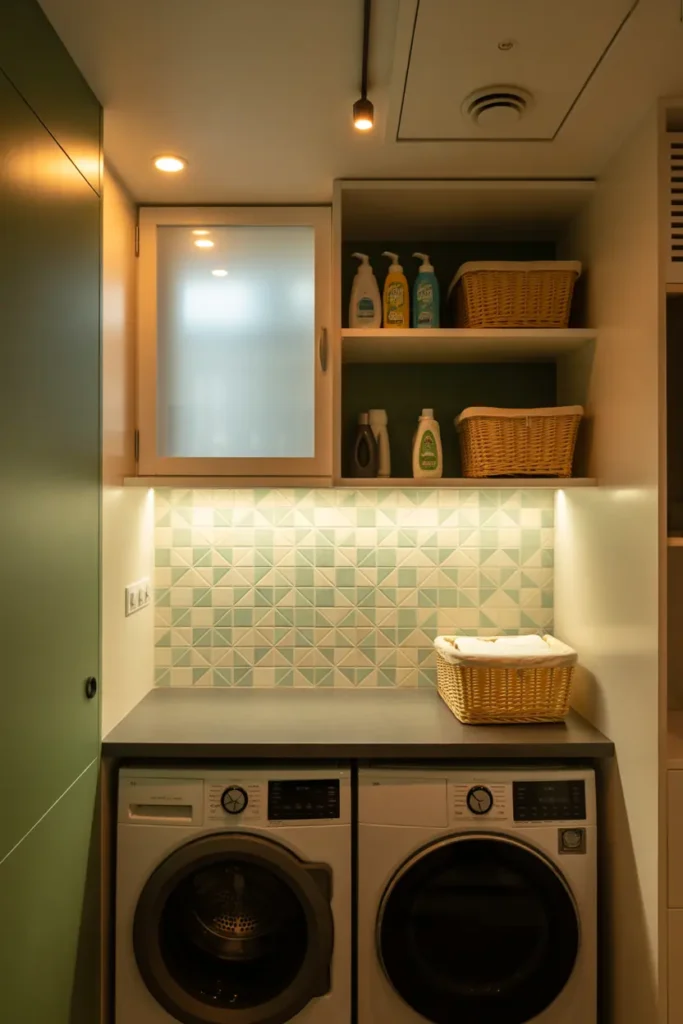
The laundry corner, the mudroom wall, the entryway wainscot zone — these are the spaces everyone ignores and everyone sees daily. A half-wall of patterned stickers behind the washer and dryer, or a wipeable sticker panel in the entryway where bags and shoes scuff the paint, delivers outsized joy for about $30 and an hour. These small zones are also the perfect low-risk place to try a pattern you are not sure about.
Durability tip: in high-scuff areas like entryways, choose thicker vinyl stickers (look for 0.5mm or heavier) and press the edges firmly with a credit card. Thin stickers curl at the corners where backpacks and shoes hit them.
Mix Patterns Like a Designer (Without the Chaos)
Mixing patterns is where sticker projects go from crafty to designer — and where they go wrong. The safe formula: one hero pattern plus one quiet supporting pattern, sharing at least one color. A bold floral on the backsplash pairs beautifully with a simple solid or pinstripe-look sticker on an adjacent wall, because the shared color makes them read as a set rather than a collision.
Keep the scale contrast clear: if the hero pattern is large and busy, the supporting pattern should be small and calm. Two large busy patterns in one sightline is the fastest route to visual noise, and no amount of styling fixes it.
Transform the Floor Without Tearing Anything Up
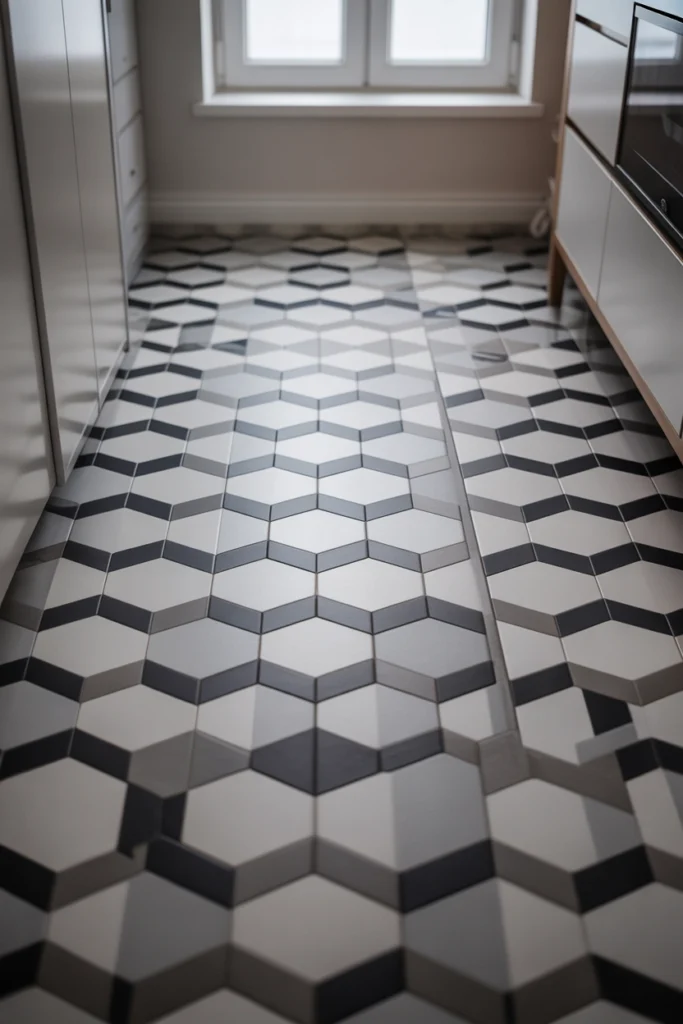
Floor stickers are the boldest move on this list and the most dramatic: a dated vinyl or tired tile floor becomes a patterned encaustic-look showpiece in a weekend. They are thicker and tougher than wall stickers — rated for foot traffic — and a 100-square-foot room typically needs $150–$300 in materials. Prep is everything: the floor must be spotless, dry, and smooth, because every speck of grit telegraphs through.
Seal the deal with two coats of water-based polyurethane made for vinyl floors once the stickers are down and bubble-free. It adds scratch resistance and makes mopping safe. Expect 3–5 years of good looks in a kitchen or entryway, longer in a low-traffic room.
Let the Pattern Breathe: Style Around, Not Over
Once the stickers are up, resist the urge to decorate on top of them. A patterned backsplash or feature wall is already the star — it needs a quiet supporting cast, not competition. Clear the counters to the essentials, choose solid-colored textiles, and let one or two simple objects (a wooden cutting board, a ceramic vase) do the styling work. The pattern provides all the visual interest the zone needs.
The test: squint at the room. If you can still read the sticker pattern clearly through the squint, your styling is balanced. If it dissolves into noise, remove one decorative item at a time until the pattern wins again.
Light It Right So the Design Actually Shines
Stickers live or die by lighting. Warm 2700–3000K light deepens colors and makes patterns feel rich and intentional; harsh cool daylight or blue-white LEDs can make the same stickers look flat and plasticky. If your stickered zone sits under cool task lighting, add one warm accent — under-cabinet LED tape, a small warm lamp, even a candle-height glow — to warm the scene.
Direction matters too: light raking across a stickered wall at an angle reveals texture and dimension, while flat frontal light washes it out. A $25 plug-in picture light or a repositioned lamp can be the difference between “nice try” and “stunning.”
Experiment Freely — Nothing Here Is Permanent
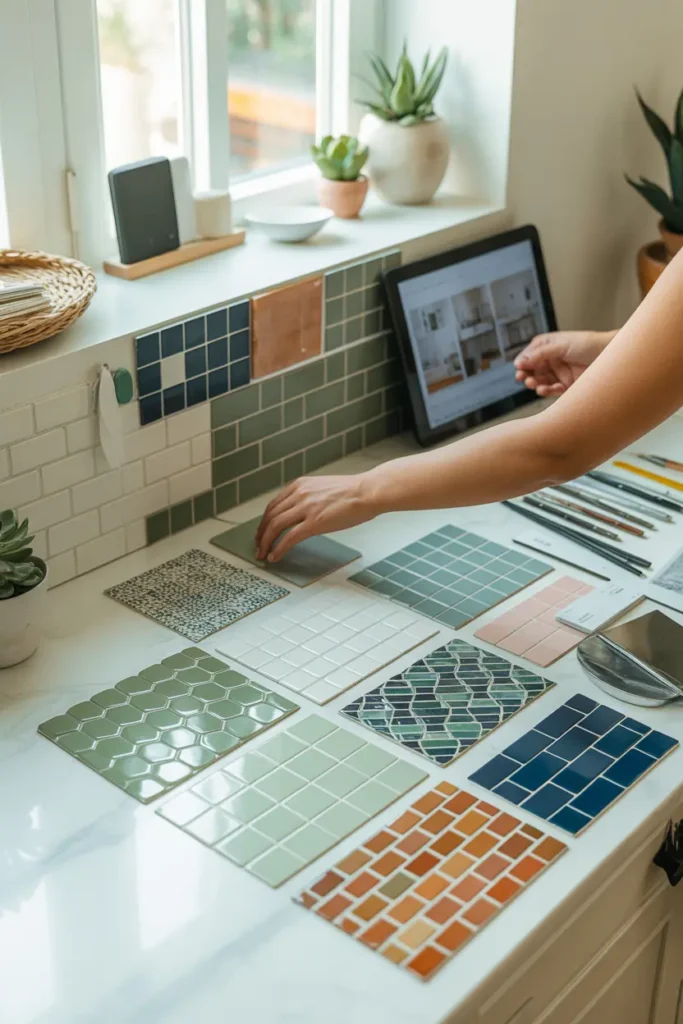
This is the real superpower of tile stickers, and it changes how you should think about the whole project: you are not committing, you are auditioning. Try the bold pattern. Live with it for a season. If it stops sparking joy, warm it with a hair dryer for thirty seconds and peel it off clean — quality removable vinyl leaves no residue on smooth, primed surfaces. Renters, commitment-phobes, and serial redecorators: this medium was made for you.
Keep the backing sheets or photograph the layout before you peel, and store leftover stickers flat in a cool drawer. Touch-ups, future projects, and “I changed my mind” reversals are all free when you have spares on hand.
Related Decor Ideas
- Best Small Space Decor Tips for Tiny Rooms
- https://commomy.com/blogs/news/how-to-update-your-floor-with-tile-stickers?srsltid=AfmBOoqhNCiRi_2we5PJ8hE-HyBYt-4Csrem2QOf-zWqp8s4ARvXL3VC
A full tile renovation will always have its place — but for everyone else, for right now, tile stickers are the smartest shortcut in home decor. One afternoon, a squeegee, and a pattern you love: that is genuinely all it takes to walk into a room that feels brand new. Peel, stick, enjoy, repeat.
Pro Tips
- Degrease and dry every surface before sticking — kitchen grease and bathroom humidity are the top two reasons stickers lift, and prep takes ten minutes.
- Order 10–15 percent more than your measurements say; miscuts and pattern matching eat material, and dye lots vary between orders.
- Warm the stickers slightly with a hair dryer on curved or uneven surfaces — the vinyl becomes pliable and hugs corners instead of bridging over them.
- Seal floor stickers with two coats of water-based polyurethane and bathroom edges with clear silicone; the sealant is what turns a 1-year job into a 5-year one.
FAQs
How long do tile stickers actually last?
On walls in dry areas, 3–5 years easily; in bathrooms and kitchens with proper prep and ventilation, 2–4 years. Floor stickers last 3–5 years with a polyurethane topcoat. Heat, steam, and direct scraping are what shorten their life, not time itself.
Will tile stickers damage my walls or existing tile when removed?
Quality removable vinyl peels clean from smooth, primed, or previously tiled surfaces — warm it with a hair dryer for 30 seconds first and pull slowly at a low angle. Avoid unprimed drywall and fresh paint (under 30 days cured), where any adhesive can pull the surface.
Can I use tile stickers in a shower?
Only waterproof-rated stickers, and only with sealed edges — run a thin bead of clear silicone around the perimeter and any seams. Even then, treat it as a 1–2 year refresh rather than a permanent solution, and keep the exhaust fan running.
Do tile stickers look cheap up close?
The gap has narrowed enormously. Thicker vinyl (0.5mm+) with textured printing and realistic grout shading looks convincing from normal viewing distance. They will not fool anyone pressing their nose to the wall — but nobody lives at nose distance from a backsplash.

HowDecor is a home decor blog sharing simple, practical decorating ideas for everyday spaces. We believe a beautiful home should feel comfortable, personal, and full of warmth — and that great style does not require a huge budget. Our goal is to inspire readers to create spaces that feel peaceful, welcoming, and truly their own — one room at a time.