I’ll let you in on a secret: the most complimented party decor I’ve ever made cost $47 and a Saturday afternoon. Guests assumed I’d hired someone. Nope — just a balloon pump, a glue gun, and the willingness to look up one YouTube tutorial.
DIY birthday decor isn’t about being cheap. It’s about being personal. A handmade banner in the birthday person’s favorite colors says more than any store-bought kit ever could. The ten ideas below are all genuinely easy — no craft degree required — with real costs, real timelines, and the tricks that make handmade look professional.
Pick four or five, gather your supplies a week ahead, and put on a good playlist. This is the fun part.
1. DIY Balloon Garland Backdrop
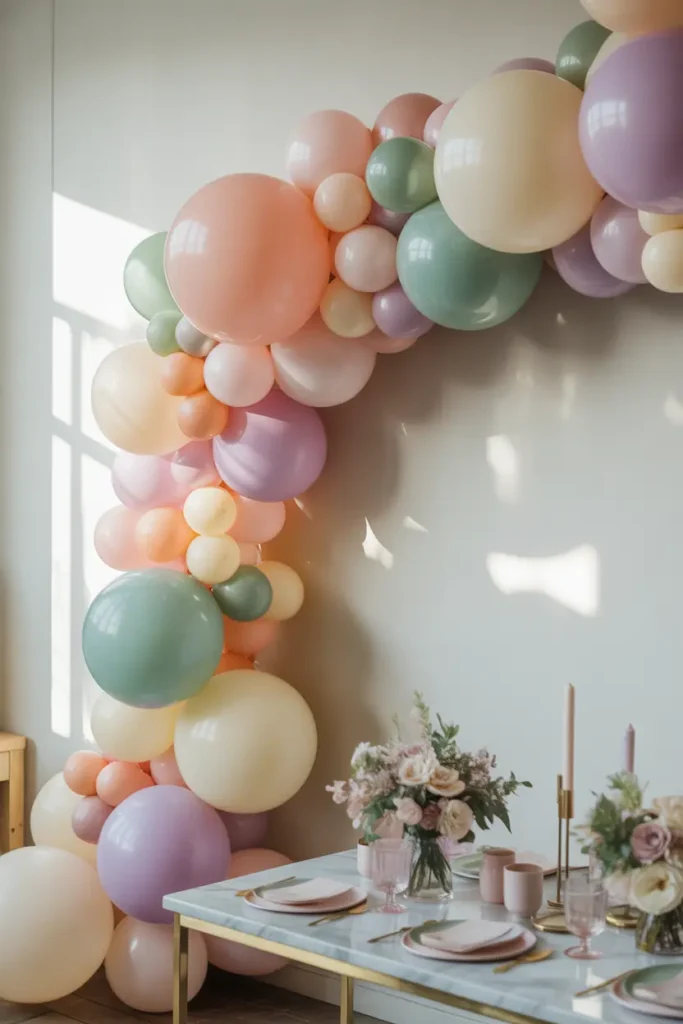
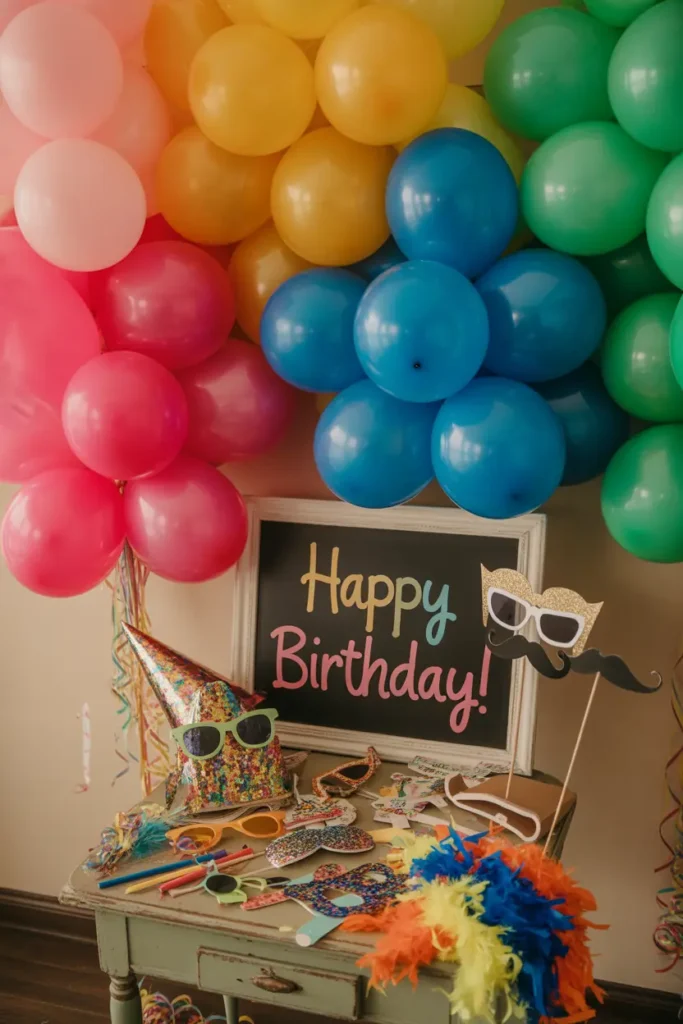
The balloon garland is the highest-impact DIY in existence. Get a balloon strip (the perforated plastic tape), an electric pump, and balloons in two sizes and two to three colors. Inflate, pop them into the strip’s holes in clusters, and fluff — the whole thing takes 45 minutes once you’ve done it once.
Hang it with command hooks behind the cake table or along a mantel. Pro move: add a few 5-inch balloons into a garland of 11-inch ones — the size variation is what makes it look lush instead of flat.
2. Handmade Birthday Banner
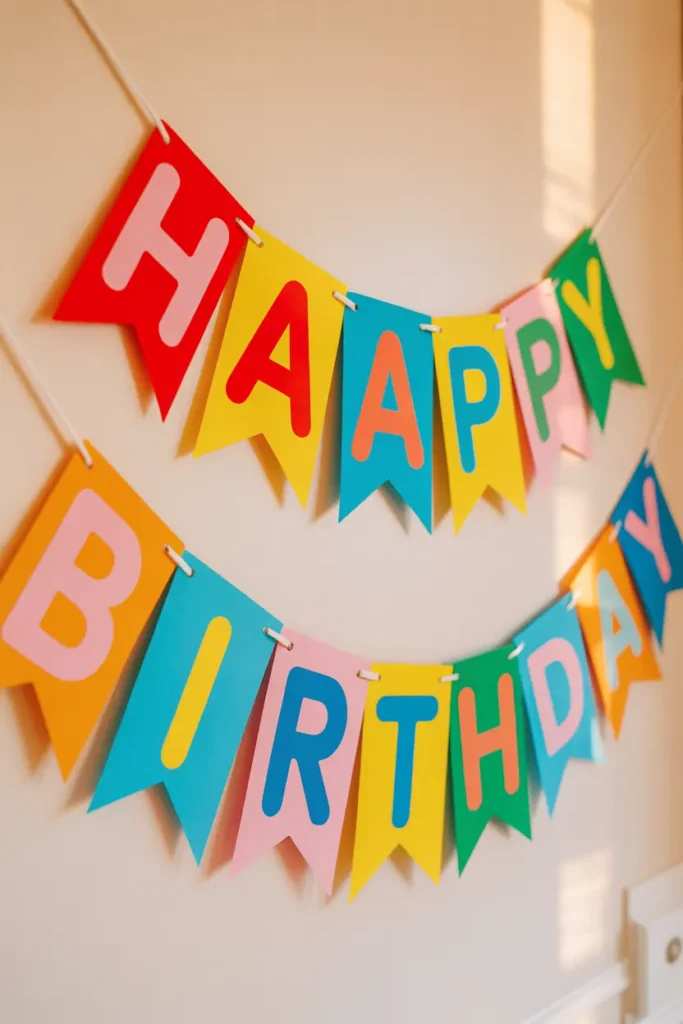
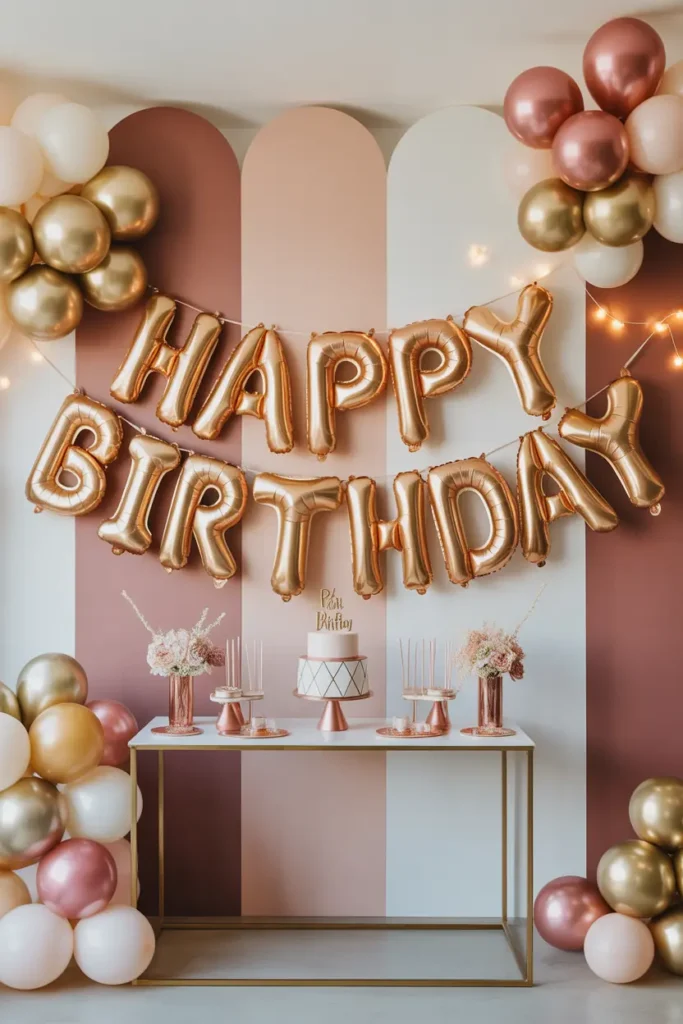
Nothing says “I made this for you” like a hand-cut banner. Fold cardstock, cut triangles or scalloped flags, and stencil or print your letters. String on twine with mini clothespins for a look that’s charming, not childish.
Measure your hanging spot first — a banner that’s too short looks lost, too long droops sadly. Aim for the banner to span about two-thirds of the wall or table width.
Use the party’s two main colors plus one metallic for the letters. It ties the whole room together without you having to think about it.
3. DIY Photo Memory Wall
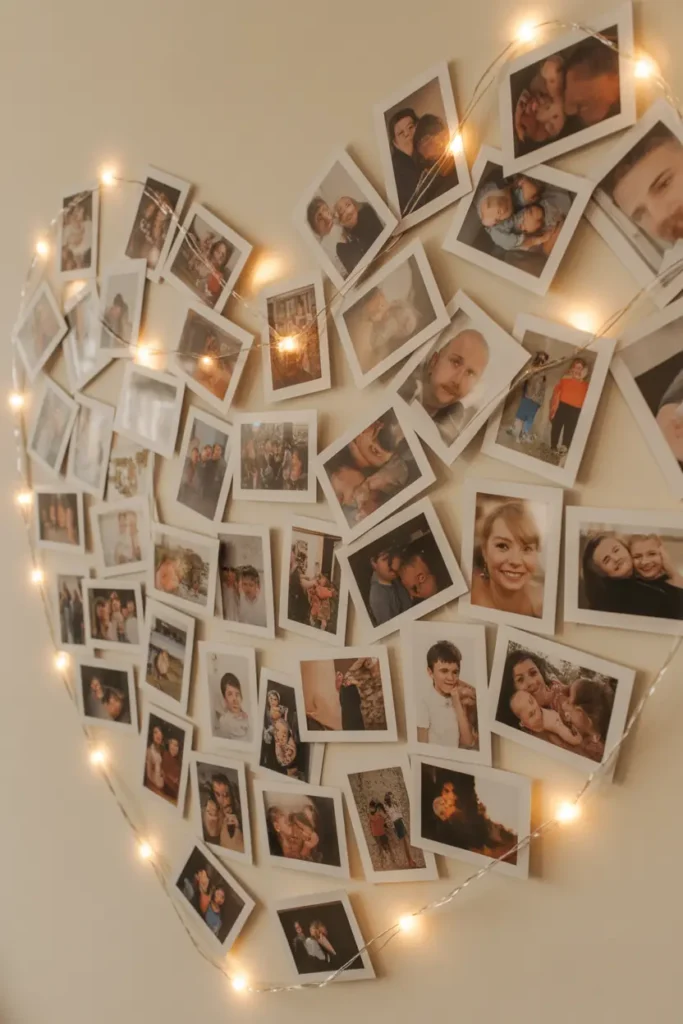
This one’s pure emotion: print 15–25 photos (drugstore prints, pennies each), and clip them to twine with tiny clothespins. Weave a string of fairy lights through it and you’ve got a glowing timeline of the birthday person’s life.
For milestone birthdays, organize chronologically — baby photos to now. Guests will stand there for twenty minutes straight. It’s decor and entertainment in one.
4. Paper Flower Decorations
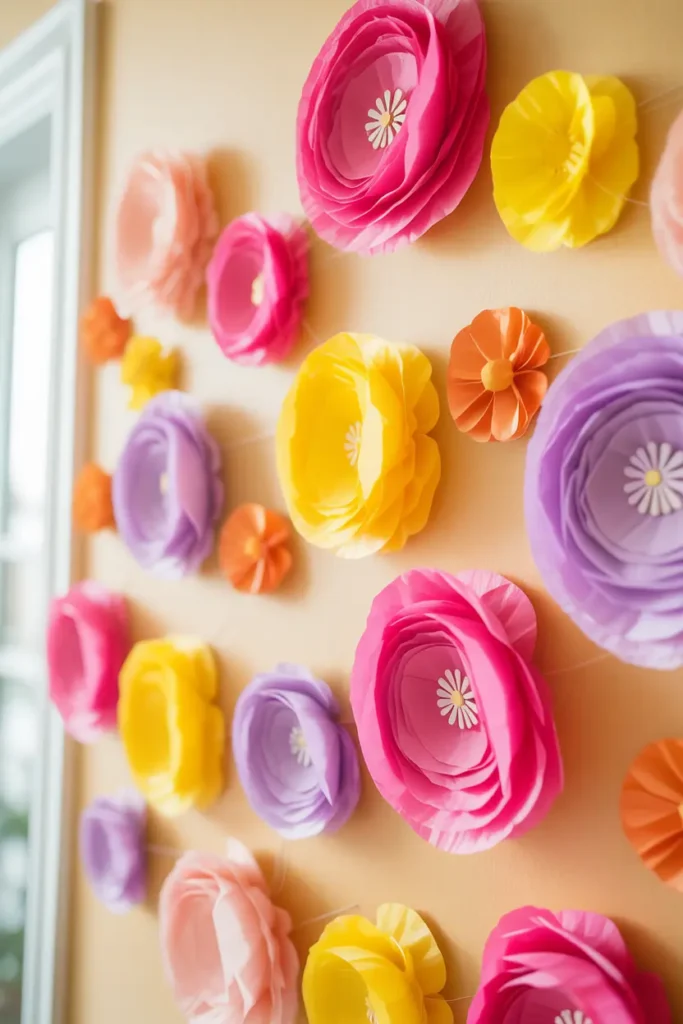
Tissue-paper pompoms and accordion-fold flowers: the tutorials take five minutes to learn, each flower costs under a dollar, and a cluster of them on a wall looks genuinely beautiful. The peony-style pompom is the easiest win.
Make them in three sizes and group odd numbers together. One color family (all blush, all jewel tones) looks designer; rainbow-everything looks like a classroom.
5. DIY Table Centerpieces
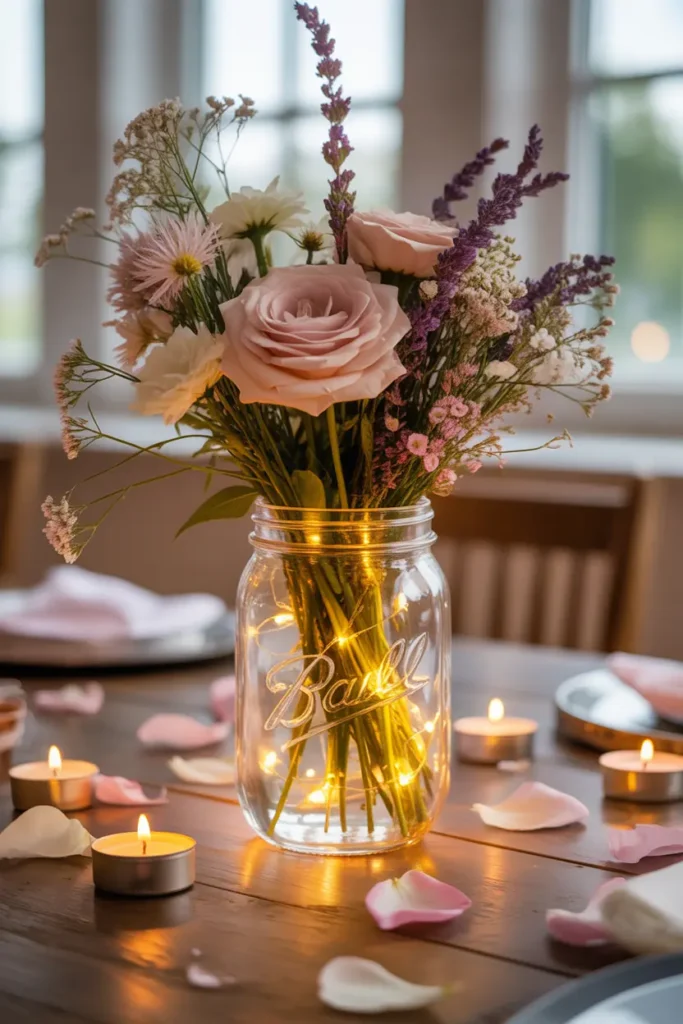
The formula: a mason jar + a candle or fairy lights + something natural (a flower, a pinecone, greenery) = a centerpiece. Multiply by however many tables you have. It takes ten minutes per jar and looks intentional.
Vary the heights — some jars tall, some short — or the table looks flat. And keep them narrow; centerpieces should decorate the table, not hog it.
6. Balloon Ceiling Decoration
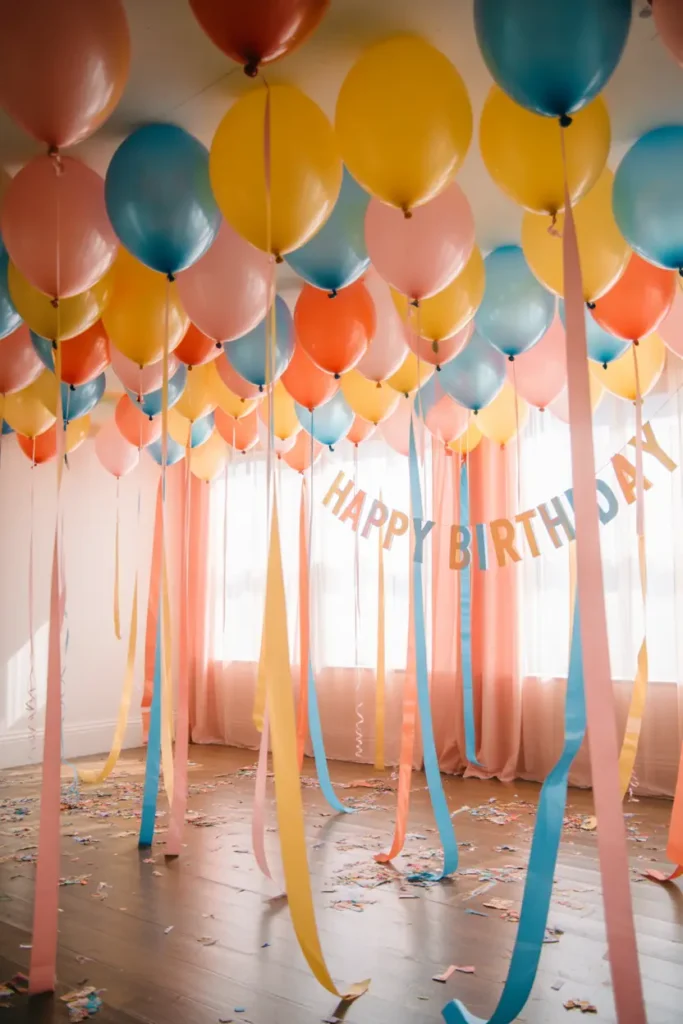
Helium is expensive and fades fast; air-filled balloons taped to the ceiling with curling ribbon last for days and cost a fraction. Fill, tie a long ribbon, tape the ribbon end to the ceiling, done.
This is the small-space miracle: it decorates the half of the room you’d otherwise ignore, using zero floor space. Vary ribbon lengths for an organic feel.
7. DIY Dessert Table Setup
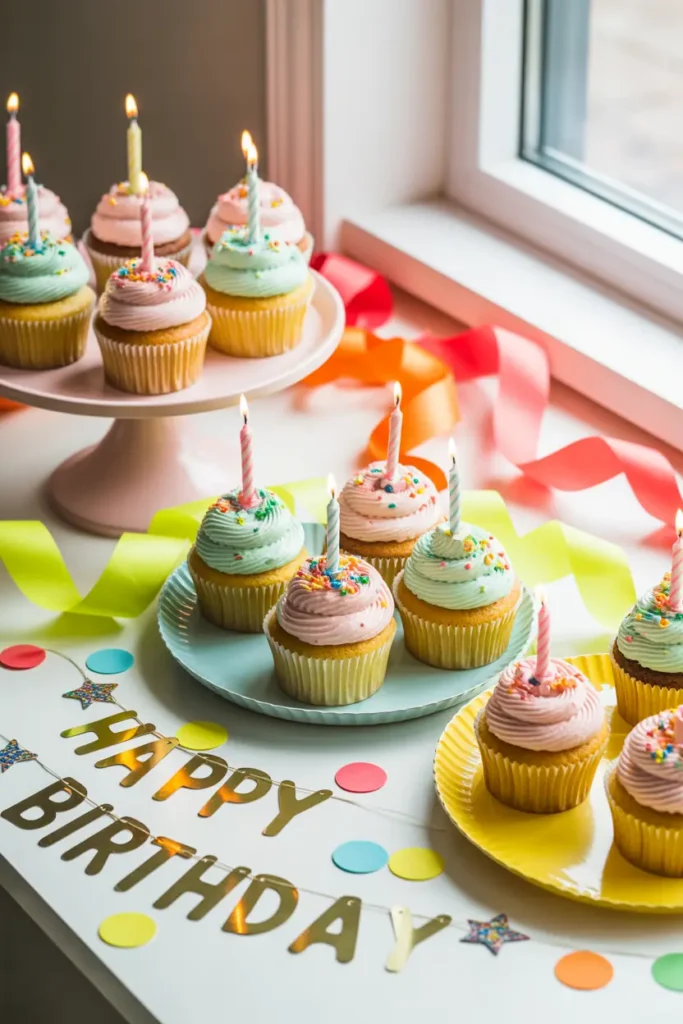
Your dessert table is the party’s stage. Start with a tablecloth to the floor, then build height: cake on a stand at the back, cupcakes on a tiered stand, cookies on a low tray in front. Height variation is the entire trick.
Group treats by type, not scattered randomly, and leave some empty space — a crowded table looks messy, a curated table looks professional. A small framed sign (“Eat Cake!”) adds charm for $2.
8. Fairy Light Party Decor
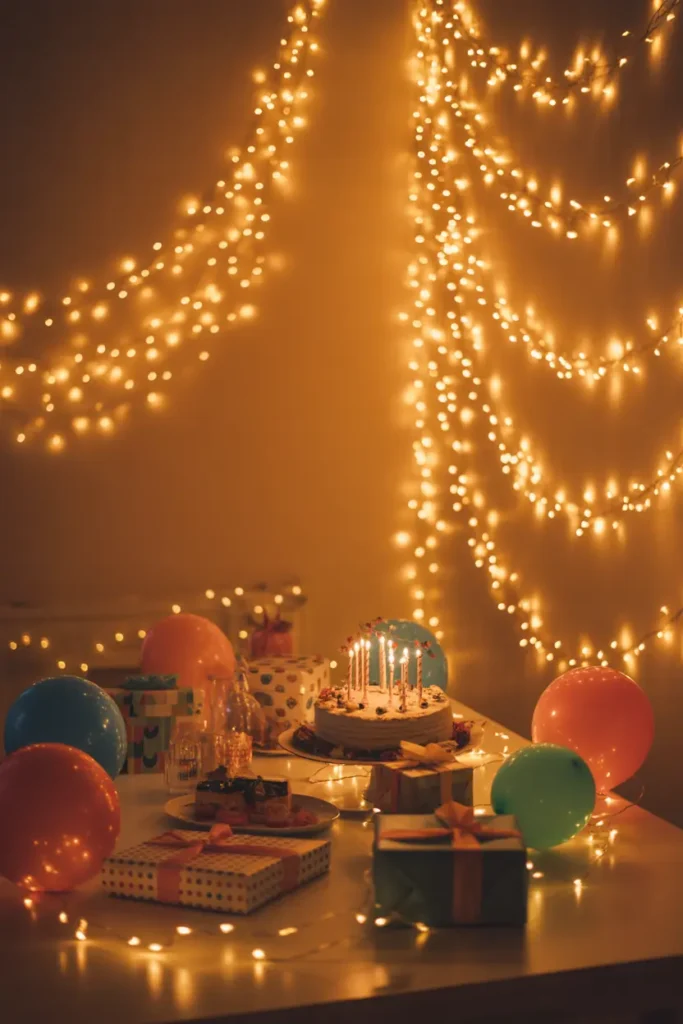
Copper-wire fairy lights are the DIY decorator’s best friend: $10 for 66 feet, bendable, battery-operated, and they go literally anywhere. Drape over curtains, coil inside jars, outline a doorway.
For evening parties, kill the overheads and let the fairy lights carry the room. Warm white only — cool white fairy lights make a living room feel like a dentist’s office.
9. DIY Party Photo Booth
You need three things: a backdrop, good light, and props. The backdrop can be a curtain panel, a balloon garland section, or even wrapping paper taped to the wall. Face it toward a window for flattering light.
Props are non-negotiable — silly glasses, speech-bubble signs, a chalkboard with the birthday person’s age. Put them in a basket with a sign: “Grab a prop!” Guests need explicit permission to be goofy.
10. Personalized Name Decoration
Big wooden or cardboard letters of their name or age — craft stores sell them for a few dollars each. Paint, wrap in fairy lights, or cover in flowers, then place where it’ll photobomb every cake picture.
Light-up marquee letters are the splurge version ($20–$40) and worth it for milestone birthdays. They become the photo everyone takes home.
Final Thoughts
Handmade decor has a superpower store-bought can’t match: it was made by someone who loves the birthday person, and everyone in the room can feel it.
So pump the balloons, cut the paper, string the lights — and don’t chase perfection. Slightly crooked handmade beats perfectly generic every single time.
When the birthday person walks in and their face lights up, you’ll know: the best decoration was never the stuff on the walls. It was the thought behind it.
Pro Tips
- Do a test run of anything structural. Hang one section of garland, step back, and look. Adjusting early beats redoing everything the morning of.
- Buy 20% more balloons than you think. Pops happen, duds happen. Running out mid-garland is the classic DIY heartbreak — a $4 extra bag prevents it.
- Keep a “party emergency kit.” Scissors, tape, extra command hooks, a lighter for candles, and stain wipes. Something always needs fixing; be the person who’s ready.
- Photograph your work. Take pictures of each decoration once it’s up — partly for memories, partly because you’ll want to replicate (or improve) it next time.
FAQs
How much does DIY birthday decor actually cost?
A full DIY setup for one party room runs $35–$70: balloon garland kit ($15–$25), cardstock and twine for banners ($8), a set of fairy lights ($10), and tissue paper for flowers ($5). Compare that to $200+ for a decorator, and DIY wins by a mile — the trade-off is about 3–4 hours of your time.
How far in advance can I make DIY decorations?
Paper crafts (banners, flowers, garlands) can be made up to a week ahead and stored flat. Balloon garlands look best made the day before — air-filled balloons hold well for 24–48 hours. Save fairy lights, fresh flowers, and the dessert table for party day.
What tools do I need for DIY party decor?
The basics cover 90% of projects: scissors, a hot glue gun, double-sided tape, twine or fishing line, and an electric balloon pump ($12, worth every penny). A paper trimmer speeds up banner-making enormously if you plan to DIY more than once.
How do I hang decorations without damaging walls?
Command hooks and strips for anything with weight, painter’s tape for paper and streamers, and removable adhesive putty for lightweight items. Test in an inconspicuous spot first, and never use duct tape or hot glue directly on painted walls.

HowDecor is a home decor blog sharing simple, practical decorating ideas for everyday spaces. We believe a beautiful home should feel comfortable, personal, and full of warmth — and that great style does not require a huge budget. Our goal is to inspire readers to create spaces that feel peaceful, welcoming, and truly their own — one room at a time.