The birthday table is the party’s stage — it is where the cake gets cut, where everyone gathers, and where ninety percent of the photos happen. A stunning table does not require a stylist’s budget, but it does require thinking like one: height, color discipline, and one focal moment. Every idea below is genuinely DIY-able in an afternoon with supplies from a craft or dollar store.
Before you start, pick your palette and write it down: two main colors plus one metallic. Every decision after that gets easier, because anything outside the palette is automatically a “no.”
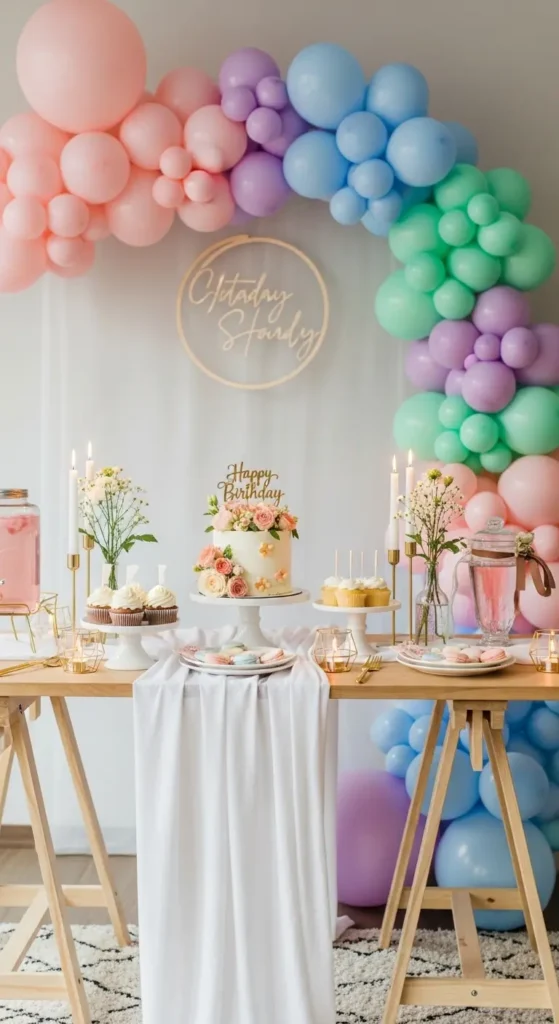
1. Balloon Garland Table Backdrop
A balloon garland behind the table turns a flat wall into a celebration. You will need a garland strip (the plastic tape with holes — a few dollars online), 50–70 balloons in your palette, and a hand pump. Inflate in clusters of four to five, twist them onto the strip, and hang the finished garland from removable hooks or a curtain rod.
The pro trick is asymmetry: make one side fuller and let it taper, rather than a perfect uniform arch — organic shapes photograph better and are more forgiving to build. Add a few oversized balloons (24-inch) for drama; they cost little and change the whole scale. Build it the morning of so the latex stays glossy.
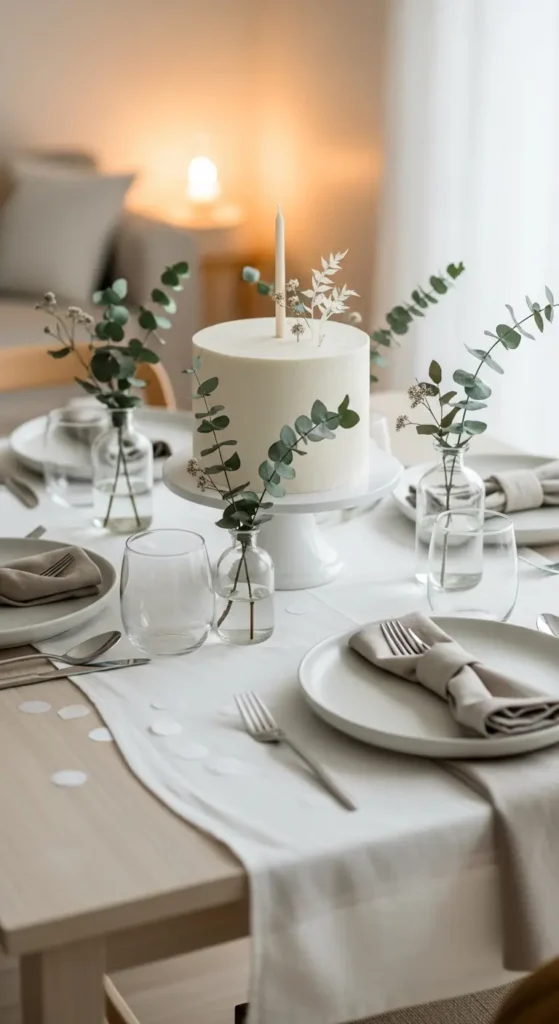
2. Minimalist Cake Center Setup
The cake is the star — give it a stage, not competition. Place it on a raised stand (a real cake stand, or an overturned bowl under a plate in a pinch) at the exact center of the table, and keep a clear 12-inch radius around it. Everything else on the table should be lower than the cake so the eye lands there first.
A simple linen or kraft-paper runner under the stand defines the cake’s zone. If the cake itself is plain, dress the stand instead: a ring of fresh flowers, eucalyptus, or fairy lights around the base. Minimal does not mean empty — it means every element earns its place around the star.
3. Fairy Lights Table Styling
Fairy lights are the cheapest way to make a table glow. Weave two to three strings of warm-white micro LEDs down the center of the table, letting them pool and curve naturally rather than stretching taut. Tuck the battery packs under the runner or behind a centerpiece.
Layer the lights under translucent elements — inside glass jars, beneath a sheer runner, around flower stems — and the whole table seems to emit light. For evening parties, dim the room lights and let the table carry the scene; for daytime, fairy lights still add sparkle in photos. Keep one spare set of batteries in a drawer — they always die mid-party.
4. Personalized Name Display
A name display — wooden letters, a light-up marquee, or a custom acrylic sign — makes the table unmistakably theirs. Large craft-store letters painted in your palette color cost little; spell the name or age and lean them against the backdrop or lay them flat as part of the tablescape.
Position the name where photos capture it: directly behind or beside the cake, at standing eye level. If you are using a marquee light box, test it the night before — half-lit letters are worse than none. This is also the decoration most likely to be reused for future birthdays, so choose materials that store well.
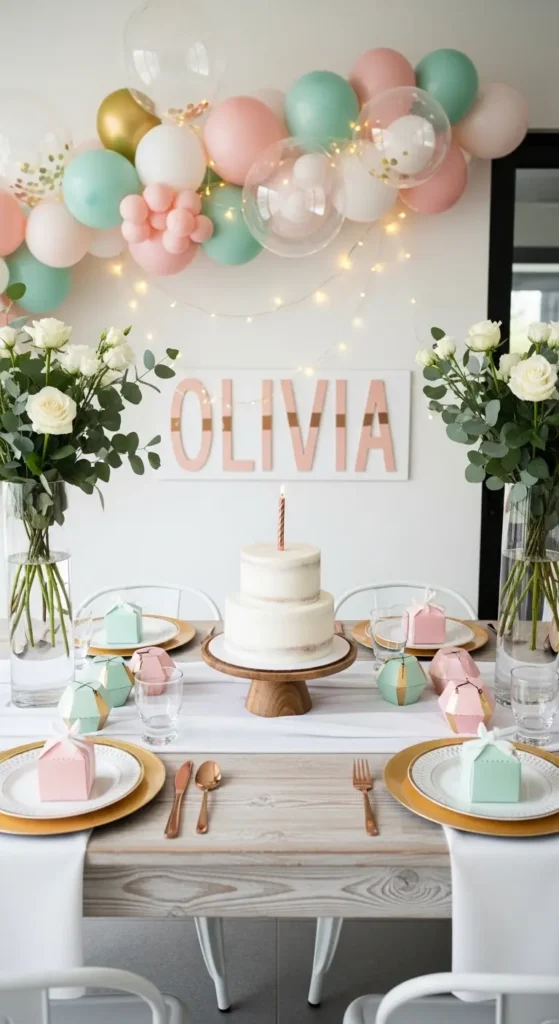
5. Themed Color Coordination
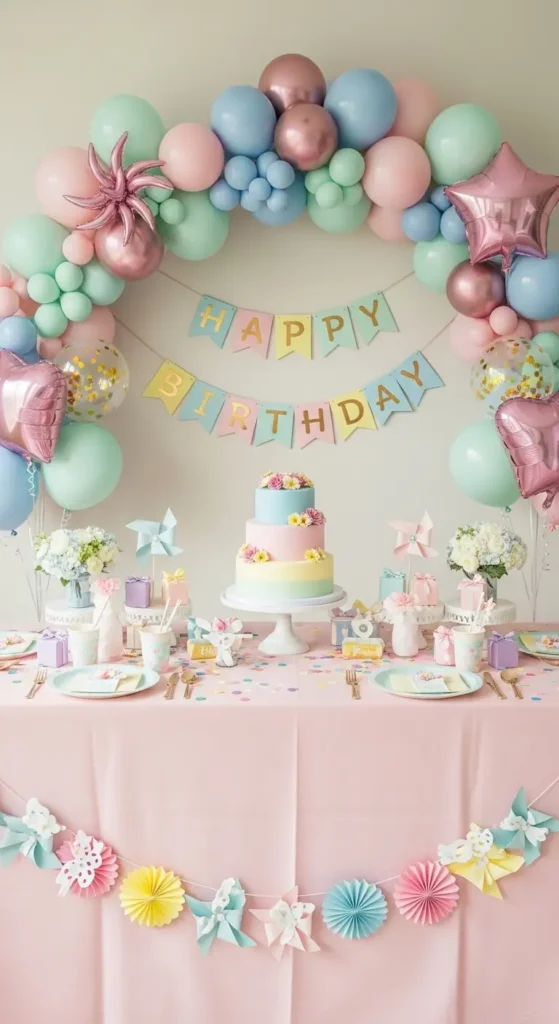
Color discipline is what separates DIY tables that look professional from ones that look like a craft store exploded. Choose your two colors plus metallic, then audit every single item against them: balloons, napkins, plates, candles, flowers. One off-palette item — a random red cup, a blue candle — breaks the spell.
Use the 60-30-10 rule: 60% dominant color (usually the lighter one — tablecloth, backdrop), 30% secondary (napkins, balloons), 10% metallic accent (cutlery, candle holders, confetti). When in doubt, remove rather than add. Restraint photographs better than abundance, every single time.
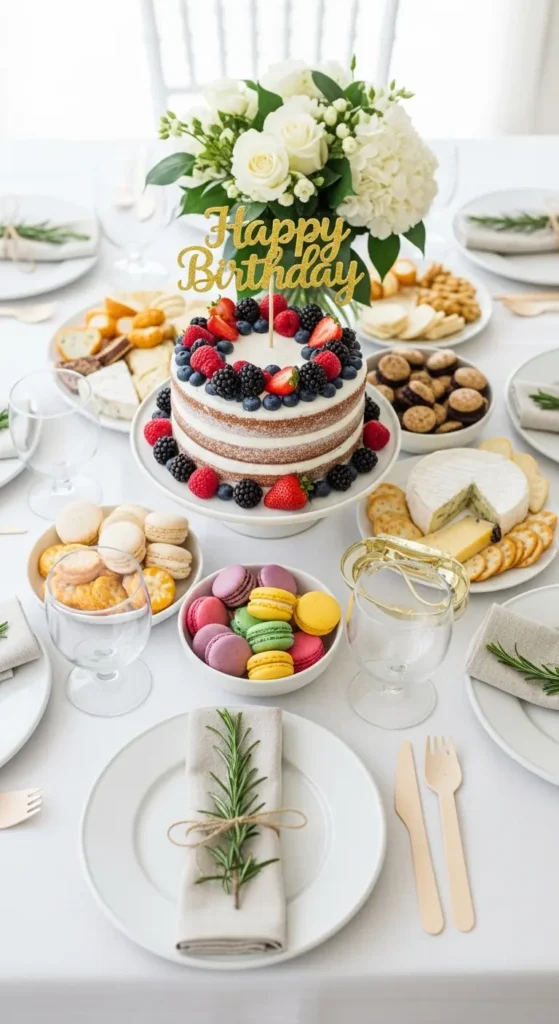
6. Dessert Tray Arrangement
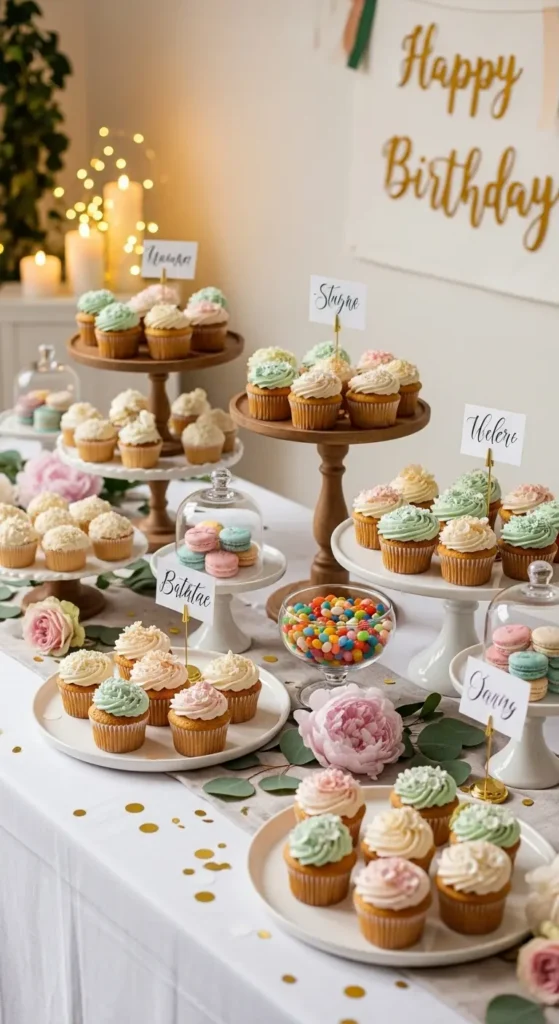
Beyond the cake, a styled dessert spread makes the table feel abundant. Use trays and stands at three different heights — tall (a tiered stand), medium (a wooden board on a box), low (a flat tray) — and arrange desserts in odd-numbered groups. The height variation is what makes it look styled rather than just “food on a table.”
Match desserts to the palette where you can: frosted cupcakes, dipped pretzels, candy in glass jars, macarons. Label anything with allergens on small tent cards — thoughtful and practical. Refill from a hidden stash in the kitchen rather than overloading the table at the start; a picked-over table photographs badly.
7. Floral Touch for Elegance
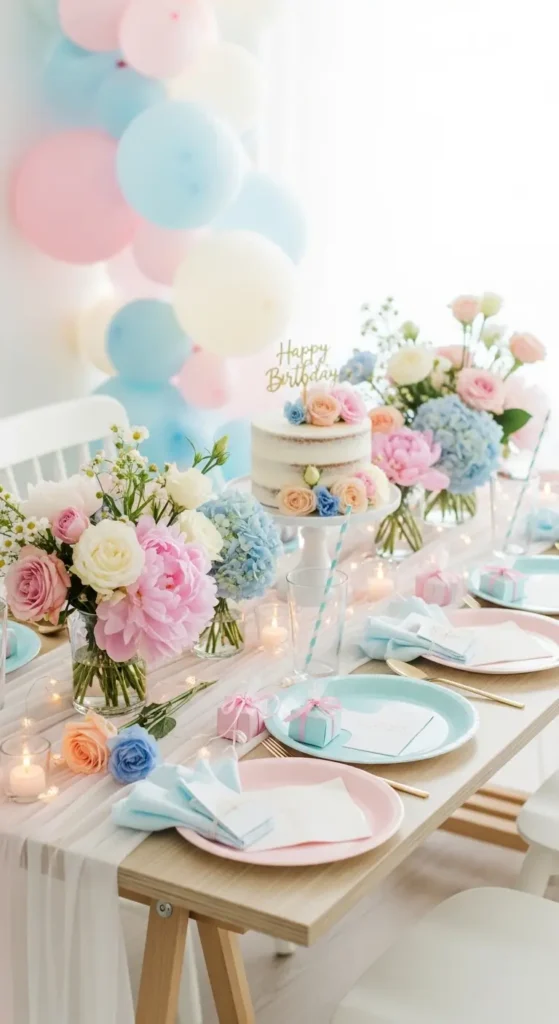
Real flowers are the fastest way to make a DIY table look expensive, and you need fewer than you think. Three small bud vases with single stems down the table’s center, or one low grocery-store bouquet split across mason jars, adds life and scent that no artificial decor replicates.
Choose hardy, affordable blooms: carnations, baby’s breath, daisies, or roses from the supermarket. Trim stems short for table arrangements — tall flowers block conversation and photos across the table. A sprig of eucalyptus or any greenery tucked in makes even a $5 bouquet look designed.
8. Photo Memory Corner
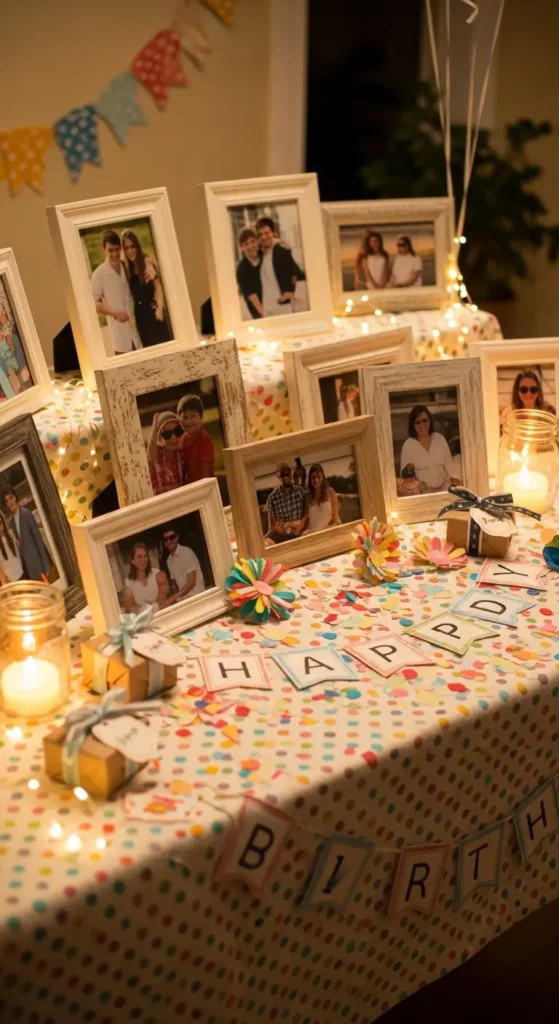
Dedicate one end of the table (or a small side table) to memories: framed photos through the years, a printed timeline, or a clothesline of snapshots on twine. This corner gives guests something to do and talk about, and it personalizes a table that could otherwise be any party’s table.
Add an interactive element: blank cards and a jar for guests to write wishes or predictions, or a Polaroid camera with a sign inviting photos. The memory corner often becomes the emotional center of the party — people linger, laugh, and occasionally tear up. Keep it at the table’s end so it does not compete with the cake.
9. Balloon Table Runner
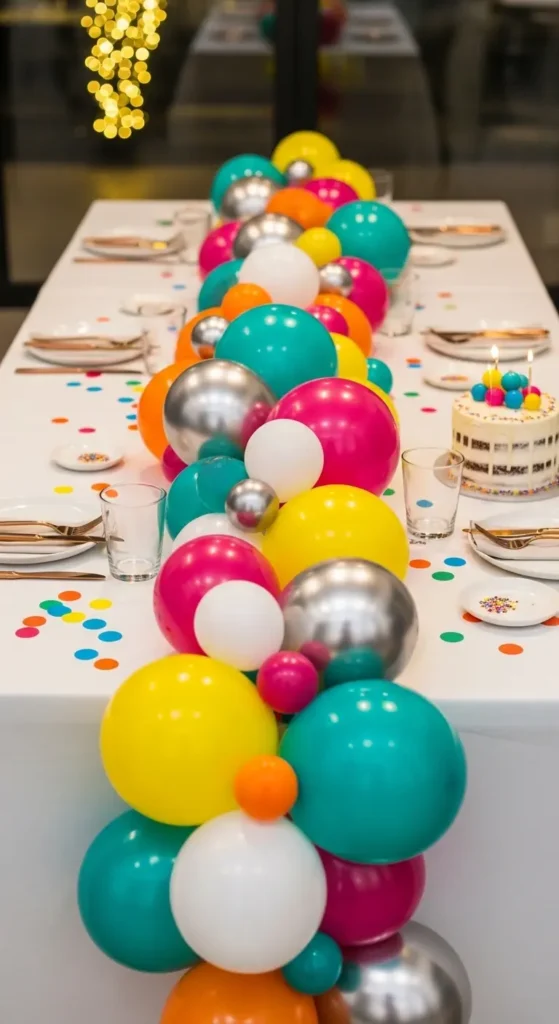
Instead of (or under) a fabric runner, run a low balloon garland down the table’s center — small 5-inch balloons clustered tight make a lush, colorful spine for the tablescape. It is unexpected, playful, and costs almost nothing beyond the balloons and an hour of inflation.
Keep it low — no more than 6 inches high — so guests can see over it. Weave in greenery sprigs or fairy lights for texture. This works best on long rectangular tables; on round tables, do a tight ring around the cake stand instead. Pop-prone? Keep the runner away from candle flames and curious toddlers.
10. Clean and Minimal Layout
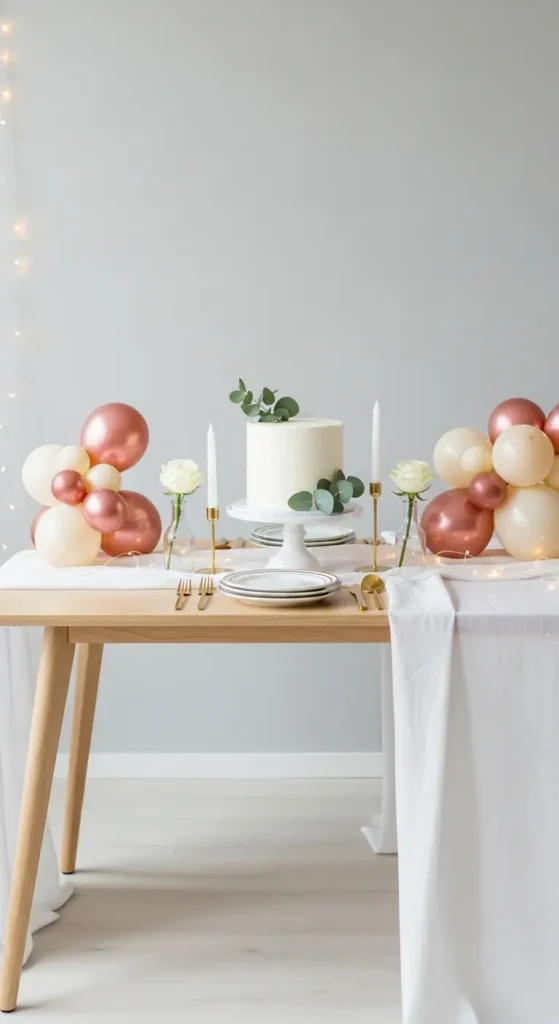
The bravest DIY choice is restraint: a crisp white or linen tablecloth, the cake on a beautiful stand, three perfect flowers, good lighting — and nothing else. A minimal table looks confident and lets the food and the people be the decoration. It also photographs beautifully because there is no visual noise.
Minimalism demands quality in the few things present: a real linen cloth rather than plastic, actual glassware, one excellent cake rather than a spread. If your budget is tight, this approach concentrates every dollar where it shows. White space is not empty — it is the frame that makes the important things shine.
Final Thoughts
A stunning birthday table is not about how much you buy — it is about how deliberately you arrange what you have. Pick your palette, build height, light it warmly, and give the cake its moment. Whether you go maximalist with garlands and dessert towers or minimalist with linen and three roses, the tables that guests remember are the ones that felt considered. And consideration, happily, is free.
Pro Tips
- Do a trial layout: set the full table the night before, photograph it, and adjust. Morning-of changes are stressful; night-before changes are fun.
- Hide the mechanics: battery packs, tape, and garland strips should never be visible. A tablecloth, runner, or strategically placed flower hides everything.
- Keep a party kit: tape, scissors, spare balloons, a hand pump, batteries, and trash bags in one box. Every party needs them; hunting for them mid-setup is the real time sink.
- Plan the photo angle: stand where guests will photograph the cake and check the background. Move anything ugly out of that sightline.
FAQs
How long does it take to set up a DIY birthday table?
Plan 3–4 hours for a full setup including a balloon garland. Doing the trial layout the night before cuts day-of work roughly in half and removes most of the stress.
What is a good budget for a DIY birthday table?
$40–$80 covers a genuinely stunning table: balloons, a runner or cloth, candles or fairy lights, and simple flowers. The cake is usually separate and is the biggest single cost.
How do I keep balloons from popping or deflating?
Inflate the morning of the party, keep them away from heat and sharp edges, and do not overinflate — a slightly under-filled balloon lasts longer and looks rounder. Keep spares and a hand pump handy.
Can I reuse birthday table decorations?
Yes — fabric runners, tablecloths, candle holders, fairy lights, name letters, and marquee signs all store well. Only balloons and fresh flowers are single-use. Buying reusable basics once pays off across many parties.

HowDecor is a home decor blog sharing simple, practical decorating ideas for everyday spaces. We believe a beautiful home should feel comfortable, personal, and full of warmth — and that great style does not require a huge budget. Our goal is to inspire readers to create spaces that feel peaceful, welcoming, and truly their own — one room at a time.