A perfect home party isn’t about any single decoration — it’s about the journey your guests take through your home. Think of it in three acts: the entrance that says “you’re in the right place,” the food and gathering zone that keeps everyone comfortable, and the photo corner that gives the night its memories. When each zone has one clear decor job, even a small house feels like it was designed for celebrating.
These eight ideas are organized by zone, not by decoration type. Work through them in order — entrance first, photo corner last — and your party will feel intentional from the front door to the last slice of cake.
1. A Balloon Corner That Welcomes Guests
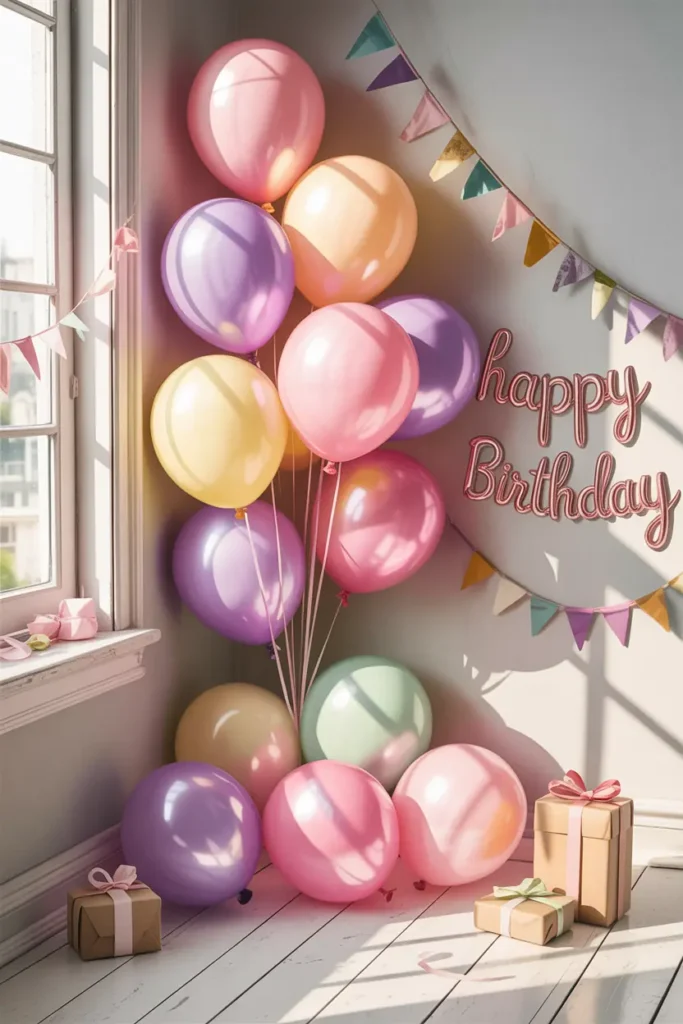
The first thing guests see sets the tone, so give your entrance or hallway one confident moment: a cluster of 7–9 balloons in your theme colors, tied at three different heights to a weight or a chair. Varying the string lengths (2, 3, and 4 feet) creates that floating, organic look — all balloons at the same height looks like a car dealership.
Add a small sign or the birthday person’s name on the wall behind the cluster. This does double duty: guests know they’re in the right place, and you get a natural first-photo spot before anyone’s even inside. Total cost: under $10, ten minutes of work.
2. Styling the Cake Table as the Centerpiece
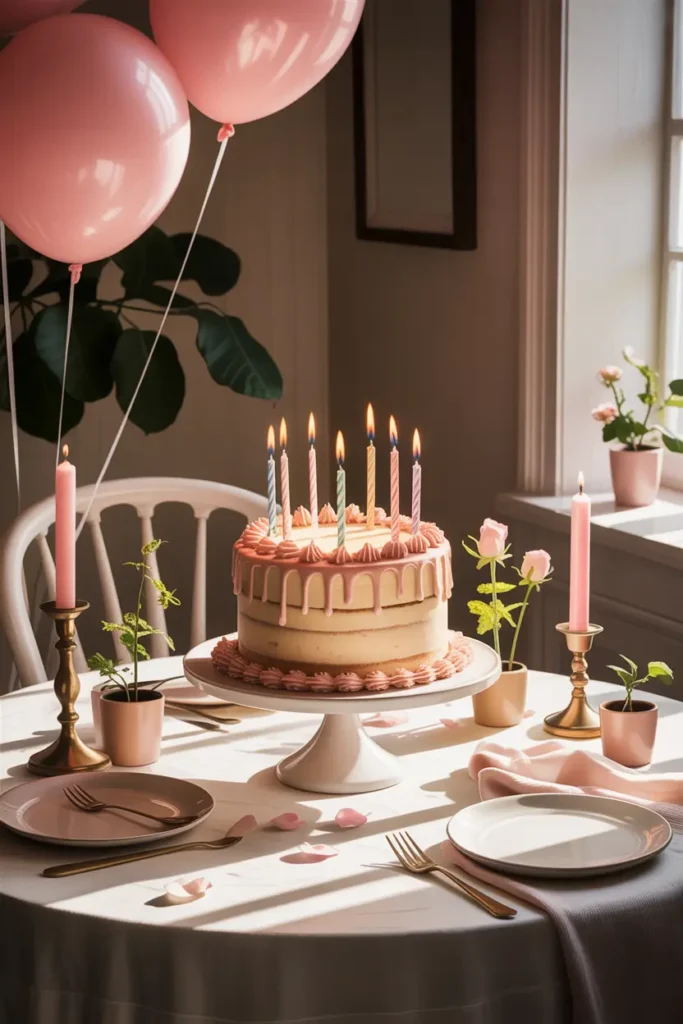
The cake table is the gravitational center of every birthday party — every eye and every camera ends up there. Build it in layers: a tablecloth in your main color, a cake stand that lifts the cake 4–6 inches (height equals importance), and a backdrop directly behind it (banner, fans, or fabric). The backdrop should be 2–3 feet wider than the table on each side; narrower looks accidental.
Keep the table surface edited: cake, one floral or candle element, and serving pieces. Move gifts, extra plates, and clutter to a side table. The most common mistake is treating the cake table as storage — it’s a stage, not a shelf.
3. A Fairy Light Wall for Evening Magic
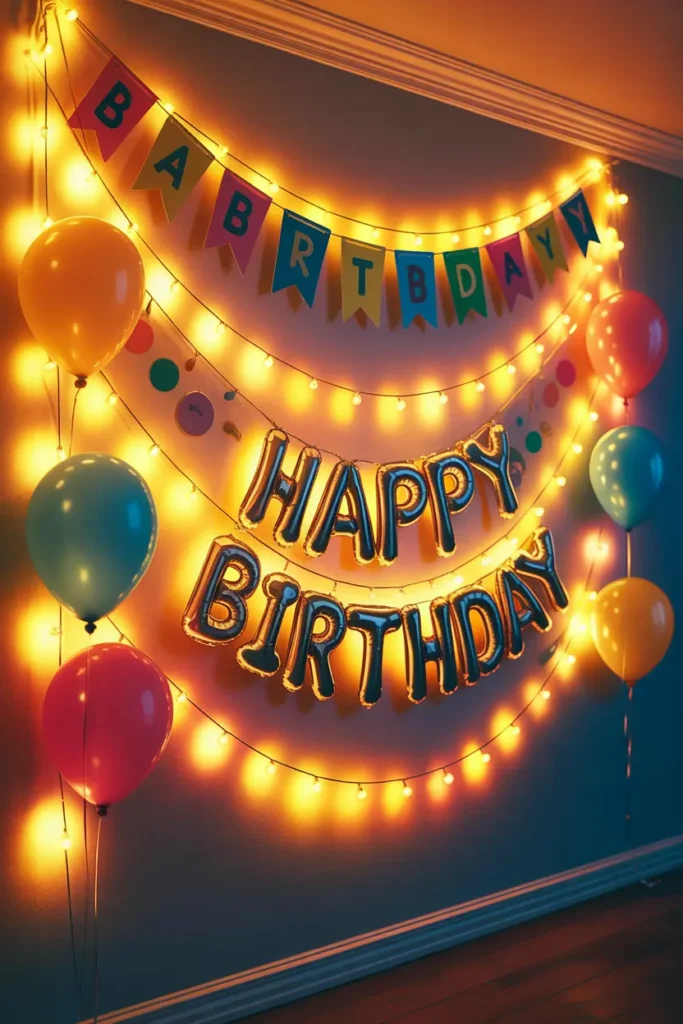
If your party runs past sunset, a fairy light wall is the highest-impact decoration you can build for $10. Hang two or three curtain-style light strings (each 10×10 feet, about $12) on the main party wall using removable hooks, spacing the strands 6 inches apart. The curtain effect — hundreds of tiny warm points of light — reads as pure celebration in every photo.
Layer it: hang your paper banner or name letters in front of the lights, not beside them. Backlit letters glow at the edges and look professionally staged. Turn off every overhead light in the room once the lights are on — competing light sources flatten the effect.
4. Paper Fans With Placement Strategy
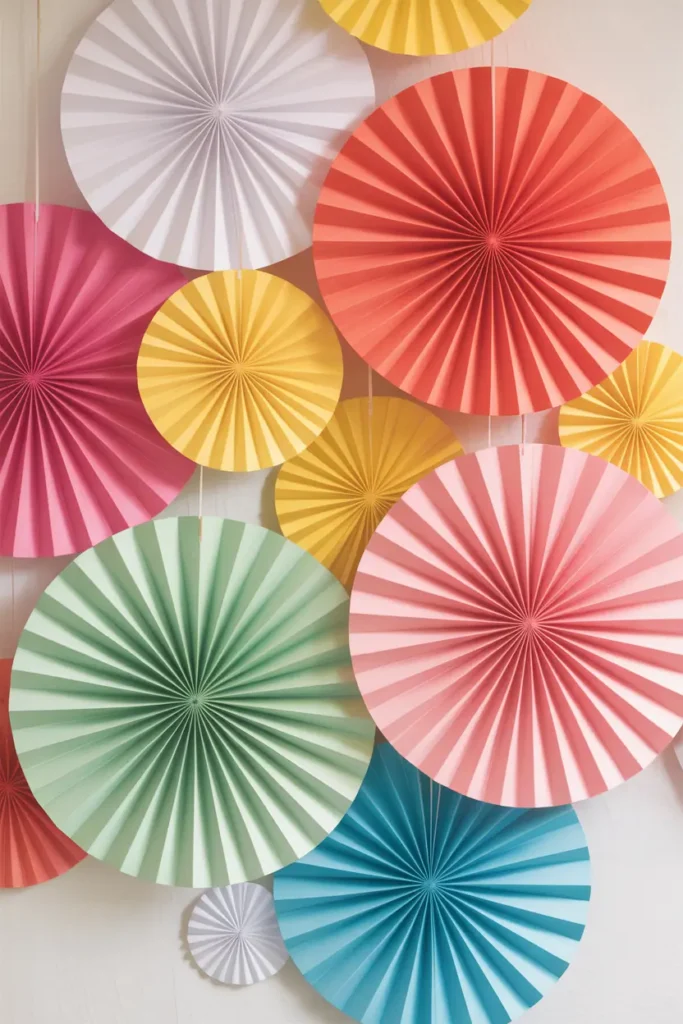
Paper fans are cheap and cheerful, but placement makes or breaks them. The winning formula: one dense cluster (5–8 fans, mixed sizes) on the main wall, plus two small clusters of three on secondary walls. Never hang single fans alone — a lone fan looks like an afterthought, while clusters look like design.
Overlap the fan edges by 2–3 inches within each cluster for a full, layered look. Hang the largest fan slightly off-center as the anchor. This takes fifteen minutes and $8, and it fills more wall than any other decoration at this price.
5. A Memory Table Guests Actually Visit
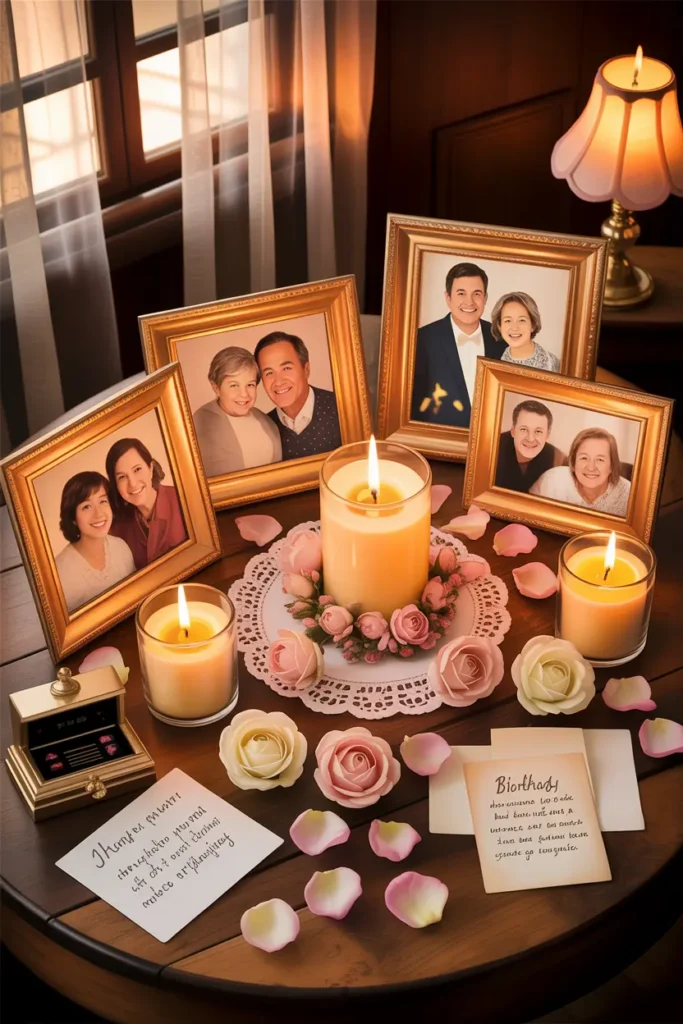
Instead of scattering photos around the room, give memories their own styled table: a small side table with a cloth, 8–12 framed or clipped photos of the birthday person through the years, a candle, and a guest book or wish jar. Framing the photos — even in $1 frames — elevates them from “pictures on a table” to “an exhibit.”
Place the memory table where there’s natural pause time: near the drinks or by the entrance, never in a corner nobody passes. Add a small sign: “Take a walk down memory lane.” Guests need permission to linger, and a sign gives it.
6. Ribbon Details on Key Chairs
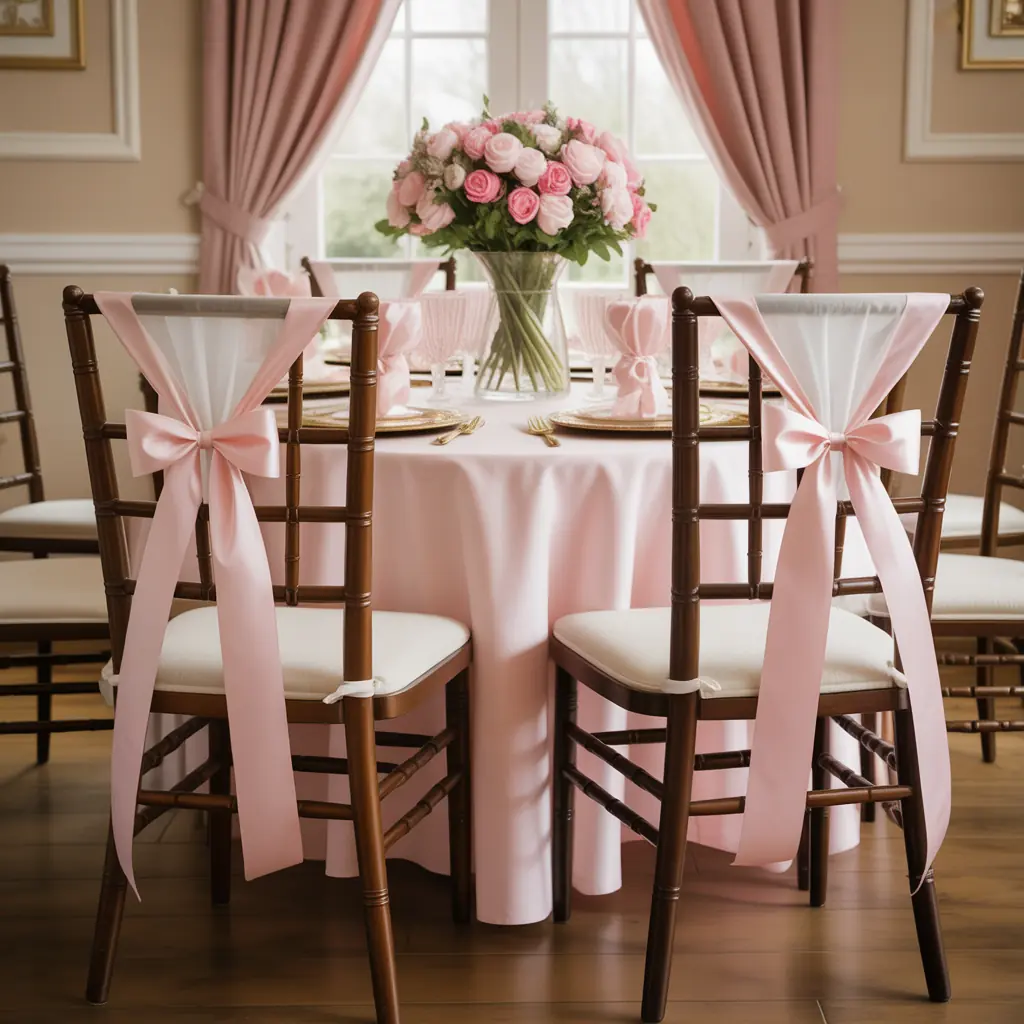
You don’t need to decorate every chair — just the ones that matter. Tie wide ribbon sashes on the birthday person’s chair and the two chairs flanking the cake table. A proper bow with 12-inch tails, in a satin ribbon that matches your palette, takes three minutes per chair and signals “seat of honor” without a word.
Choose ribbon at least 2 inches wide; narrow ribbon disappears in photos. After the party, the same ribbon ties up favor bags or wraps the thank-you gifts — plan the color so it works twice.
7. A Cupcake Tower as Edible Decor
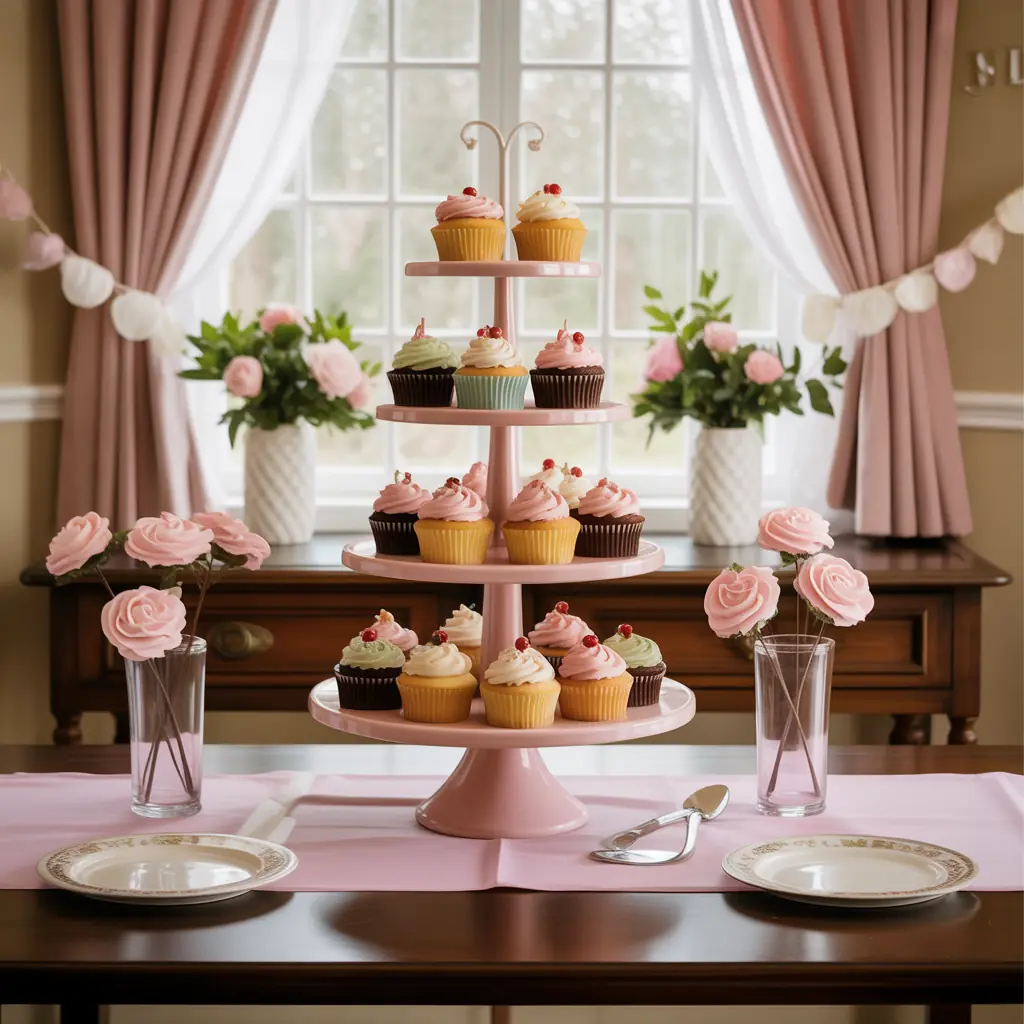
A tiered cupcake stand does something a flat cake can’t: it adds height to your table styling. Three tiers holding 24 cupcakes create a 18-inch tower of color that anchors the whole dessert area. Frost in two alternating colors from your palette, and add one topper (a number candle, a small flag) on the top tier’s center cupcake.
Stagger the cupcake placement — don’t fill every slot symmetrically. A slightly organic arrangement looks abundant; a rigid grid looks institutional. Bake the day before, frost the morning of, and the tower will look bakery-fresh in every photo.
8. Name Letters as the Personal Touch
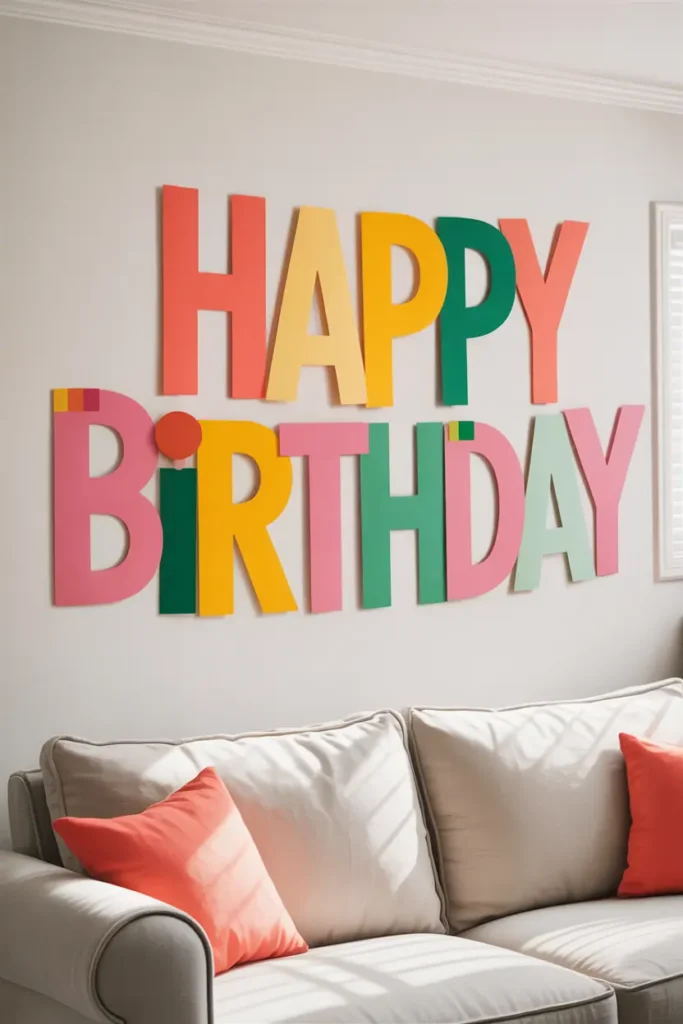
Big letters spelling the birthday person’s name are the one decoration no store-bought kit can replicate — they’re personal by definition. Foam or wooden letters, 8–10 inches tall, painted in your theme color or wrapped in metallic paper, mounted on the main wall with adhesive strips. Space them evenly, about 1.5 inches apart.
Mount at 58–62 inches to center so they sit in the background of every cake-table photo. For evening parties, outline the letters with a thin string of fairy lights — the glow makes the name readable in dim light and doubles the drama.
Final Thought
A perfect home party is really three small parties in one: a welcoming entrance, a comfortable gathering zone, and a photo-worthy focal wall. Decorate each zone with one clear idea, keep your palette tight, and the whole house will feel like it was made for celebrating — because for one night, it was.
Pro Tips
- Walk your party route as a guest would — front door to food to photo corner — and fix anything that looks unfinished from that path. Hosts see the house; guests see the route.
- Hide the everyday: stash mail, remotes, and cleaning supplies in one closet before decorating. Clutter competes with decor in every photo.
- Set up a “reset station” — extra napkins, a trash bag, lighter, tape — behind the food table so you can fix things in seconds without leaving the party.
- Designate the photo corner early and tell your co-host: every group photo happens there, not in the kitchen. Consistency makes the album.
FAQs
How do I decorate a small house for a birthday party?
Zone it: one decorated entrance moment, one styled food/cake table, one photo wall. Concentrating decor in three zones makes a small house feel intentional rather than cramped — spreading decorations thinly everywhere does the opposite.
What time should I start setting up for a birthday party?
Hang wall decor the night before. On party day, allow 2–3 hours: tables and cloths first, then food setup, then balloons and fresh elements last (balloons look best within 6–8 hours of inflation).
How many decorations do I need for a home birthday party?
Fewer than you think. One backdrop, one table styling, lighting, and a personal touch (name letters or photo display) cover 90% of what guests notice. Ten well-placed items beat thirty scattered ones.
What’s the best party layout for flow?
Keep food and drinks in one zone, seating in another, and the photo corner slightly apart so it doesn’t block traffic. Guests naturally circulate between food, seats, and photos — give each its own space and the party runs itself.

HowDecor is a home decor blog sharing simple, practical decorating ideas for everyday spaces. We believe a beautiful home should feel comfortable, personal, and full of warmth — and that great style does not require a huge budget. Our goal is to inspire readers to create spaces that feel peaceful, welcoming, and truly their own — one room at a time.