There’s a particular satisfaction in looking around a party and knowing you made nearly everything in it. DIY birthday decor isn’t about saving money — though you will — it’s about the texture of handmade things: slightly imperfect paper flowers, a banner in your own handwriting, candlelight in jars you decorated yourself. Guests can feel the difference between assembled and made, even if they can’t name it.
These eight projects are real DIY — scissors, glue, paper, and an afternoon — but each one is designed to look genuinely good, not “good for homemade.” I’ll tell you exactly what to buy, how long each takes, and the one detail that separates the polished result from the Pinterest-fail.
Idea 1: A Handmade Balloon Garland (No Kit Needed)
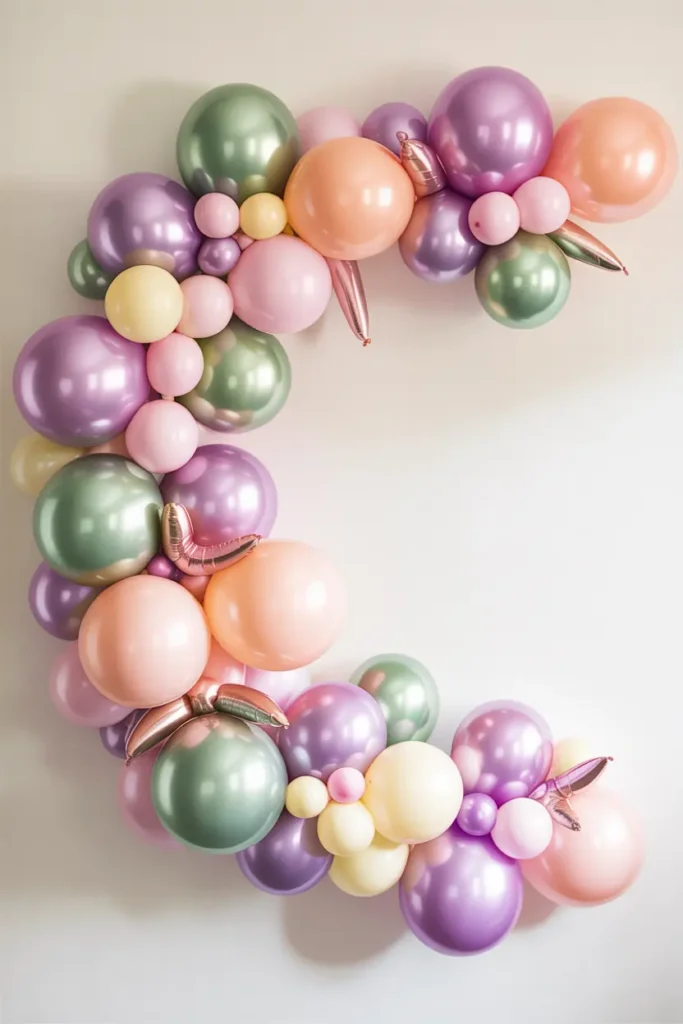
Forget the $25 garland kits — you need a $3 roll of decorating strip (the plastic strip with holes) or just fishing line and a needle. Inflate balloons in 3 sizes, tie them in pairs, then twist each pair onto the strip, alternating colors and sizes. A 6-foot garland takes about 40 balloons and 45 minutes, and it looks organic and professional because you controlled every placement.
The detail that matters: under-inflate each balloon slightly (fill to 80%) so they’re round, not oval, and vary the sizes deliberately — the mix of 5, 10, and 12-inch balloons is what creates the lush, high-end look. Hang with Command hooks; the garland is lighter than it looks.
Idea 2: Giant Paper Flowers for the Backdrop
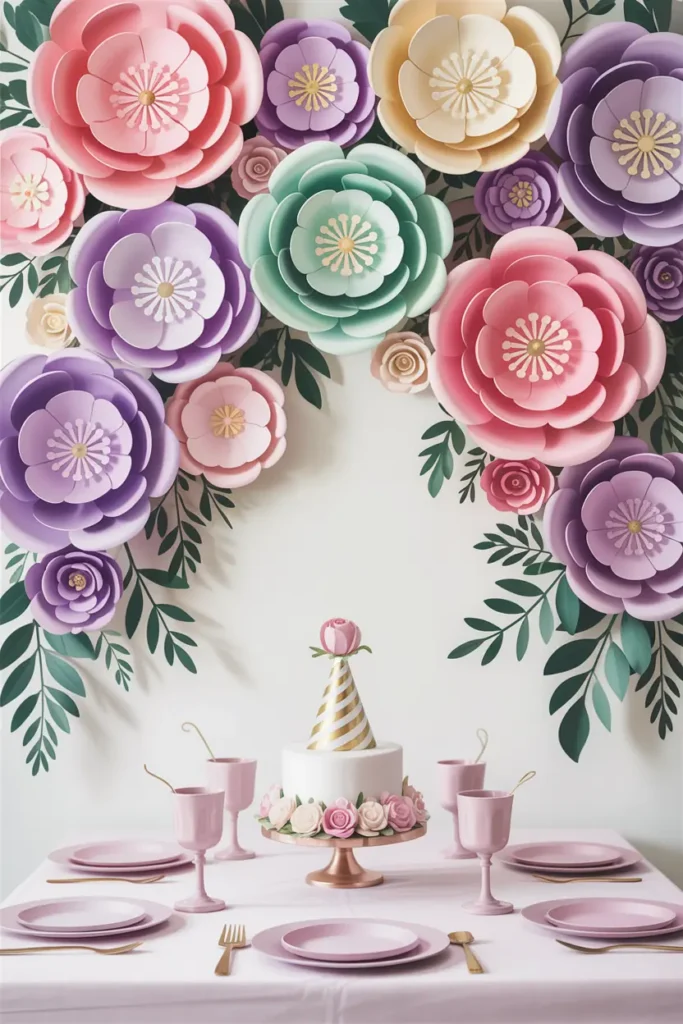
Giant paper flowers — 12 to 16 inches across — are the DIY backdrop that consistently stuns people. You need cardstock or crepe paper ($8–10), scissors, and a hot glue gun. Cut 5–6 petal layers in graduated sizes, curl each petal around a pencil, and glue the layers together from largest to smallest. One flower takes 15–20 minutes once you get the rhythm.
Make 5–7 flowers in two shades of one color plus a contrasting center, and cluster them on the wall behind the cake table. The detail that matters: curl every petal. Flat petals look like paper plates; curled petals look like flowers. This is the difference between “nice craft” and “wait, you MADE those?”
Idea 3: A Hand-Lettered Name Banner
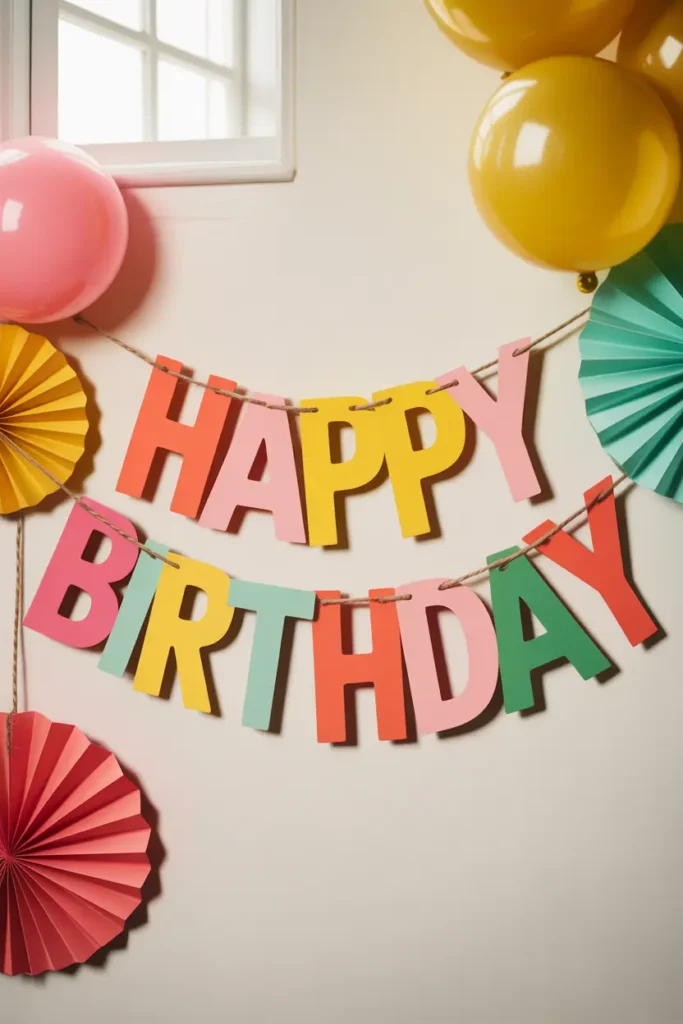
Your own handwriting beats any printed font for warmth. Cut triangles or rectangles from kraft paper or cardstock, write one letter per piece with a thick marker or paint pen, punch holes, and string on twine. A full “HAPPY BIRTHDAY EMMA” takes about 30 minutes including cutting.
The detail that matters: use a ruler to lightly pencil a baseline on each piece before writing, then erase it. Straight baselines are what make hand-lettering look intentional rather than wobbly. Hang the banner with a slight center sag — about 4 inches lower in the middle than the ends.
Idea 4: Decorated Mason Jar Candles
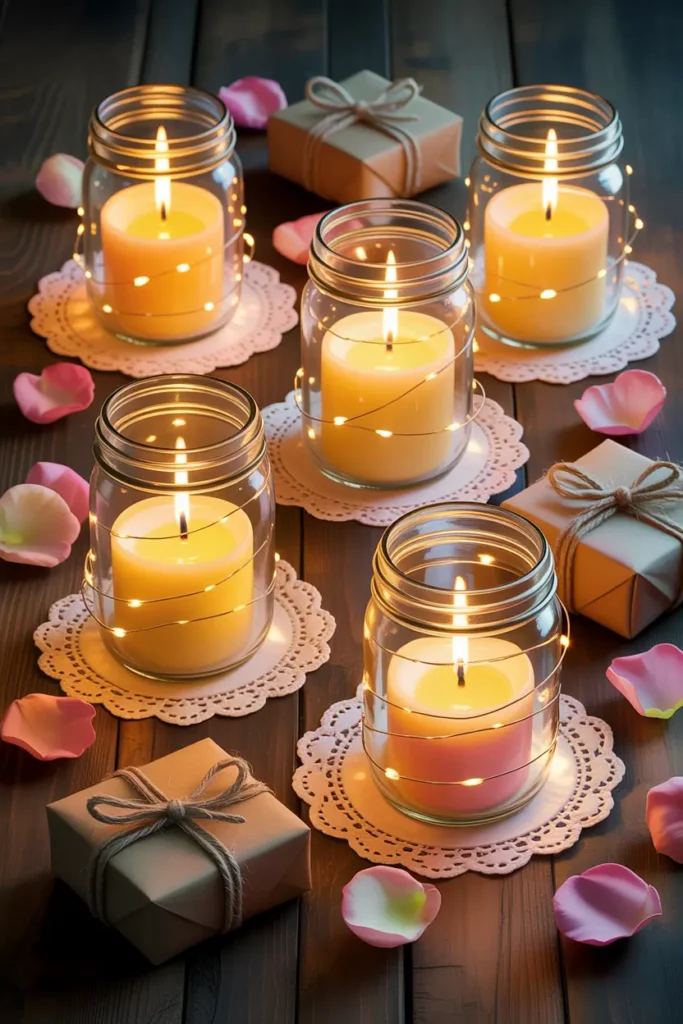
Mason jars + tea lights are a classic, but the DIY upgrade is decorating the jars: wrap the middle with twine, lace, or burlap ribbon and glue on a small paper flower or wooden heart. Six decorated jars cost under $10 in materials and take 30 minutes, and they work as table centerpieces, stair rail markers, or bathroom counter touches.
The detail that matters: use LED tea lights inside decorated jars, not real flames — glue and twine near fire is a bad combination, and the LED flicker looks identical through frosted or decorated glass. Cluster jars in odd numbers (3 or 5) for the best look.
Idea 5: A Photo Clip Wall With Handmade Clips
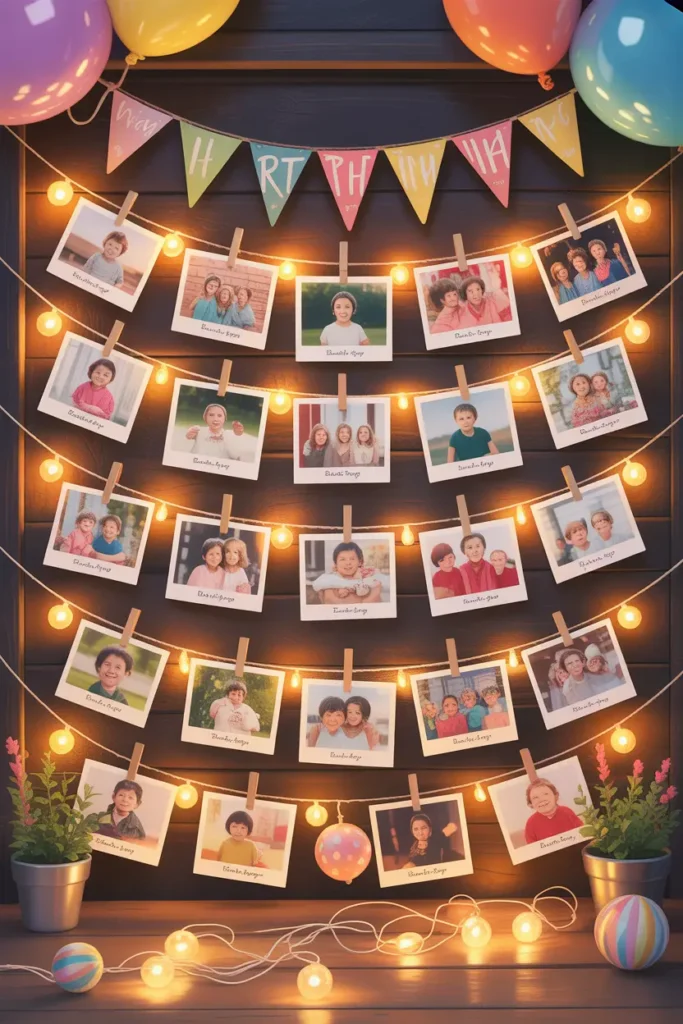
Paint ordinary wooden clothespins in your theme colors (acrylic paint, 10 minutes to do 20) and use them to clip printed photos to twine strung across a wall. The painted clothespins are the DIY detail — plain metal clips work, but colored wooden ones look like you planned the whole wall as one piece.
Print photos in both color and black-and-white and alternate them along the string; the mix looks curated. Hang two parallel strings 12 inches apart for a fuller wall, and leave a small basket of blank cards and a marker underneath so guests can add messages.
Idea 6: Folded Paper Centerpieces
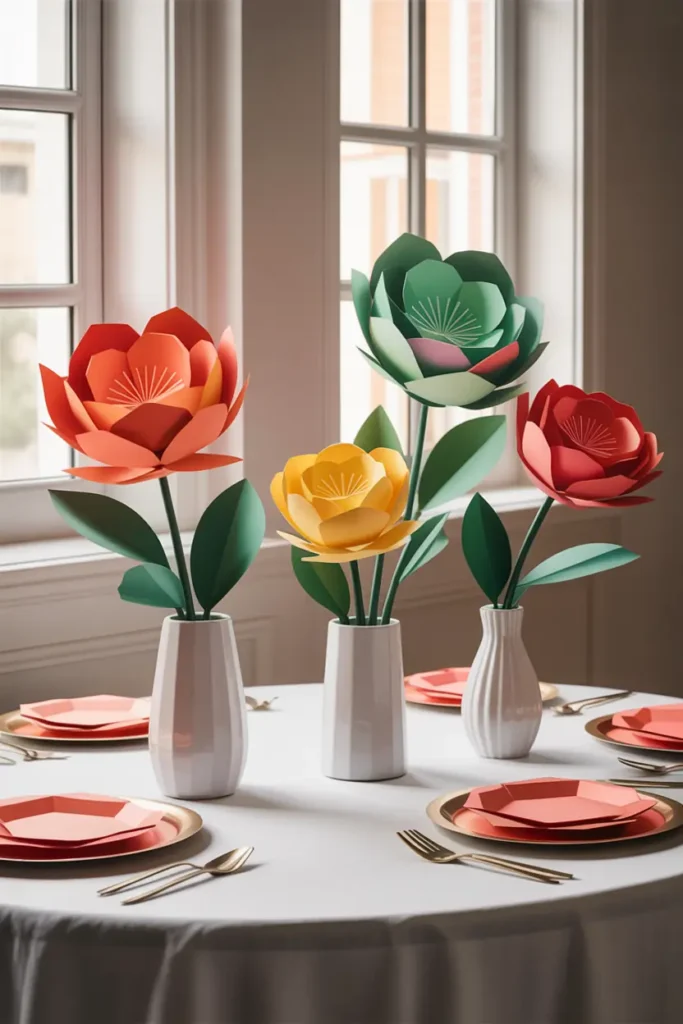
Accordion-folded paper medallions — the same technique as paper fans, but mounted on sticks and stuck into small jars or floral foam — make charming table centerpieces. Fold, tie the middle with string, fan out both sides, and glue the edges together. Each medallion takes 5 minutes; three per table in graduated sizes is perfect.
The detail that matters: use double-sided patterned paper or glue two contrasting sheets back-to-back before folding, so both sides look finished when the medallion opens. Stick the finished medallions into a jar filled with tissue paper or sand so they stand at slightly different heights.
Idea 7: Handmade Ribbon Chair Sashes
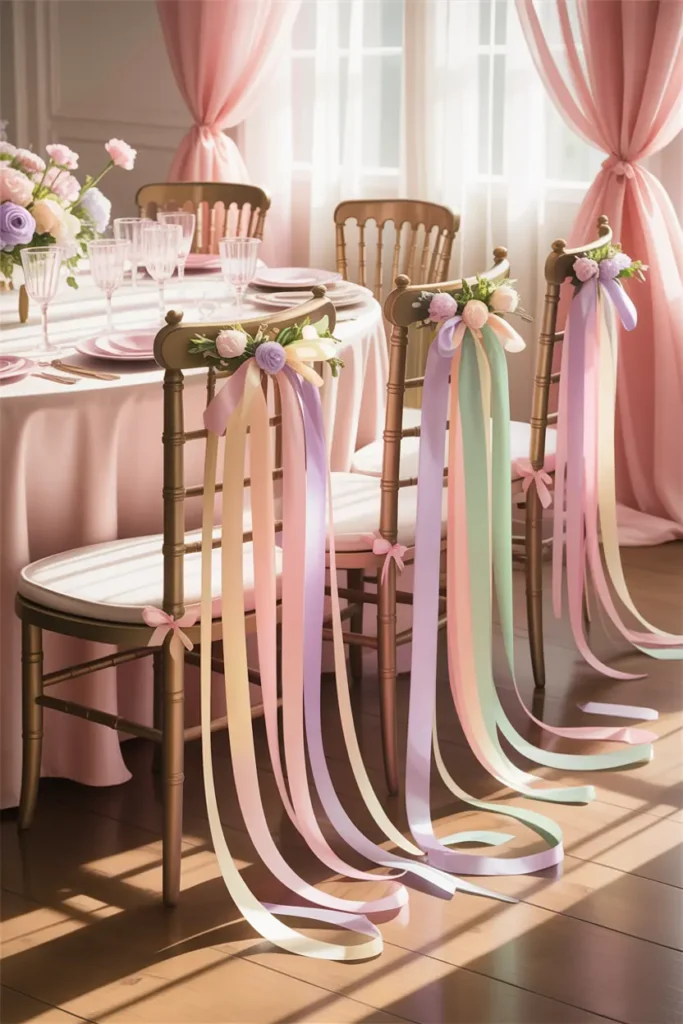
Cut wide ribbon or fabric strips (3–4 inches wide, 2.5 yards long) and tie them around chair backs with a full bow, then tuck a small handmade paper flower or greenery sprig into the knot. The flower-in-the-knot is the DIY touch that elevates this from “tied ribbon” to “styled chair.”
Make the paper flowers from the same paper as your backdrop flowers so everything coordinates. Do the birthday person’s chair plus two flanking chairs — three styled chairs photograph beautifully without the fuss of doing all twelve.
Idea 8: A Personalized Cake Topper
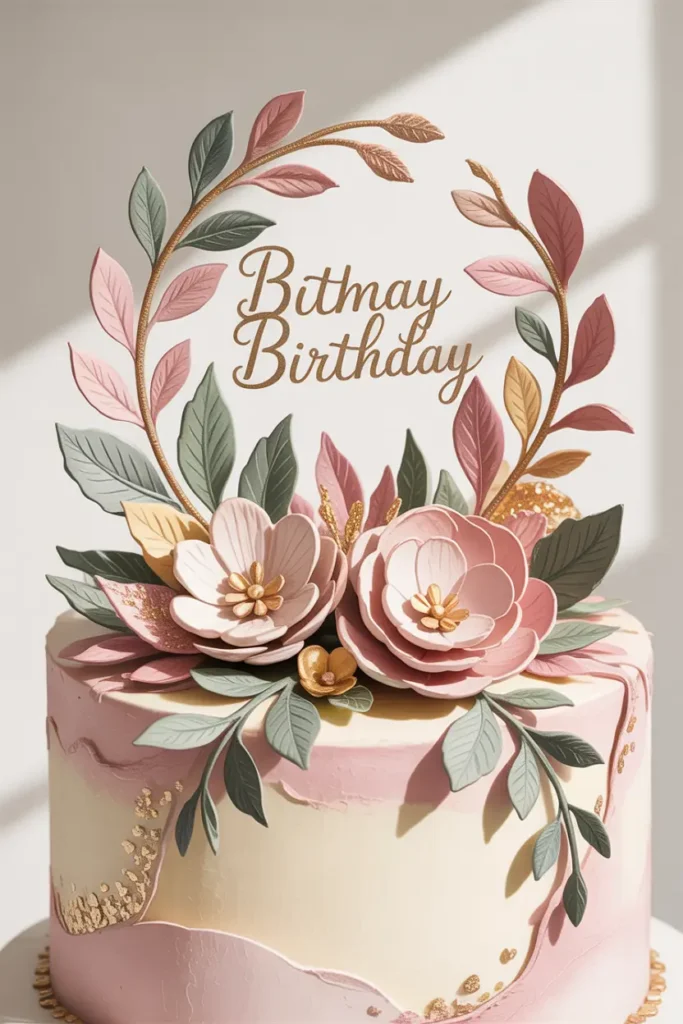
A cake topper you make yourself — the birthday person’s name or age cut from glitter cardstock, glued to wooden skewers — costs under $3 and takes 20 minutes. Print the name in a bold font at 4–5 inches tall, cut carefully with a craft knife, attach two skewers at the back with hot glue, and stick it in the cake. It instantly personalizes even a store-bought cake.
The detail that matters: reinforce the back with a second layer of plain cardstock so the topper stands rigid and doesn’t flop. Cut the skewers so the topper sits 2–3 inches above the frosting — too low and it looks sunken, too high and it wobbles.
Final Thought
DIY party decor rewards the maker twice: once in the making, once in the party. Start one project a few days early, keep your palette consistent across all eight, and remember that the small finishing details — curled petals, straight baselines, painted clothespins — are what make handmade look professional.
Pro Tips
- Do a test run of each project once before making the full batch. The first paper flower is always the worst one — make it, learn from it, then make the real ones.
- Set up a dedicated craft corner for the week before the party so projects can dry and accumulate without taking over the house.
- Buy 25% more paper and ribbon than you calculate. Running out mid-project kills momentum; leftovers become next year’s supplies.
- Hot glue everything the night before, not the day of. Glue needs setting time, and day-of should be for assembly and hanging only.
FAQs
How far in advance should I start DIY party decorations?
Start 5–7 days ahead: one project per evening. Paper flowers, banners, and painted items need drying time. The last two days are for assembly, hanging, and anything with balloons (which should be fresh).
What basic supplies do I need for DIY birthday decor?
Cardstock or crepe paper, scissors, a hot glue gun with extra sticks, twine, acrylic paint, wooden clothespins, and removable adhesive hooks. That kit covers nearly every project here for under $25 total.
How do I make handmade decorations look professional, not childish?
Limit your palette to 2–3 colors, keep edges clean and measurements consistent, and add one refined material (satin ribbon, kraft paper, eucalyptus) to balance the handmade elements. Restraint in color reads as sophistication.
Can I reuse DIY decorations for future parties?
Yes — store paper flowers, banners, and painted clothespins flat in a labeled box. Avoid folding crepe paper pieces; layer them between tissue paper. Well-made DIY decor easily survives 2–3 parties.

HowDecor is a home decor blog sharing simple, practical decorating ideas for everyday spaces. We believe a beautiful home should feel comfortable, personal, and full of warmth — and that great style does not require a huge budget. Our goal is to inspire readers to create spaces that feel peaceful, welcoming, and truly their own — one room at a time.